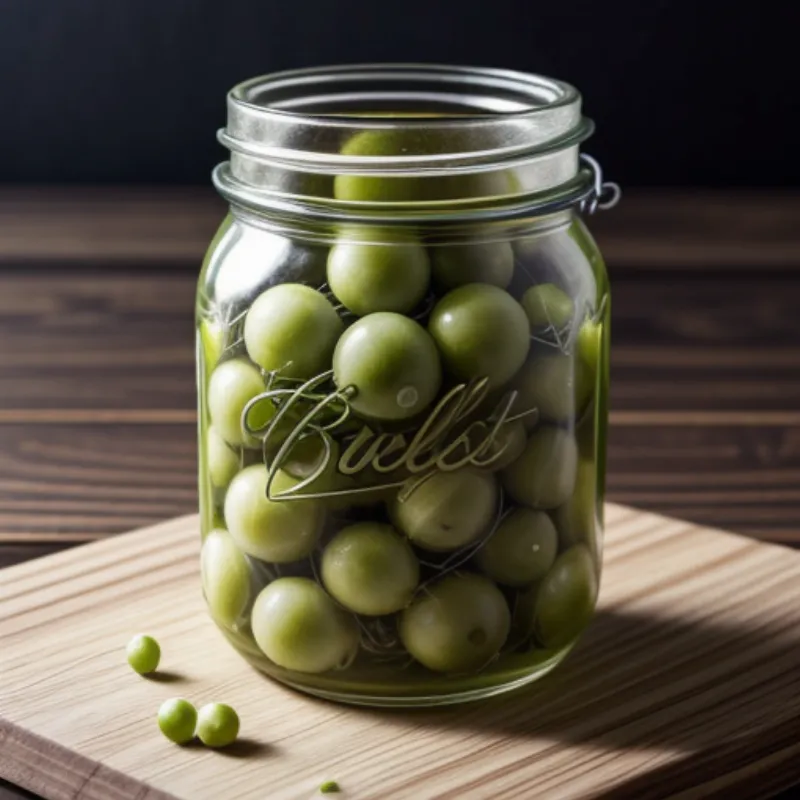
Pickled gooseberries? You might be surprised, but these tiny green gems transform into a tangy, delicious treat that will have you craving more. Imagine biting into a firm, slightly tart gooseberry infused with warming spices and a hint of sweetness. That’s the magic of pickling! Whether you’re a seasoned pickling pro or a curious beginner, this guide will walk you through every step to make your own jar of pickled gooseberry goodness.
What You’ll Need for Pickled Gooseberry Bliss
Ingredients:
- Fresh gooseberries: 1 pound (approximately 4 cups), topped and tailed
- White vinegar: 1 cup (apple cider vinegar can be substituted for a milder flavor)
- Water: 1 cup
- Granulated sugar: 1 cup (adjust to your preference, some like it less sweet)
- Salt: 1 tablespoon (kosher salt recommended)
- Spices: (choose your favorites or try this classic combo)
- 1 cinnamon stick
- 1 teaspoon black peppercorns
- 1/2 teaspoon allspice berries
- 2-3 whole cloves
Equipment:
- Large saucepan: for the pickling brine
- Jar sterilisation equipment: (large pot, tongs, and rack or clean tea towel)
- Canning jars: (2-3 pint-sized jars should suffice)
- Lids and bands: for sealing the jars
- Ladle and funnel: for transferring the brine and gooseberries
 Pickled Gooseberries in a Jar
Let’s Get Pickling!
Step-by-Step Guide:
- Prep Your Gooseberries: Rinse the gooseberries thoroughly and remove any stems or blossoms.
- Sterilize Your Jars: This is crucial for safe and long-lasting pickles. Wash your jars, lids, and bands in hot soapy water. Then, sterilize them by simmering in boiling water for 10 minutes.
- Make the Pickling Brine: Combine the vinegar, water, sugar, salt, and your chosen spices in the saucepan. Bring this mixture to a boil, stirring until the sugar dissolves completely. Once it reaches a boil, reduce the heat and simmer for 5 minutes to allow the flavors to meld.
- Pack Your Jars: While the brine simmers, pack the prepared gooseberries tightly into your sterilized jars.
- Pour in the Brine: Carefully ladle the hot pickling brine into the jars, leaving about ½ inch of headspace at the top. Ensure the gooseberries are completely submerged in the brine.
- Seal and Process: Wipe the rims of the jars clean, place the lids on top, and secure them with the bands. Process the filled jars in a boiling water bath for 10 minutes to ensure a proper seal.
- Cool and Mature: Once processed, carefully remove the jars and let them cool completely at room temperature. You should hear a satisfying “pop” sound as the jars seal, creating a vacuum inside. Allow your pickled gooseberries to mature for at least 2 weeks before enjoying. This allows the flavors to fully develop.
Tips and Tricks for Pickling Perfection:
- Gooseberry Selection: Opt for firm, slightly underripe gooseberries for the best texture.
- Spice It Up: Don’t be afraid to experiment with different spice combinations to create your own signature flavor profile.
- Storage Smarts: Store your pickled gooseberries in a cool, dark place. Once opened, keep them refrigerated for optimal freshness.
 Pickling Gooseberries Process
Serving Up Your Pickled Gooseberries:
These tangy treats are incredibly versatile! Enjoy them:
- As a condiment: Serve them alongside roasted meats, grilled fish, or hearty stews for a burst of acidity.
- On cheeseboards: Their unique flavor profile pairs wonderfully with sharp cheeses and crusty bread.
- In salads: Add a handful to your favorite salads for a tangy crunch.
Pickling: A Journey of Flavors
Making pickled gooseberries isn’t just about preserving a seasonal fruit; it’s about embarking on a culinary adventure. As “Chef Marie,” a renowned pickling expert, once said, “Pickling is like capturing sunshine in a jar.”
So, why not try pickling gooseberries this season? You might just discover your new favorite way to enjoy this delightful fruit. Don’t forget to share your pickling adventures with us in the comments below! Happy pickling!
