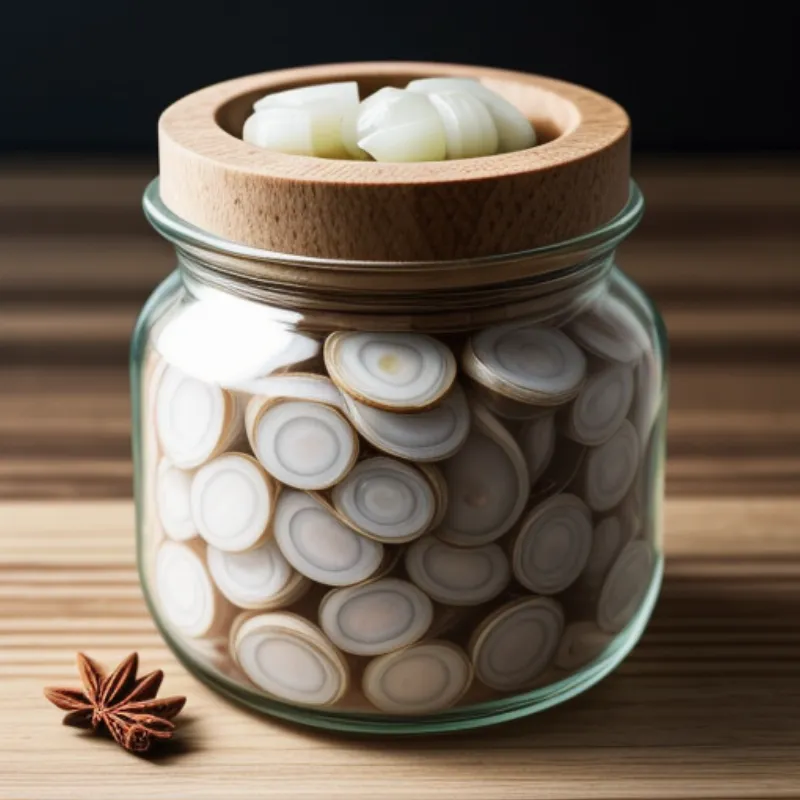
Pickled herring, a true delicacy in many cultures, might seem intimidating to make at home. But fear not, fellow food lovers! With this comprehensive guide, we’ll demystify the process and equip you to craft your own jar of flavorful, tangy pickled herring. Imagine impressing your family and friends with this classic treat – it’s easier than you think!
What is Pickled Herring?
Pickled herring is a culinary tradition enjoyed worldwide, from Scandinavia to Eastern Europe and beyond. It involves curing fresh herring in a brine of vinegar, salt, sugar, and an array of spices. The result? A burst of flavor and a delightful textural experience. Whether you prefer it mild or with a spicy kick, pickled herring is a versatile ingredient for appetizers, salads, or simply enjoyed on its own.
Ingredients for Pickled Herring:
To embark on this culinary adventure, gather the following:
- 1 lb fresh herring fillets, skin on (ask your fishmonger to clean and butterfly them)
- 1 cup water
- 1/2 cup white vinegar (apple cider vinegar works well too)
- 1/4 cup sugar
- 1 tablespoon salt
- 1 teaspoon whole black peppercorns
- 1 teaspoon mustard seeds
- 1/2 teaspoon allspice berries
- 2 bay leaves
- 1 medium onion, thinly sliced
- (Optional) Additional flavor enhancers: a few cloves of garlic, dill sprigs, red pepper flakes, or pickling spice.
Equipment You’ll Need:
- A sharp knife
- A cutting board
- A non-reactive saucepan
- A sterilized glass jar (at least 1-quart size)
Step-by-Step Pickling Guide:
-
Prepare the Brine: In your saucepan, combine the water, vinegar, sugar, salt, peppercorns, mustard seeds, allspice berries, and bay leaves. Bring this mixture to a boil over medium heat, stirring until the sugar and salt dissolve completely. Once boiling, remove the brine from the heat and allow it to cool to room temperature.
-
Layer the Herring: Rinse the herring fillets under cold water and pat them dry with paper towels. In your sterilized jar, begin layering the herring, alternating with onion slices and any optional flavor enhancers you’re using.
-
Pour the Brine: Once cooled, pour the brine over the herring and onions, ensuring they are fully submerged. If needed, add a bit more water or vinegar to cover.
-
Seal and Refrigerate: Tightly seal the jar and refrigerate for at least 24 hours, or preferably 2-3 days, to allow the flavors to fully develop.
Tips and Tricks for Pickling Perfection:
- Fresh is Best: Always start with the freshest herring fillets you can find. The quality of your ingredients significantly impacts the final taste.
- Don’t Rush the Process: Patience is key when pickling! Allowing sufficient time for the herring to cure in the brine ensures optimal flavor and texture.
- Get Creative with Flavors: Experiment with different spices and herbs to personalize your pickled herring. Dill, caraway seeds, or even a touch of ginger can add unique dimensions.
Serving and Enjoying Your Pickled Herring:
Pickled herring can be enjoyed in numerous ways:
- Classic Appetizer: Serve the herring chilled on crackers or rye bread with a dollop of sour cream or crème fraîche.
- Salad Star: Add chopped pickled herring to potato salads, green salads, or beet salads for a burst of flavor.
- Open-Faced Sandwiches: Create delicious open-faced sandwiches using dark bread, pickled herring, sliced onions, and a sprinkle of fresh dill.
FAQs:
How long does pickled herring last in the refrigerator?
Pickled herring can be stored in the refrigerator for up to 2 weeks. Make sure to keep it in an airtight container.
Can I freeze pickled herring?
While freezing is not recommended, as it can alter the texture of the herring, you can extend its shelf life by a few weeks by freezing the brine separately and adding it to the herring after thawing.
Where can I find fresh herring?
Your local fish market or grocery store with a seafood counter is your best bet. Don’t hesitate to ask the fishmonger for advice on selecting the freshest herring.
 Pickled Herring in a Jar
 Serving Pickled Herring
There you have it! Pickling your own herring at home is an achievable and rewarding culinary endeavor. So, gather your ingredients, follow these simple steps, and enjoy the taste of tradition with every bite!
For more culinary adventures and inspiration, explore our website. You might enjoy learning How to Make Tunnbrödsrulle – a delightful Swedish wrap that pairs well with pickled herring or discovering a refreshing traditional beverage like Gotlandsdricka. We’d love to hear about your pickling experiences! Share your thoughts, tips, and recipe variations in the comments below.
