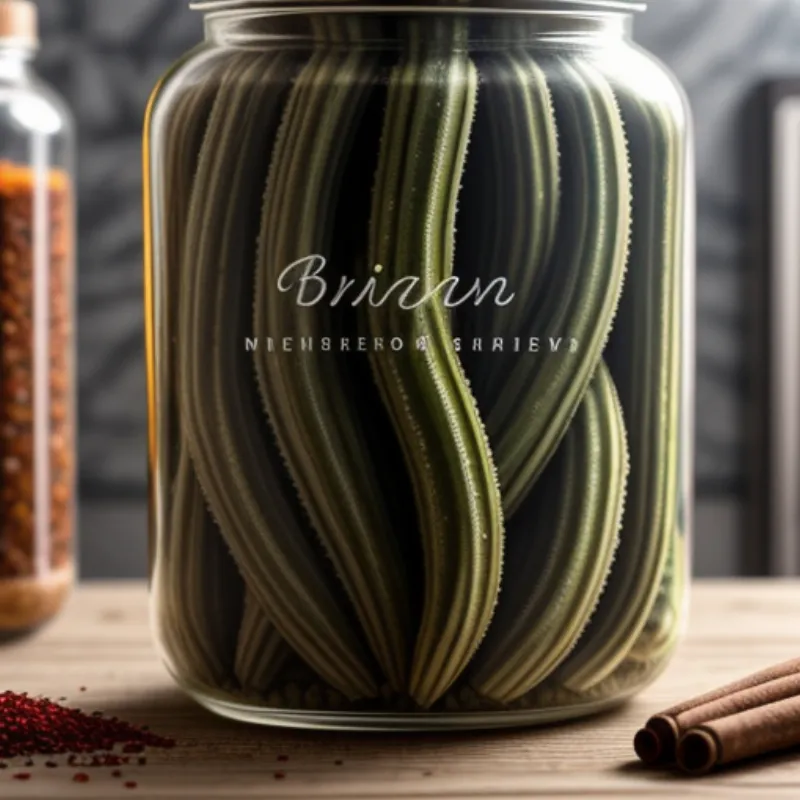
Pickled okra is a Southern staple, known for its tangy flavor and satisfying crunch. It’s a fantastic way to preserve a summer bounty of okra, and it makes a delightful addition to any meal. Whether you enjoy it as a zesty snack, a crunchy side dish, or a flavorful topping for burgers and salads, pickled okra is sure to tantalize your taste buds.
Why You’ll Love Pickled Okra
- Unique Flavor: Pickled okra has a tangy, slightly sour taste that’s both refreshing and addictive.
- Versatile Ingredient: Enjoy it on its own, add it to cheeseboards, or use it to elevate sandwiches, salads, and Bloody Marys.
- Easy to Make: This recipe is simple and straightforward, perfect for both beginner and seasoned picklers.
Ingredients You’ll Need
- 1 pound fresh okra, washed and stems trimmed
- 1 cup white vinegar (5% acidity)
- 1 cup water
- 2 tablespoons kosher salt
- 2 tablespoons sugar
- 1 tablespoon mustard seeds
- 1 teaspoon dill seeds
- 1 teaspoon black peppercorns
- 1 teaspoon red pepper flakes (optional, for added heat)
- 4-5 cloves garlic, peeled and smashed
- Fresh dill sprigs (optional, for garnish)
Equipment for Pickling
- 2 (1-pint) glass jars with lids
- Small saucepan
- Measuring cups and spoons
- Slotted spoon or jar lifter
Step-by-Step Pickling Guide
-
Prepare the Jars: Wash the jars and lids in hot, soapy water and rinse thoroughly. You can sterilize them by boiling them in water for 10 minutes, but it’s not necessary for this recipe as long as they are very clean.
-
Prepare the Brine: Combine the vinegar, water, salt, and sugar in the saucepan. Bring the mixture to a boil over medium heat, stirring occasionally until the salt and sugar dissolve completely.
-
Pack the Jars: Divide the mustard seeds, dill seeds, peppercorns, red pepper flakes (if using), and garlic cloves evenly between the two jars. Then, tightly pack the okra pods into the jars, leaving about ½ inch of headspace at the top.
 Packing Okra into Jars
-
Pour the Brine: Carefully pour the hot brine over the okra in the jars, leaving ½ inch of headspace. Gently tap the jars on the counter to release any trapped air bubbles.
-
Seal and Store: Wipe the rims of the jars with a clean, damp cloth to remove any spills. Place the lids on the jars and tighten them securely. Allow the jars to cool completely at room temperature before transferring them to the refrigerator.
Tips for the Best Pickled Okra
- Okra Selection: Use fresh, young okra pods for the best texture. Smaller pods tend to be more tender.
- Flavor Variations: Get creative with the spices! Add a pinch of coriander seeds, celery seeds, or even a few slices of jalapeño for a spicier kick.
- Patience is Key: Allow the pickled okra to sit in the refrigerator for at least 24 hours before enjoying. The flavors will continue to develop over time.
Enjoy Your Homemade Pickled Okra
Your delicious pickled okra is ready to enjoy! Serve it alongside your favorite Southern dishes, add it to charcuterie boards for a tangy bite, or simply savor it straight from the jar.
“Pickled okra is a fantastic way to preserve summer’s bounty,” says renowned chef and pickling enthusiast, [Insert Fictional Chef Name]. “It’s a versatile ingredient that adds a burst of flavor and a delightful crunch to any meal.”
For another Southern classic, check out our recipe for How to Make Fried Green Tomatoes.
We’d love to hear about your pickling adventures! Share your thoughts, questions, and photos in the comments below. Happy pickling!
