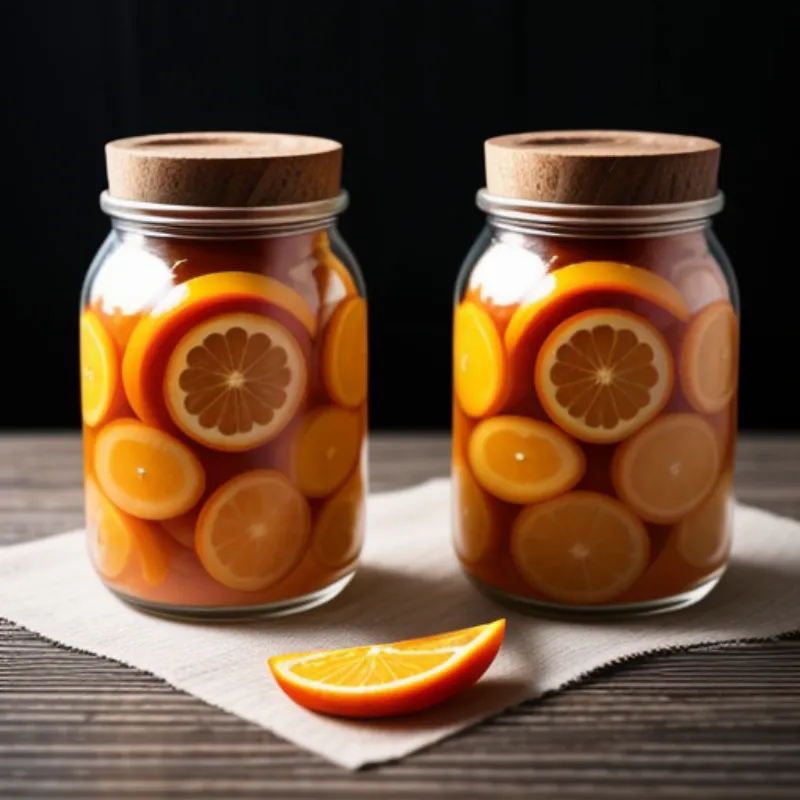
Pickled oranges? Yes, you read that right! This unique treat will surprise you with its delightful balance of sweet, tangy, and slightly bitter notes. If you’re tired of the same old pickles and want to add a touch of exotic flair to your meals, then pickled oranges are a must-try!
Imagine biting into a slice of juicy orange, infused with warming spices and a refreshing vinegary tang. They’re incredibly versatile – use them to brighten up salads, sandwiches, or cheese boards. Or, enjoy them on their own as a zesty snack.
Gathering Your Ingredients
Here’s what you’ll need to create a batch of these sunshine-filled pickles:
- 1 pound navel oranges (about 3 medium)
- 1 cup white vinegar
- 1/2 cup water
- 1/2 cup granulated sugar
- 1 tablespoon kosher salt
- 1 teaspoon black peppercorns
- 1/2 teaspoon mustard seeds
- 3-4 bay leaves
- 1/4 teaspoon red pepper flakes (optional, for a touch of heat)
Tips:
- Navel oranges are recommended for their sweetness and easy-to-peel skin.
- Feel free to adjust the sugar to your liking, depending on your preferred level of sweetness.
Tools of the Trade
Before you begin, gather your trusty kitchen companions:
- Sharp knife and cutting board
- 2 (1-pint) canning jars with lids and rings
- Large saucepan
- Small saucepan (for sterilizing lids)
- Jar lifter or tongs
- Clean kitchen towel
The Art of Pickling Oranges
Ready to embark on this citrusy adventure? Let’s get pickling!
-
Prepare the Oranges: Wash and dry the oranges thoroughly. Using a sharp knife, slice them about 1/4-inch thick. Discard the end pieces.
-
Create the Brine: Combine the vinegar, water, sugar, salt, peppercorns, mustard seeds, bay leaves, and red pepper flakes (if using) in a large saucepan. Bring the mixture to a boil over medium heat, stirring constantly until the sugar and salt dissolve.
-
Sterilize Jars and Lids: While the brine simmers, sterilize your jars and lids. Fill a small saucepan with water and bring it to a boil. Carefully submerge the jars and lids in the boiling water for at least 10 minutes.
-
Pack the Oranges: Remove the sterilized jars from the boiling water and carefully place the orange slices inside, leaving about 1/2-inch of headspace at the top.
-
Pour the Brine: Ladle the hot brine over the oranges, ensuring they are completely submerged and leaving that 1/2-inch headspace.
-
Seal the Deal: Wipe the rims of the jars with a clean, damp towel to remove any spills. Place the sterilized lids on the jars and tighten the rings until they are fingertip tight.
-
The Waiting Game: Allow the jars to cool completely at room temperature. As they cool, you’ll hear a satisfying “pop” as the jars seal.
-
Patience is a Virtue: Store the jars in a cool, dark place for at least 1 week before enjoying. This allows the flavors to fully develop and meld together.
 Pickled Oranges in Jars
Secrets to Pickling Perfection
-
Timing is Key: While you can enjoy your pickled oranges after a week, they become even more flavorful with time. For the best taste, allow them to pickle for at least 2-3 weeks.
-
Get Creative with Spices: Feel free to experiment with different spice combinations to create your own unique flavor profile. Star anise, cinnamon sticks, or cloves would be delicious additions.
-
Don’t be Afraid to Experiment: Pickling is an art, not a science! Feel free to try pickling other citrus fruits, such as lemons or grapefruits, using a similar method.
Serving Suggestions
Ready to enjoy the fruits (or should we say, pickles) of your labor? Here are a few ideas to get you started:
- Salads: Add a pop of color and tang to your salads. They pair exceptionally well with bitter greens like arugula or frisée.
- Sandwiches: Elevate your sandwiches with a layer of pickled oranges. Their sweet and tangy flavor complements grilled chicken or roasted vegetables beautifully.
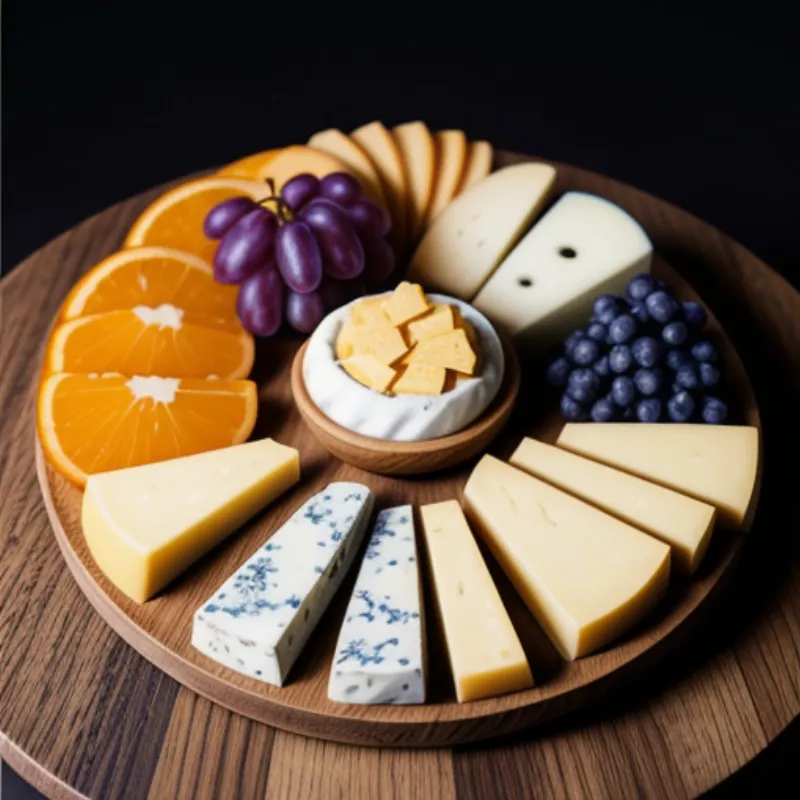
- Cheese Boards: The perfect accompaniment to a cheese board! Their bright acidity cuts through the richness of cheese and pairs well with crackers and nuts.
 Pickled Oranges on a Cheese Board
FAQs About Pickled Oranges
Q: How long do pickled oranges last?
A: Pickled oranges can be stored in the refrigerator for up to 2 months. As “Chef Emily” from Culinary Institute of America once told me, “The high acidity of the brine acts as a natural preservative, ensuring their longevity.”
Q: Can I reuse the brine?
A: While you can reuse the brine once more, it’s best to make a fresh batch for subsequent pickling adventures.
A Flavorful Adventure Awaits!
Pickling oranges is a fun and rewarding way to add a unique twist to your culinary repertoire. With its simplicity and endless possibilities, this recipe is sure to become a household favorite.
So, gather your oranges and spices, and embark on this citrusy pickling adventure! Don’t forget to share your creations and experiences with us in the comments below.
Want to explore more pickling and fermenting recipes? Check out our guides on How to Make Cantaloupe Salad and How to Make Pickled Bell Peppers. Happy pickling!
