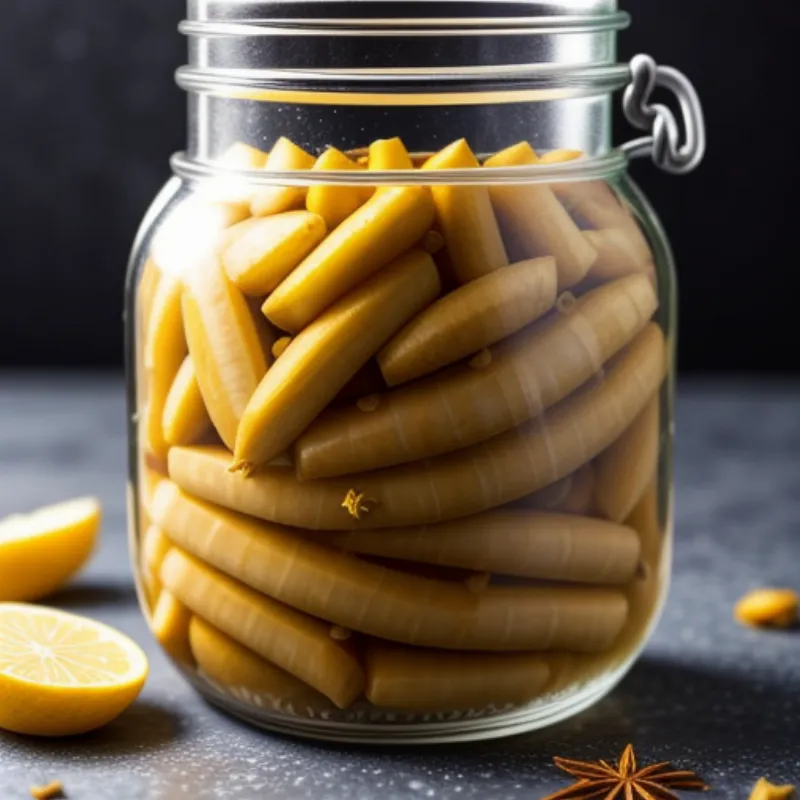
Pickled parsnips? Yes, you read that right! Before you click away thinking it’s too strange, let me assure you, these tangy, slightly sweet treats are incredibly addictive. They might just become your new favorite way to enjoy this often-overlooked root vegetable.
Unlocking the Flavor of Pickled Parsnips
Parsnips, with their earthy sweetness, take on a whole new personality when pickled. The brine, infused with warming spices like star anise and mustard seeds, creates a symphony of flavors that dance on your tongue. Trust me, once you try them, you’ll be wondering why you haven’t pickled parsnips before!
Gathering Your Pickling Provisions
Ingredients:
- 1 pound parsnips, peeled and sliced into 1/2-inch thick rounds
- 1 cup apple cider vinegar
- 1/2 cup water
- 1/4 cup honey (or sweetener of choice, adjust to taste)
- 1 tablespoon pickling salt
- 2 cloves garlic, lightly smashed
- 1 teaspoon black peppercorns
- 1/2 teaspoon mustard seeds
- 1 star anise
Equipment:
- Large saucepan
- 16-ounce glass jar with lid
The Pickling Process: A Step-by-Step Guide
-
Prepare the Parsnips: Wash, peel, and slice your parsnips. A mandoline slicer can be your best friend here, creating uniformly thin slices that pickle evenly.
-
Craft the Brine: Combine the vinegar, water, honey, salt, garlic, peppercorns, mustard seeds, and star anise in your saucepan. Bring this mixture to a boil over medium heat, stirring occasionally to dissolve the honey and salt.
-
The Pickling Bath: Once your brine reaches a rolling boil, add the sliced parsnips. Reduce the heat to low and simmer for about 5 minutes, or until the parsnips are slightly tender but still retain a bit of crunch.
-
Jarring the Goodness: Carefully pack the parsnips into your sterilized jar, leaving about an inch of headspace at the top. Pour the hot brine over the parsnips, ensuring they are fully submerged.
-
Seal and Store: Seal the jar tightly with the lid and allow it to cool completely at room temperature.
 Pickled Parsnips in Jar
Tips for Pickling Perfection
- Taste and Adjust: Before jarring, taste your brine and adjust the sweetness or tanginess to your liking.
- Pickling Spice Blend: Feel free to experiment with different pickling spice combinations. Dill seeds, coriander seeds, and red pepper flakes all add their unique twist.
- Patience is Key: Allow your pickled parsnips to sit for at least 24 hours before digging in. The flavors will continue to develop over time, reaching peak deliciousness in about a week.
Serving Up Your Pickled Parsnips
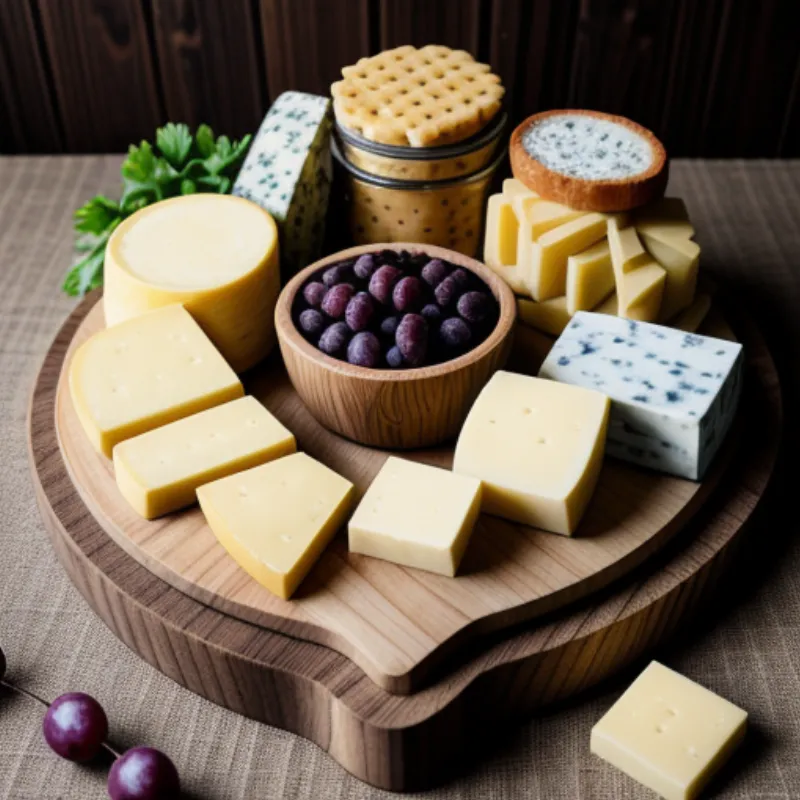
These tangy treats are incredibly versatile. Enjoy them straight from the jar as a crunchy snack, add them to cheese boards for a burst of flavor, or chop them up and sprinkle them over salads for a bright, tangy bite.
 Pickled Parsnips on Cheese Board
Parsnip Pickling FAQs
Q: Can I reuse the pickling brine?
A: While tempting, it’s best to make a fresh batch of brine for each pickling session. The flavor and acidity of the brine diminish with each use.
Q: How long do pickled parsnips last?
A: If stored properly in the refrigerator, your pickled parsnips can last for several months.
The Joys of Homemade Pickled Parsnips
There’s something truly satisfying about creating your own pickled delights. So, gather your ingredients, put on your pickling hat, and give this unique recipe a try. You might just discover a new family favorite! Share your pickling adventures and photos in the comments below – we’d love to see your creations!
