Pickled peppers are a vibrant and flavorful addition to any meal. These tangy treats add a burst of flavor and crunch to sandwiches, charcuterie boards, or simply enjoyed as a zesty snack. The best part? Pickling peppers at home is easier than you might think! This guide will walk you through the process, empowering you to create your own jar of pickled perfection.
Gathering Your Ingredients and Equipment
Ingredients for Pickled Pepper Success
- 1 pound assorted peppers (such as jalapeños, serranos, or banana peppers)
- 1 cup distilled white vinegar
- 1 cup water
- 2 tablespoons kosher salt
- 2 tablespoons sugar
- Optional flavor enhancers: 2 cloves garlic (peeled and smashed), 1 teaspoon mustard seeds, 1 teaspoon black peppercorns, fresh dill sprigs
Tools of the Pickling Trade
- Large pot
- Jar grabber
- Clean glass jars with lids
- Cutting board
- Sharp knife
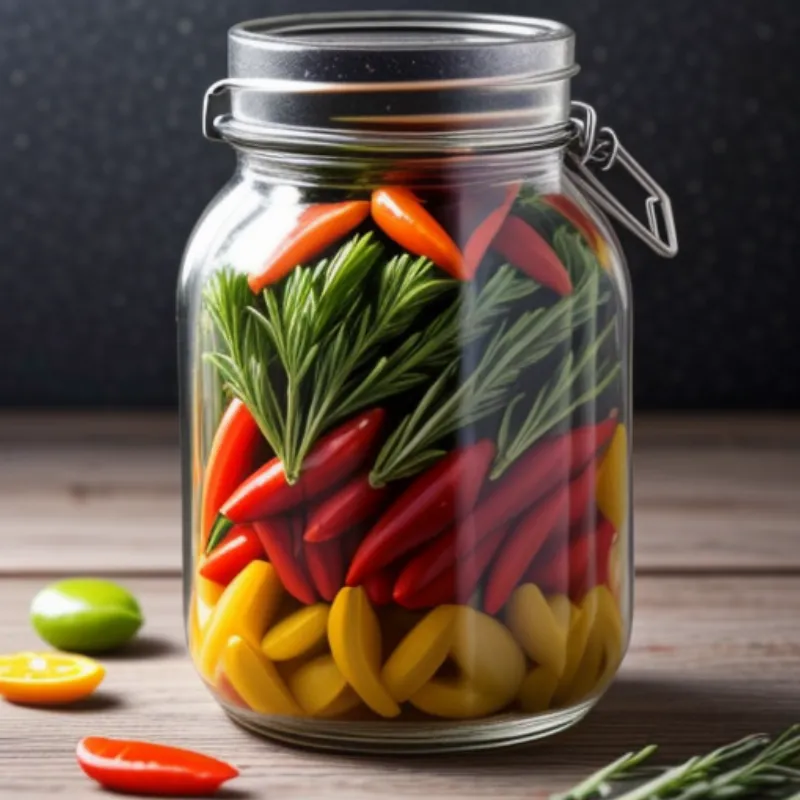
 Pickled Peppers in a Jar
A Step-by-Step Guide to Pickled Pepper Perfection
Step 1: Preparing Your Peppers
- Start by washing your peppers thoroughly and patting them dry.
- Using a sharp knife and cutting board, slice your peppers into rings or leave them whole, depending on your preference. For a milder flavor, remove the seeds and membranes.
Expert Tip from Chef Emily Carter: “Leaving the seeds and membranes intact will result in a spicier pickled pepper. Adjust according to your heat tolerance!”
Step 2: Creating the Brine
- In a large pot, combine the vinegar, water, salt, and sugar.
- Bring this mixture to a boil over medium-high heat, stirring until the salt and sugar completely dissolve.
Step 3: Packing Your Jars
- While the brine simmers, sterilize your jars and lids. You can do this by boiling them in a large pot for 10 minutes or by running them through a hot cycle in your dishwasher.
- Pack your sliced or whole peppers tightly into the sterilized jars, leaving about an inch of space at the top.
- Add your desired flavor enhancers to each jar. Garlic, mustard seeds, peppercorns, and fresh dill all create delightful flavor combinations.
Step 4: The Pickling Process
- Carefully pour the hot brine over the peppers, ensuring they are completely submerged.
- Leave about ½ inch of headspace at the top of the jar.
- Wipe the rims of the jars to catch any spilled brine, as this can hinder sealing.
- Secure the lids onto the jars, tightening them firmly but not overly so.
 Jars of Pickled Peppers Cooling
Step 5: The Waiting Game
- Allow the jars of pickled peppers to cool to room temperature.
- As they cool, you should hear a satisfying “pop” sound as the jars seal.
- Once cooled, store your pickled peppers in the refrigerator for at least 24 hours before enjoying. This allows the flavors to fully develop.
Expert Tip from Chef Emily Carter: “Pickled peppers will last for several months in the refrigerator. Over time, the flavors will continue to meld and intensify.”
Enjoying Your Pickled Delights
Pickled peppers are incredibly versatile. Add them to sandwiches for a spicy kick, serve them alongside grilled meats and cheeses, or chop them into salads for an extra burst of flavor. You can even use the leftover brine to add a tangy twist to marinades and dressings.
For more pickling and fermenting adventures, be sure to explore our other recipes:
- How to Make Pickled Bell Peppers
- How to Make Pickled Cherry Peppers
- How to Make Pickled Banana Peppers
Pickling is a rewarding and delicious way to preserve seasonal produce while adding exciting new flavors to your culinary repertoire. So gather your ingredients, grab a jar, and embark on your pickling journey today!
