Pickled ramps are a delicious and easy way to preserve one of spring’s most prized ingredients. These pungent wild leeks have a unique garlicky-onion flavor that adds a punch to sandwiches, salads, and even cocktails. Pickling ramps not only extends their short season but also transforms them into a tangy, crunchy treat that will have you hooked from the first bite.
Gather Your Ingredients and Equipment
For this recipe, you will need:
- 1 bunch of fresh ramps (about 1 cup, cleaned and trimmed)
- 1 cup apple cider vinegar
- 1/2 cup water
- 2 tablespoons sugar
- 1 tablespoon kosher salt
- 1 teaspoon black peppercorns
- 1/2 teaspoon red pepper flakes (optional, for extra heat)
Equipment:
- One or two clean glass jars with lids (size will depend on the size of your ramp bulbs)
- Small saucepan
- Mixing bowl
- Cutting board
- Sharp knife
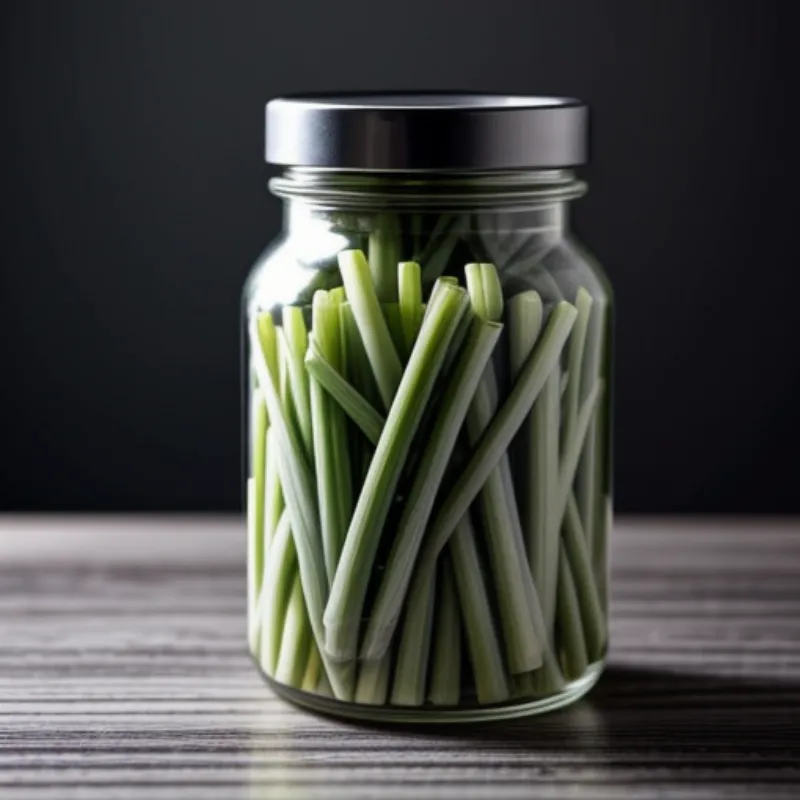
 Pickled Ramps in a Jar
Let’s Pickle those Ramps!
Follow these simple steps to make your own pickled ramps:
- Prep the ramps: Start by cleaning your ramps thoroughly. Rinse them under cold water, gently scrubbing away any dirt. Trim off the root ends and any tough, woody parts of the stems. If you prefer a milder flavor, you can separate the bulbs from the greens.
- Prepare the brine: In a small saucepan, combine the apple cider vinegar, water, sugar, salt, peppercorns, and red pepper flakes (if using). Bring the mixture to a boil over medium heat, stirring occasionally to dissolve the sugar and salt. Once the brine comes to a boil, remove it from the heat and let it cool slightly.
- Pack the jars: While the brine is cooling, pack your ramps tightly into the sterilized jars, leaving about an inch of space at the top.
- Pour in the brine: Carefully pour the warm brine over the ramps, ensuring they are completely submerged. Leave about ½ inch of headspace at the top of the jar.
- Seal and store: Wipe the rims of the jars clean, seal tightly with the lids, and allow them to cool completely at room temperature. Once cooled, transfer the jars to the refrigerator for at least 24 hours before enjoying.
Tips for Pickling Success:
- For a milder flavor, blanch the ramps in boiling water for 30 seconds before pickling.
- Feel free to experiment with different spices and herbs to customize your pickled ramps. Dill, coriander seeds, and mustard seeds are all delicious additions.
- Pickled ramps can be stored in the refrigerator for up to 2 months.
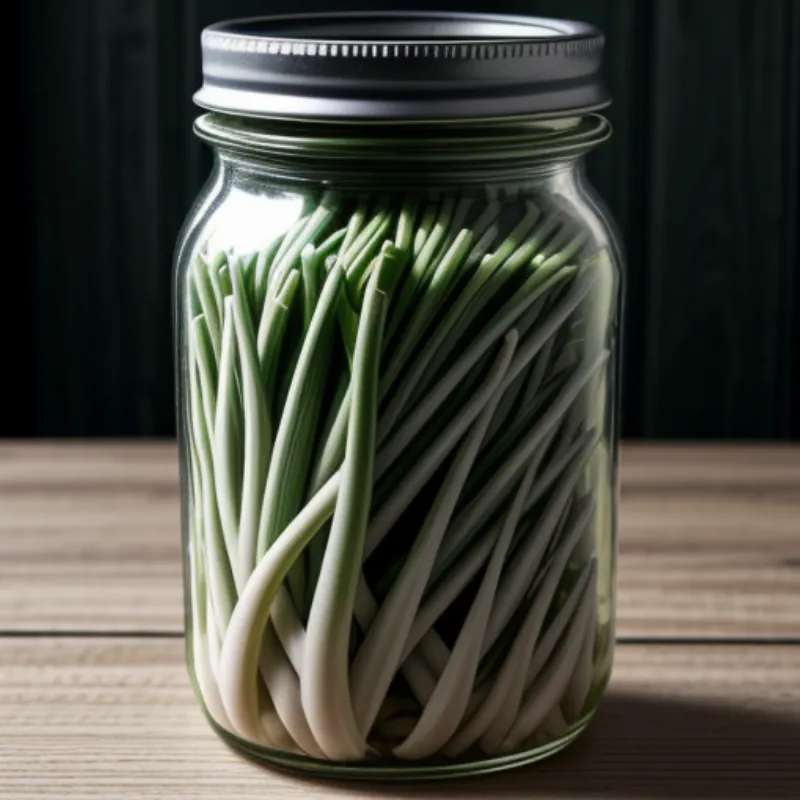
 Close Up of Pickled Ramps
Serving and Enjoying Your Pickled Ramps:
Pickled ramps are incredibly versatile and can be enjoyed in numerous ways. Here are a few ideas:
- Add a tangy crunch to sandwiches and burgers.
- Chop them up and sprinkle them over salads.
- Use them as a garnish for deviled eggs or potato salad.
- Serve them alongside cheese and charcuterie boards.
- Muddle them in cocktails for a unique, savory twist.
“Pickled ramps are a fantastic way to add a burst of flavor and texture to your dishes,” says renowned chef and food writer, Alice Waters. “Their unique flavor profile adds complexity and depth, while their acidity cuts through rich flavors beautifully.”
Explore the World of Pickled Delights!
Making pickled ramps is a rewarding experience that allows you to savor the flavors of spring all year round. So, gather your ingredients and embark on this culinary adventure. And remember, the world of pickling extends far beyond ramps. Try your hand at pickling other seasonal vegetables for a delicious and satisfying way to preserve the bounty of nature.
