Pickled shallots? They might sound fancy, but trust me, they’re incredibly easy to make at home! These tangy, crunchy treats are a fantastic addition to countless dishes, adding a burst of flavor and a touch of elegance. Whether you’re a seasoned pickling pro or a curious beginner, this guide will walk you through the process step-by-step. Get ready to impress your taste buds and elevate your culinary creations with the simple art of pickling shallots!
Why You’ll Love Pickled Shallots
Pickled shallots offer a unique flavor profile that’s both tangy and slightly sweet. They add a delightful crunch to sandwiches, burgers, salads, and even cheeseboards. Plus, pickling is a great way to preserve shallots, so you can enjoy their vibrant flavor long after their peak season.
As a seasoned pickler, I can attest to the joy of transforming simple ingredients like shallots into something truly special. There’s a certain magic that happens when you combine vinegar, spices, and time, resulting in a condiment that’s bursting with flavor.
Gathering Your Ingredients
For this recipe, we’ll be using a classic combination of white vinegar, sugar, and spices to create a balanced and versatile pickling brine. Here’s what you’ll need:
Ingredients:
- 1 cup (240 ml) white vinegar (5% acidity)
- 1/2 cup (120 ml) water
- 1/4 cup (50 g) granulated sugar
- 1 tablespoon kosher salt
- 1 teaspoon black peppercorns
- 1/2 teaspoon mustard seeds
- 1/2 teaspoon coriander seeds
- 2 bay leaves
- 1 pound (454 g) shallots, peeled and thinly sliced
Optional Additions:
- 1/2 teaspoon red pepper flakes (for a touch of heat)
- A few sprigs of fresh thyme or dill (for added aroma)
Note: You can adjust the spices to your liking. Feel free to experiment with different combinations to create your own signature pickled shallot flavor!
Tools You’ll Need
Before we dive into the pickling process, make sure you have these essential tools on hand:
- A cutting board
- A sharp knife
- A saucepan
- A jar (or jars) with lids
Let’s Get Pickling!
Now, let’s transform those shallots into tangy, crunchy delights:
Instructions:
-
Prepare the Brine: In a saucepan, combine the vinegar, water, sugar, salt, peppercorns, mustard seeds, coriander seeds, and bay leaves. Bring the mixture to a boil over medium heat, stirring occasionally until the sugar and salt dissolve completely.
-
Pack the Shallots: While the brine is heating, pack the sliced shallots tightly into your sterilized jar(s), leaving about 1/2 inch of space at the top.
-
Pour the Brine: Carefully pour the hot brine over the shallots, ensuring they’re fully submerged. If you’re adding any optional ingredients, like red pepper flakes or herbs, now’s the time to toss them in!
-
Seal and Cool: Seal the jar(s) tightly with lids and let them cool to room temperature. Once cooled, store the pickled shallots in the refrigerator for at least 24 hours to allow the flavors to meld.
Pro Tip: For a crispier texture, add a grape leaf or a small piece of horseradish root to the jar before sealing.
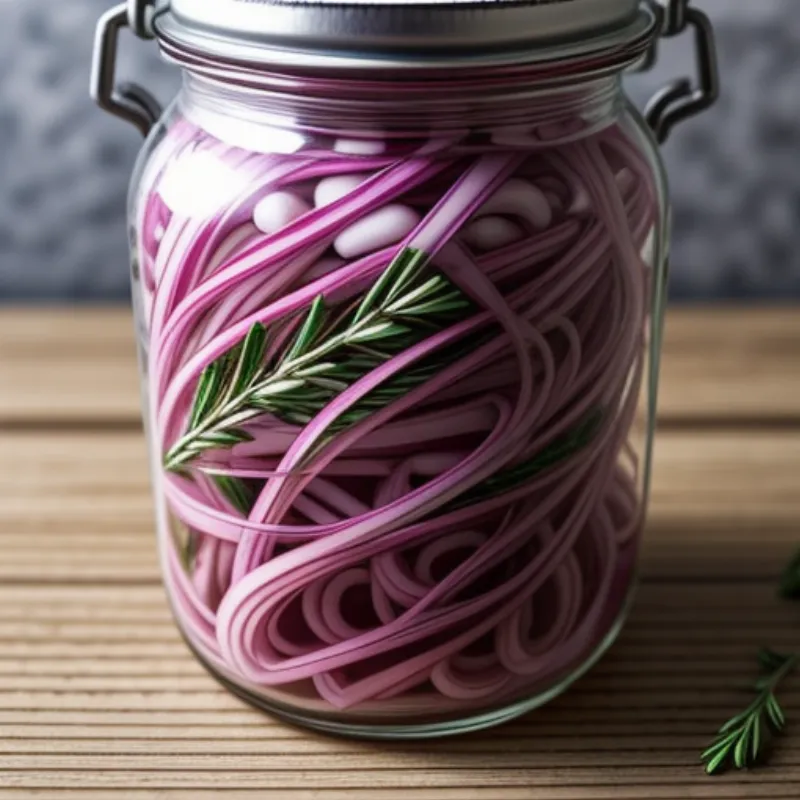
 Pickled Shallots in a Jar
Enjoy Your Homemade Pickled Shallots
Congratulations, you’ve just made pickled shallots! These tangy treats will last for several weeks in the refrigerator.
Here are a few ideas to get you started:
- Elevate Your Sandwiches: Add a generous helping of pickled shallots to your favorite sandwiches for a burst of flavor and acidity. They pair exceptionally well with grilled cheese, pulled pork, and roasted vegetables.
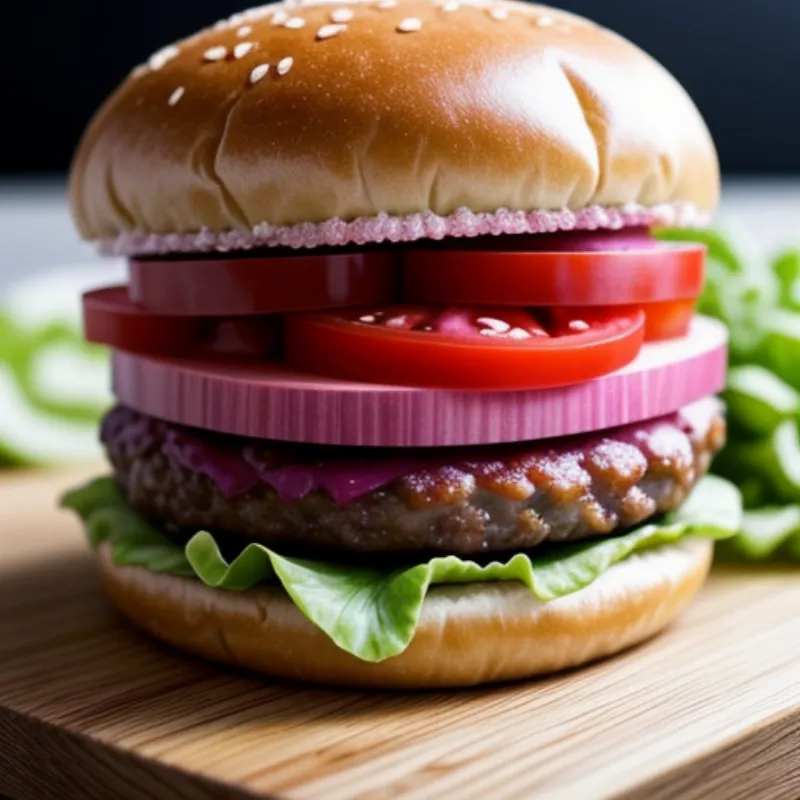
- Top Your Burgers: Ditch the raw onions and opt for a topping of tangy pickled shallots on your next burger creation. They add a sophisticated touch and complement the savory flavors beautifully.
- Brighten Your Salads: Toss a few pickled shallots into your salads for a zesty crunch. They add complexity and depth to both green salads and grain-based salads.
- Create a Stunning Cheeseboard: Impress your guests by including a small dish of pickled shallots on your next cheeseboard. They cut through the richness of the cheeses and add a delightful textural element.
 Pickled Shallots on a Burger
Pickled Shallot FAQs
Q: Can I use red shallots instead of regular shallots?
A: Absolutely! Red shallots work perfectly fine in this recipe. They will impart a slightly milder flavor and a beautiful rosy hue to your pickled onions.
Q: How long do pickled shallots last?
A: Pickled shallots can be stored in the refrigerator for up to 2 months. Make sure to keep them in an airtight container to preserve their flavor and texture.
Q: Can I reuse the pickling brine?
A: While you can reuse the brine once more, the flavor will be less potent. It’s best to use it within a week and strain out any solids before pickling a fresh batch of shallots.
Explore More Culinary Adventures
Ready to dive deeper into the world of flavor? Check out these other delicious recipes from Family Cuisine:
- How to Make Acar Dressing Salad: Discover the vibrant flavors of Indonesian cuisine with this easy-to-make acar dressing.
- How to Make Bumbu Iga Bakar: Spice up your grilling game with this authentic Indonesian marinade for grilled ribs.
- How to Make Acar Sauce: Learn to make a versatile and flavorful acar sauce that complements a variety of dishes.
Now that you’re a pickled shallot expert, it’s time to get creative in the kitchen! Don’t be afraid to experiment with different flavor combinations and enjoy the endless possibilities that pickling has to offer. Happy pickling!
