Pickled soursop? Yes, you read that right! While soursop is often enjoyed fresh or in sweet treats, pickling this unique tropical fruit brings out a whole new dimension of flavor. Imagine a delightful crunch followed by a burst of tangy, slightly sweet, and subtly tart notes. If your curiosity is piqued, then join me, your guide to the wonderful world of homemade pickles and ferments, as we explore how to make this exotic pickle that will tantalize your taste buds.
Gathering Your Ingredients for Pickled Soursop
Let’s gather the stars of our culinary show:
- 1 large ripe soursop: Choose one that yields to gentle pressure, indicating ripeness.
- 1 cup white vinegar: Distilled white vinegar works best, but you can experiment with apple cider vinegar for a mellower flavor.
- 1/2 cup water: We’ll use this to dilute the vinegar for a balanced pickling brine.
- 1/4 cup sugar: Adjust to your liking, but remember, we’re aiming for a tangy-sweet balance.
- 1 tablespoon salt: Kosher salt or sea salt works best for pickling.
- Optional spices: Get creative! A few slices of ginger, a cinnamon stick, or a couple of star anise pods can add a warm, aromatic depth.
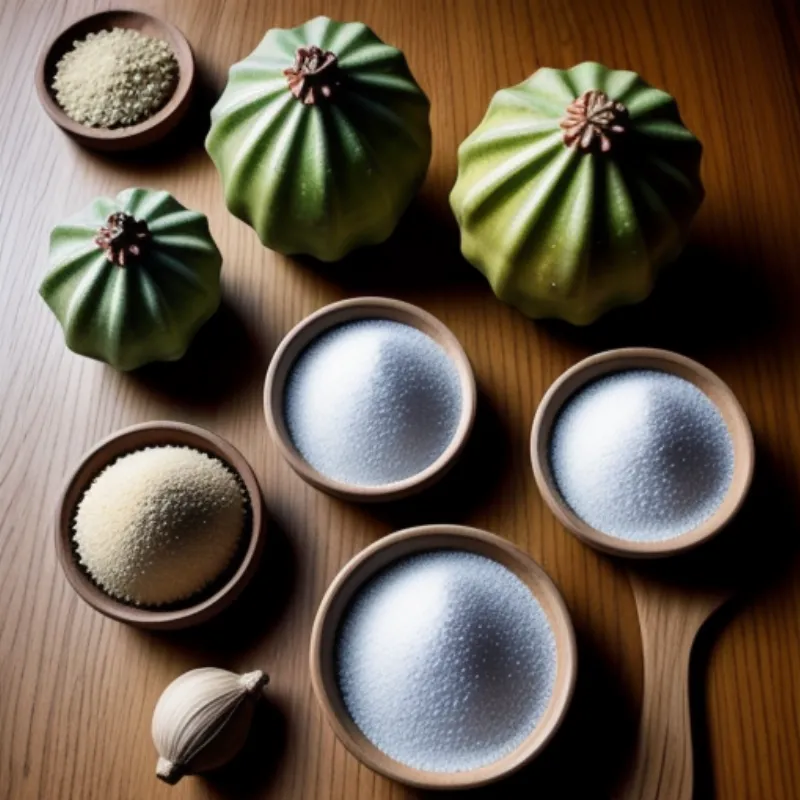
 Pickled Soursop Ingredients
Tools for Pickling Soursop
You won’t need any fancy equipment for this recipe. Here’s what you’ll need:
- A large bowl: This is where we’ll prepare the soursop.
- A small saucepan: We’ll use this to simmer our pickling brine.
- A sharp knife: For cutting the soursop.
- A cutting board: To protect your countertop.
- A jar: Choose a sterilized glass jar with a tight-fitting lid.
Step-by-Step Guide to Pickled Soursop Heaven
-
Prepare the soursop: Slice the soursop lengthwise and scoop out the white flesh, discarding the seeds and the core. Cut the flesh into bite-sized pieces or your preferred shape.
-
Craft the brine: Combine the vinegar, water, sugar, and salt in your saucepan. Bring it to a simmer over medium heat, stirring until the sugar and salt dissolve completely. Feel free to add your chosen spices at this stage.
-
Layer the soursop: Pack the soursop pieces snugly into your sterilized jar, leaving about an inch of headspace at the top.
-
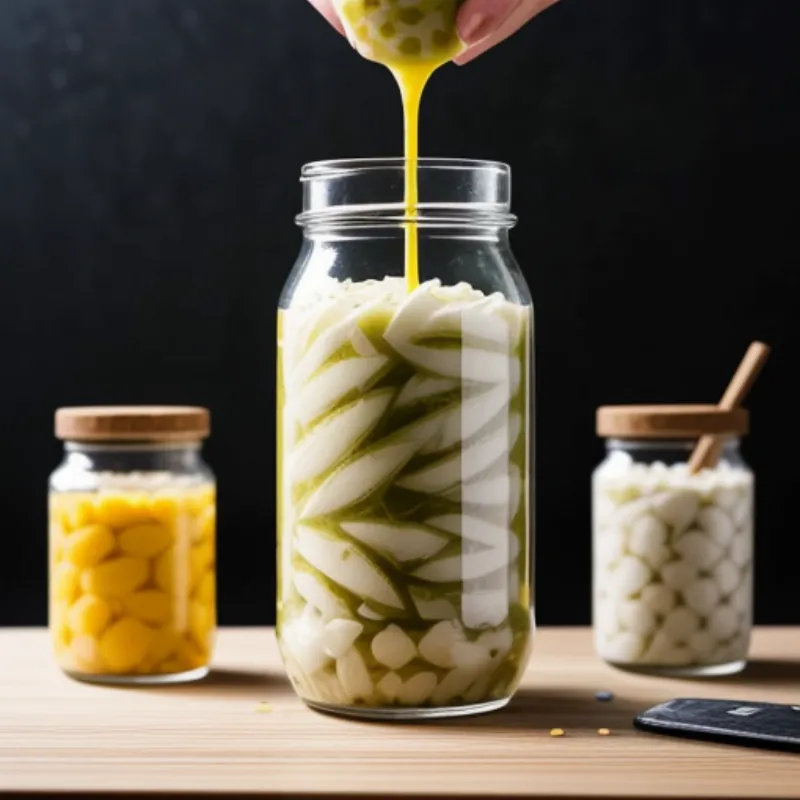
Pour in the brine: Carefully pour the hot brine over the soursop, ensuring the fruit is fully submerged. Add the spices from the brine to the jar.
-
Seal and wait: Seal the jar tightly with the lid and allow it to cool to room temperature.
-
Time for magic: Refrigerate the jar for at least 24 hours to allow the flavors to meld. The pickled soursop will last for several weeks in the refrigerator.
 Soursop Pickling Process
Tips for Pickling Perfection
-
Taste as you go: Brine too tart? Add a touch more sugar. Craving more heat? Add a pinch of red pepper flakes. Pickling is an art, and you are the artist!
-
Experiment with spices: Don’t be afraid to venture beyond the suggestions. Cardamom, cloves, and even black peppercorns can lend intriguing flavors.
-
Patience is a virtue: While the anticipation might be strong, resist the urge to dig in before 24 hours. The flavors need time to fully develop.
Serving Your Pickled Soursop Masterpiece
Now, for the best part – enjoying the fruits of your labor! Pickled soursop makes a wonderfully unique condiment:
- Alongside grilled fish or chicken: Its tangy zest cuts through the richness beautifully.
- Atop salads: It adds a zesty crunch that elevates any salad.
- As a surprising appetizer: Serve small portions alongside cheese and crackers for a burst of flavor.
 Pickled Soursop Serving Ideas
So there you have it! Pickling soursop might seem unusual, but it’s a testament to the versatility of this amazing fruit. With a bit of time and these easy steps, you can create a jar of flavor that will have everyone asking, “What’s your secret?” Go ahead, embrace your inner pickling pro, and let the tangy adventure begin!
