Pizzelle cookies, those thin, crispy, and delicately patterned wafers, are a beloved Italian tradition. With their irresistible aroma and endless flavor possibilities, pizzelle cookies are perfect for any occasion, from casual gatherings to elegant celebrations.
Whether you’re a seasoned baker or a curious beginner, this comprehensive guide will equip you with all the knowledge and confidence to create your own batch of delectable pizzelle cookies. Get ready to impress your loved ones with these delightful treats that are as beautiful as they are delicious!
Gather Your Ingredients
Before we embark on our pizzelle-making adventure, let’s gather all the necessary ingredients. This recipe yields approximately 30-35 cookies, depending on the size of your pizzelle iron.
- 3 large eggs
- 1 cup granulated sugar
- 1/2 cup unsalted butter, melted and cooled
- 1 teaspoon vanilla extract
- 2 cups all-purpose flour
- 2 teaspoons baking powder
- 1/4 teaspoon salt
- Optional flavor enhancers: 1 tablespoon anise extract, 1 teaspoon lemon zest, or 1/2 teaspoon almond extract
Equip Yourself with the Right Tools
To achieve pizzelle perfection, you’ll need a few essential tools:
- Pizzelle iron
- Mixing bowls
- Electric mixer
- Measuring cups and spoons
- Spatula or wooden spoon
- Cooling rack
Step-by-Step Instructions: Crafting Pizzelle Masterpieces
Now that you have your ingredients and tools ready, let’s dive into the step-by-step process of making pizzelle cookies:
1. Preparing the Batter
- In a large bowl, cream together the sugar and butter until light and fluffy. This step ensures a tender and melt-in-your-mouth texture.
- Beat in the eggs one at a time, mixing well after each addition. Incorporating the eggs gradually prevents the batter from curdling.
- Stir in the vanilla extract. Vanilla adds a warm, fragrant note to the cookies.
- In a separate bowl, whisk together the flour, baking powder, and salt. Combining dry ingredients separately ensures even distribution and prevents clumping.
- Gradually add the dry ingredients to the wet ingredients, mixing until just combined. Avoid overmixing, as it can develop gluten and result in tough cookies.
- If desired, stir in your preferred flavor enhancer. Anise extract imparts a licorice-like flavor, lemon zest adds a refreshing citrusy tang, and almond extract provides a subtle nutty note.
2. Cooking the Pizzelle Cookies
- Preheat your pizzelle iron according to the manufacturer’s instructions. Preheating ensures even cooking and beautiful browning.
- Once hot, brush the iron lightly with oil or spray with nonstick cooking spray. This step prevents sticking and ensures easy release.
- Pour a heaping tablespoon of batter onto the center of each pizzelle mold.
- Close the iron and cook for 30-60 seconds, or until golden brown and crispy. Cooking time may vary depending on your iron’s temperature and your desired level of crispness.
- Carefully remove the pizzelle cookies from the iron using a fork or tongs and transfer them to a wire rack to cool completely.
3. Tips for Pizzelle Perfection
- For extra-thin and crispy pizzelle cookies: Use less batter and cook for a shorter time.
- To prevent sticking: Make sure your pizzelle iron is properly heated and greased.
- Get creative with flavors: Experiment with different extracts, zests, or even cocoa powder to create your own unique flavor combinations.
- Shape your pizzelle cookies: While the cookies are still warm, you can mold them into cones, bowls, or cannoli shells using your hands or specialized molds.
- Storage: Once completely cooled, store pizzelle cookies in an airtight container at room temperature for up to 3 days or freeze for longer storage.
4. Pizzelle FAQs
Q: Can I make pizzelle cookies without a pizzelle iron?
A: While a pizzelle iron is the traditional tool for making these cookies, you can achieve a similar texture and flavor using a waffle iron.
Q: My pizzelle cookies are sticking to the iron. What am I doing wrong?
A: Ensure your iron is properly heated and greased. You can also try dusting the iron lightly with flour before adding the batter.
Q: Can I freeze pizzelle cookie dough?
A: Yes, you can freeze the dough for up to 3 months. Thaw overnight in the refrigerator before using.
Enjoy Your Crispy, Homemade Pizzelle Cookies
Pizzelle cookies are best enjoyed fresh out of the iron, when they are at their crispiest. Sprinkle them with powdered sugar, drizzle with melted chocolate, or sandwich them with your favorite fillings.
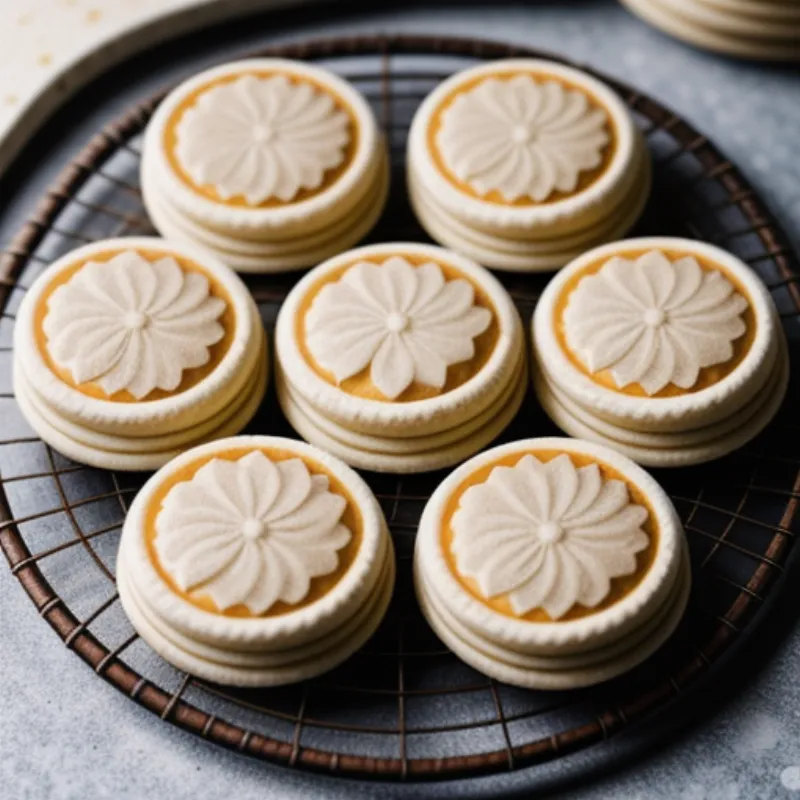
 Pizzelle cookies cooling on a wire rack
These delicate treats are perfect for accompanying a cup of coffee or tea, serving as a sweet ending to a meal, or gifting to friends and family.
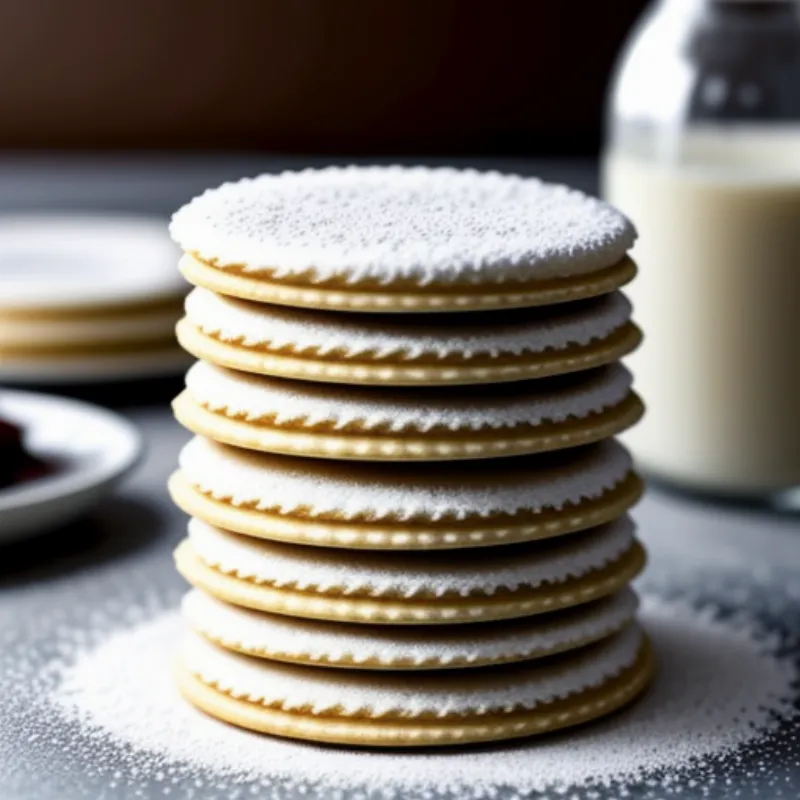
 Stacked pizzelle cookies dusted with powdered sugar
So why not gather your ingredients, preheat your pizzelle iron, and embark on a delightful baking adventure? With a little practice and a lot of love, you’ll be making perfect pizzelle cookies in no time!
