Podlipnik, a traditional Polish flatbread, is a culinary adventure waiting to happen in your kitchen. This simple yet satisfying bread, with its crispy edges and soft, chewy center, embodies the heart of Polish home baking. Imagine the aroma of freshly baked bread filling your home, inviting you to savor a taste of Polish heritage. In this guide, we’ll explore the art of making podlipnik, from understanding its humble origins to mastering the techniques that yield a perfectly golden-brown flatbread.
Unveiling the Secrets of Podlipnik
Podlipnik, meaning “under the stove” in Polish, hints at its traditional baking method on a hot stovetop. This rustic flatbread, often served alongside hearty soups and stews, is characterized by its simple ingredients and quick cooking time.
Gathering the Essentials for Your Podlipnik Journey
Ingredients:
- 2 cups all-purpose flour (You can substitute up to ½ cup with whole wheat flour for a nuttier flavor.)
- 1 teaspoon salt
- 1 teaspoon sugar (Optional, for a touch of sweetness)
- 1 cup warm water (Adjust slightly for desired dough consistency.)
- 2 tablespoons vegetable oil (Plus extra for greasing)
Tools:
- Large mixing bowl
- Rolling pin
- Stovetop or griddle
- Pastry brush (Optional, for oiling the dough)
Crafting Your Podlipnik Masterpiece: A Step-by-Step Guide
- Creating the Dough: In your mixing bowl, combine the flour, salt, and sugar (if using). Gradually add the warm water while stirring with a wooden spoon or your hand. Once the dough starts coming together, turn it out onto a lightly floured surface and knead for about 5-7 minutes, until smooth and elastic.
- Rest and Divide: Shape the dough into a ball, place it back in the bowl, cover with a damp cloth, and let it rest for 30 minutes. This allows the gluten to relax, resulting in a more pliable dough. After resting, divide the dough into 4-6 equal portions.
- Rolling into Rustic Rounds: Take one portion of dough and roll it out on a lightly floured surface into a thin circle, about 1/8 inch thick. The shape doesn’t need to be perfect; embrace the rustic charm!
- Cooking on the Stovetop: Heat a large skillet or griddle over medium heat. Lightly grease the surface with oil. Carefully place the rolled-out dough onto the hot pan. Cook for 2-3 minutes per side, until golden brown spots appear and the bread puffs up slightly.
- Embrace the Variations: While the podlipnik is cooking, you can experiment with flavors. Brush the top with melted butter, sprinkle with herbs like rosemary or thyme, or add a pinch of garlic powder for an extra savory kick.
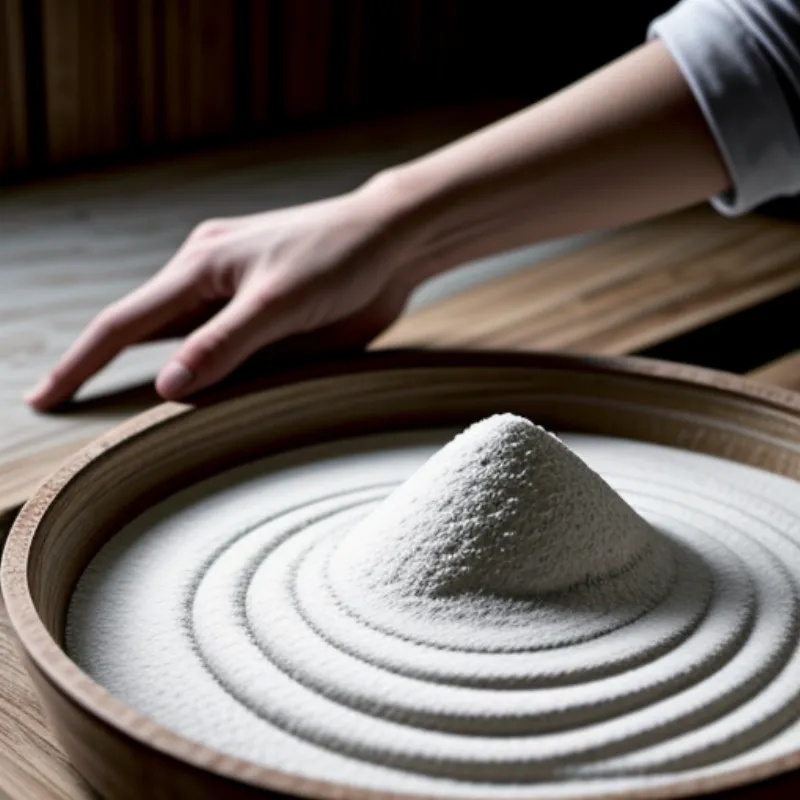
 Rolling Podlipnik Dough
Tips and Tricks from a Seasoned Baker
- Dough Consistency: The dough should be soft and slightly tacky but not overly sticky. Adjust the water amount as needed.
- Cooking Time: Adjust the cooking time depending on your stovetop heat. The key is to achieve those beautiful golden-brown spots, indicating a perfectly cooked podlipnik.
- Serving Suggestions: Enjoy podlipnik warm with a dollop of butter, sour cream, or your favorite toppings. It pairs wonderfully with soups, stews, or as a side for dipping into flavorful sauces.
Frequently Asked Questions about Podlipnik
Q: Can I make podlipnik ahead of time?
A: Absolutely! You can make the dough ahead of time and store it in the refrigerator for up to 2 days. Let it come to room temperature before rolling and cooking.
Q: My podlipnik turned out a bit tough. What went wrong?
A: Over-kneading or cooking the bread for too long can result in a tougher texture. Ensure the dough is smooth but not overly worked, and keep an eye on the cooking time.
A Taste of Tradition, Ready to Share
Making podlipnik is more than just following a recipe; it’s about connecting with a rich culinary heritage and sharing the joy of homemade bread with loved ones.
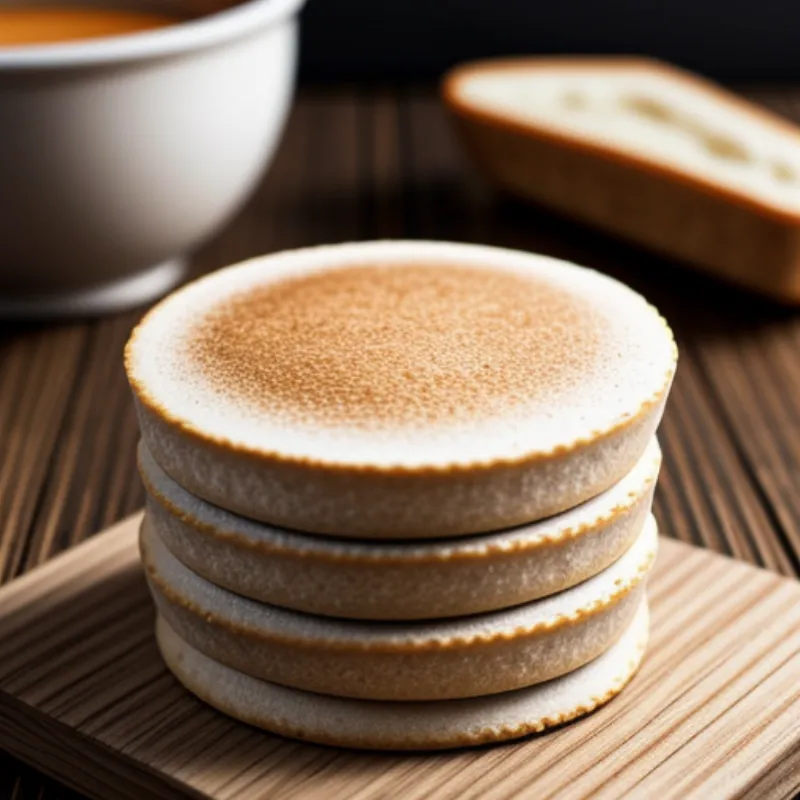
 Freshly Baked Podlipnik
We encourage you to embark on this culinary adventure and experience the simple pleasure of making podlipnik. Don’t hesitate to share your baking triumphs and culinary creations with us in the comments below. Happy baking!
