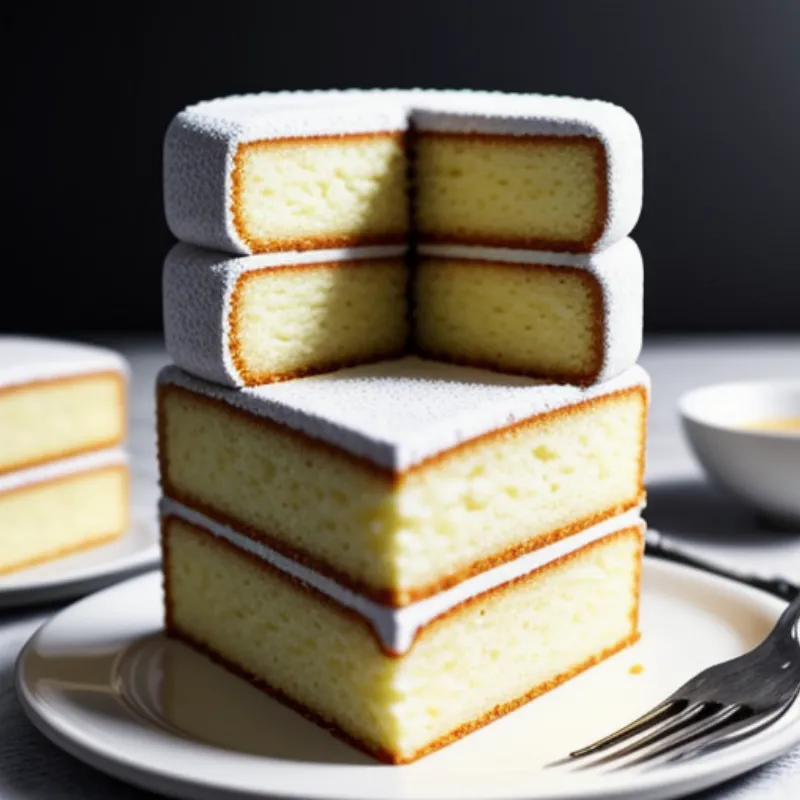
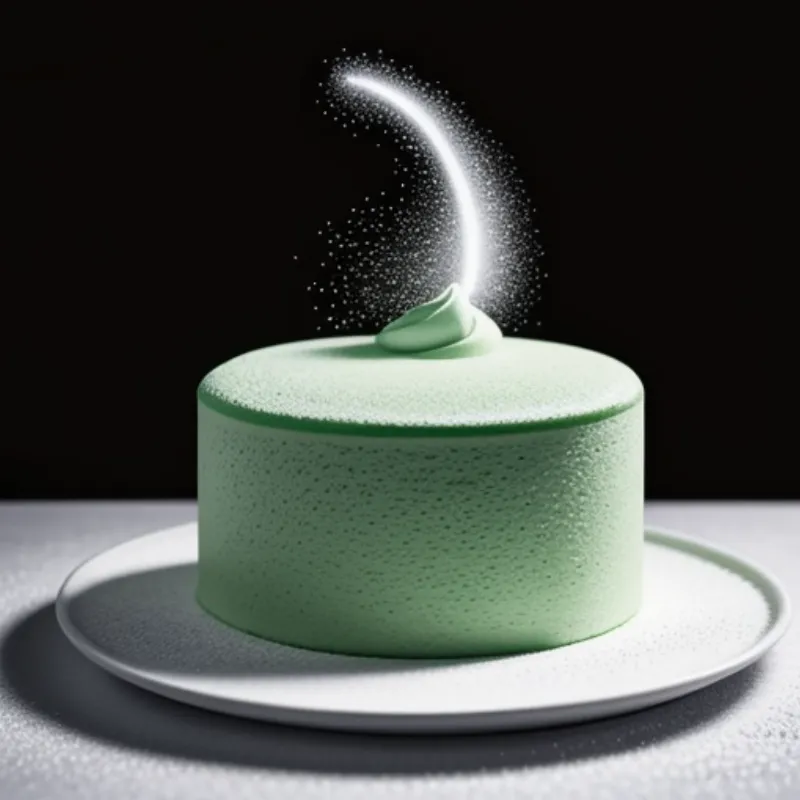
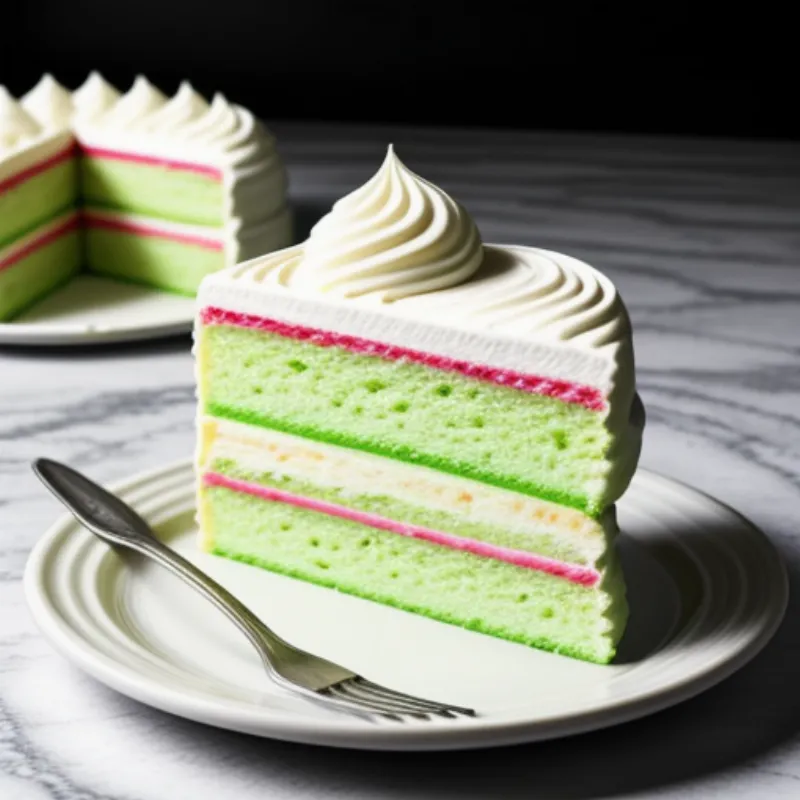
Few desserts are as visually stunning and deliciously delicate as the Swedish Princess Cake, or Prinsesstårta in Swedish. This iconic green cake, with its layers of sponge cake, pastry cream, and whipped cream, all enveloped in a smooth dome of marzipan, is not just a treat for the taste buds but also a feast for the eyes.
Whether you’re a seasoned baker or just starting out, this comprehensive guide will equip you with everything you need to know to create your own masterpiece. We’ll delve into the history of this beloved Swedish classic, explore variations and answer some frequently asked questions. So, put on your apron, and let’s embark on a delightful baking adventure!
Unveiling the History of Princess Cake
The Princess Cake has a fascinating history dating back to the early 20th century. It is said to have been created by Jenny Åkerström, a renowned Swedish baking teacher, in honor of the three daughters of Prince Carl of Sweden: Princess Margaret, Princess Märtha, and Princess Astrid.
These princesses were said to adore the cake, and it quickly gained popularity throughout Sweden, becoming a symbol of celebration and special occasions. Today, Princess Cake remains a beloved Swedish tradition, enjoyed year-round for birthdays, holidays, and fika—the Swedish tradition of coffee and pastry breaks.
Ingredients for Baking Success
Before we begin our baking journey, let’s gather all the necessary ingredients. This recipe yields a cake that serves 8-10 people.
For the Sponge Cake:
- 3 large eggs, at room temperature
- 1 cup (200g) granulated sugar
- 1 teaspoon vanilla extract
- ½ cup (60g) all-purpose flour
- ½ cup (60g) potato starch
- 1 teaspoon baking powder
- ¼ teaspoon salt
For the Pastry Cream:
- 1 ½ cups (360ml) whole milk
- ½ cup (100g) granulated sugar
- ¼ cup (30g) cornstarch
- ¼ cup (30g) all-purpose flour
- 2 large egg yolks
- 1 teaspoon vanilla extract
- 2 tablespoons unsalted butter, softened
For the Whipped Cream:
- 2 cups (480ml) heavy whipping cream
- ¼ cup (30g) powdered sugar
- 1 teaspoon vanilla extract
For the Marzipan Covering and Decoration:
- 1 pound (450g) marzipan, at room temperature
- Green food coloring, preferably gel paste
- Powdered sugar, for dusting
- Optional: Royal icing, fresh flowers, or sprinkles for decoration
Assembling Your Baking Arsenal: Tools of the Trade
To ensure a smooth and enjoyable baking experience, make sure you have the following tools on hand:
- Two 9-inch (23cm) round cake pans
- Parchment paper
- Stand mixer or electric hand mixer
- Whisk
- Rubber spatula
- Serrated knife
- Offset spatula or butter knife
- Rolling pin
- Piping bag (optional)
Crafting the Perfect Princess Cake: A Step-by-Step Guide
Step 1: Baking the Sponge Cake Layers
- Preheat your oven to 350°F (175°C) and grease and line the bottoms of your cake pans with parchment paper. This will ensure your cake layers come out cleanly.
- In a large bowl or the bowl of your stand mixer, beat the eggs and sugar together on high speed until the mixture is light and fluffy, about 5-7 minutes. You’ll know it’s ready when the mixture has tripled in volume and forms a ribbon when you lift the whisk.
- Add the vanilla extract and beat for another minute.
- In a separate bowl, whisk together the flour, potato starch, baking powder, and salt.
- Gradually add the dry ingredients to the wet ingredients, whisking on low speed until just combined. Be careful not to overmix, as this can make the cake tough.
- Divide the batter evenly between your prepared cake pans.
- Bake for 25-30 minutes, or until a toothpick inserted into the center comes out clean.
- Let the cakes cool in the pans for 10 minutes before inverting them onto a wire rack to cool completely.
Step 2: Creating a Luscious Pastry Cream Filling
- In a medium saucepan, heat the milk over medium heat until just simmering.
- Meanwhile, in a separate bowl, whisk together the sugar, cornstarch, and flour.
- Add the egg yolks to the dry ingredients and whisk until smooth.
- Slowly pour the hot milk into the egg yolk mixture, whisking constantly to prevent lumps.
- Pour the mixture back into the saucepan and cook over medium heat, stirring constantly, until the pastry cream thickens. This should take about 5-7 minutes.
- Remove the pastry cream from the heat and stir in the vanilla extract and butter until smooth.
- Transfer the pastry cream to a bowl, cover it with plastic wrap (making sure the plastic touches the surface to prevent a skin from forming), and refrigerate until completely chilled.
Step 3: Whipping Up a Dreamy Cream Topping
- In a large bowl, beat the heavy cream with an electric mixer on medium-high speed until soft peaks form.
- Gradually add the powdered sugar and vanilla extract, continuing to beat until stiff peaks form. Be careful not to overbeat, as this can cause the cream to separate.
- Set aside the whipped cream in the refrigerator until ready to assemble the cake.
 Princess Cake Layers
Step 4: The Art of Assembly: Building Your Princess Cake
- Once the cake layers have completely cooled, use a serrated knife to carefully level the tops if necessary.
- Place one cake layer on a serving plate or cake stand.
- Spread half of the chilled pastry cream evenly over the cake layer.
- Top with half of the whipped cream, spreading it evenly.
- Place the second cake layer on top and repeat steps 3 and 4.
- Place the final cake layer on top.
Step 5: Enrobing Your Cake in a Regal Marzipan Cloak
- Lightly dust your work surface with powdered sugar.
- Knead the marzipan for a minute or two to make it pliable.
- Add a small amount of green food coloring to the marzipan and knead until the color is evenly distributed. You can adjust the amount of food coloring to achieve your desired shade of green.
- Roll out the marzipan into a large circle, about 1/8 inch thick and large enough to cover the entire cake.
- Carefully lift the marzipan circle and drape it over the assembled cake, gently pressing it against the sides to adhere.
- Trim any excess marzipan around the base of the cake.
 Princess Cake Marzipan
Step 6: Adding a Touch of Royal Flair: Decorating Your Masterpiece
- Dust the top of the marzipan with powdered sugar.
- You can leave the cake as is for a classic look, or get creative with the decorations!
- Use a piping bag to create decorative swirls of whipped cream around the base of the cake.
- Make a small indentation in the center of the cake and place a fresh flower or a few sprinkles for a pop of color.
- For a truly regal touch, use royal icing to pipe intricate designs on the marzipan.
Princess Cake FAQs: Addressing Common Queries
Q: Can I use store-bought marzipan?
A: Absolutely! While making your own marzipan is certainly rewarding, using store-bought is perfectly acceptable and will save you some time.
Q: What can I use instead of potato starch?
A: If you don’t have potato starch on hand, you can substitute it with an equal amount of all-purpose flour. However, potato starch does contribute to the cake’s light and airy texture, so using it is recommended if possible.
Q: Can I freeze Princess Cake?
A: It’s best to enjoy Princess Cake fresh. However, you can freeze the unfrosted cake layers for up to 2 months. Wrap them tightly in plastic wrap and place them in a freezer-safe bag. Thaw overnight in the refrigerator before assembling and frosting.
Q: My marzipan is cracking when I try to roll it out. What should I do?
A: Marzipan can dry out quickly. If it’s cracking, knead in a few drops of water at a time until it becomes more pliable.
A Final Word: Savoring the Fruits of Your Labor
Congratulations on creating your own regal Princess Cake! The combination of textures and flavors, from the airy sponge cake to the rich pastry cream and the delicate marzipan, is sure to impress your family and friends.
Serve each slice with a dollop of whipped cream and a cup of coffee or tea for a truly Swedish experience. And remember, baking is all about experimentation and enjoyment, so don’t hesitate to add your own personal touches and create a Princess Cake that’s uniquely yours.
 Princess Cake Slice
We’d love to hear about your baking adventures! Share your thoughts, questions, and photos of your creations in the comments below. Happy baking!
