Provolone cheese, with its mild, buttery flavor and pleasantly chewy texture, is a beloved staple in Italian cuisine. From decadent sandwiches to charcuterie boards, this versatile cheese adds a touch of magic to every dish it graces. While finding authentic provolone at the local supermarket can be a hit-or-miss, why not embark on a culinary adventure and craft this Italian delicacy in the comfort of your own home?
This comprehensive guide will walk you through the process of making provolone cheese, demystifying the art of cheesemaking and empowering you to create a culinary masterpiece.
Gathering Your Ingredients & Tools
Before we delve into the magic of cheesemaking, let’s gather the necessary ingredients and tools:
Ingredients:
- 1 gallon of whole cow’s milk (preferably not ultra-pasteurized)
- 1/4 cup of distilled water
- 1/2 teaspoon of liquid animal rennet (calf, kid, or lamb)
- 1/4 teaspoon of lipase powder (optional, for enhanced flavor)
- 1 tablespoon of cheese salt
- Thermophilic starter culture (follow the instructions on the specific culture packet you choose)
Tools:
- Large stainless steel pot (at least 6 quarts)
- Thermometer
- Slotted spoon
- Long knife
- Rubber gloves
- Colander
- Cheesecloth
- Cheese mold (optional)
Step-by-Step Guide to Homemade Provolone
1. Preparing the Milk
Pour the milk into your stainless steel pot and gently heat it to 90°F (32°C) over medium heat. Stir occasionally to prevent scorching. Once the milk reaches the desired temperature, turn off the heat.
Tip: Use a heavy-bottomed pot to ensure even heat distribution and prevent scorching.
2. Adding the Cultures
Add the thermophilic starter culture and lipase powder (if using) to the warm milk. Stir gently for a couple of minutes to ensure even distribution. Cover the pot and let the milk ripen for about an hour.
3. Introducing the Rennet
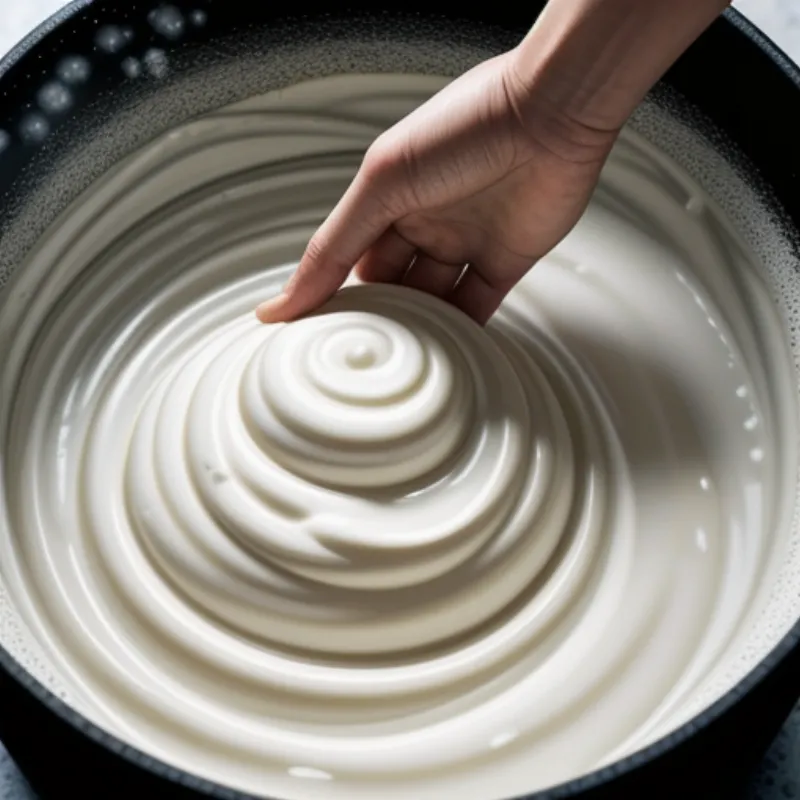
Dilute the liquid rennet in the 1/4 cup of distilled water. Once the milk has ripened, add the diluted rennet to the pot and stir gently for about a minute. Cover the pot again and let it sit undisturbed for 45 minutes to an hour, or until a clean break is achieved.
What is a clean break? A clean break refers to the curd separating cleanly from the whey when you insert a knife or your finger into the mixture at a slight angle and lift.
 clean break
4. Cutting the Curd
Once you’ve achieved a clean break, use a long knife to cut the curd into 1/2-inch cubes. Let the curds rest for about 10 minutes to allow them to release more whey.
5. Cooking the Curds
Slowly increase the temperature of the curds to 108°F (42°C) while stirring gently. Maintain this temperature for 30 minutes, stirring every few minutes to prevent sticking. The curds will shrink and become firmer during this process.
6. Draining and Salting
Line your colander with cheesecloth and carefully transfer the curds into it. Let the whey drain for about 15 minutes. Once drained, add the cheese salt to the curds and mix gently.
Tip: Don’t discard the whey! It’s a nutrient-rich liquid that can be used in various recipes, from soups and stews to bread making.
7. Shaping and Pressing
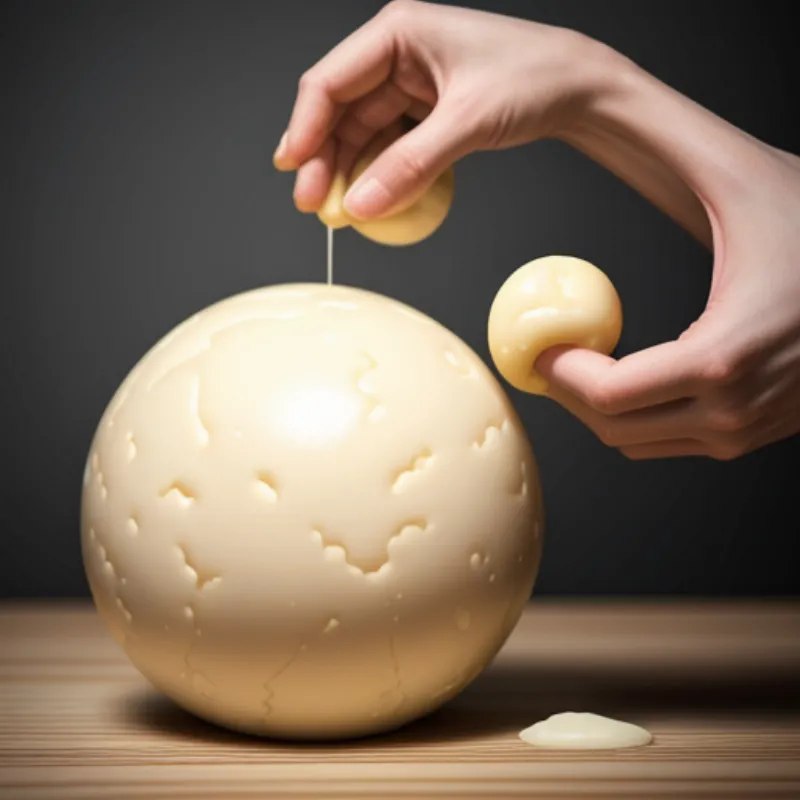
Transfer the salted curds into a cheese mold (if using) or shape them into a ball by hand. Press the cheese under a weight (such as a heavy pot filled with water) for an hour.
 shaping provolone
8. Stretching and Shaping (Optional)
For a more authentic provolone texture, you can stretch and knead the cheese after pressing. Heat some water to about 170°F (77°C). Wearing gloves, dip the cheese into the hot water for a few seconds to soften it. Stretch and knead the cheese until it becomes smooth and elastic. You can repeat this process a couple of times, shaping the cheese as desired.
9. Brining
Prepare a brine solution by dissolving 1 cup of cheese salt in 4 cups of water. Submerge the cheese in the brine and refrigerate for at least 24 hours.
10. Aging (Optional)
For a sharper flavor, you can age the provolone in a cool, dry place (around 50-55°F or 10-13°C) for several weeks or even months.
Enjoy Your Homemade Provolone!
Congratulations! You’ve successfully crafted your own provolone cheese. Slice it, grill it, melt it—the possibilities are endless!
FAQs About Making Provolone Cheese
1. Can I use store-bought milk for making provolone?
While you can use store-bought milk, it’s best to choose whole cow’s milk that is not ultra-pasteurized for optimal results. Ultra-pasteurized milk may not coagulate properly due to the high heat treatment it undergoes.
2. What can I substitute for animal rennet?
Vegetarian alternatives to animal rennet are available, such as microbial rennet or vegetable rennet derived from plants like thistle.
3. How long does homemade provolone last?
Homemade provolone can last for several weeks in the refrigerator when stored properly in an airtight container.
We’d love to hear about your cheesemaking adventures! Share your experiences and photos of your homemade provolone in the comments below.
Happy cheesemaking!
