Pryaniki, the captivating Russian gingerbread cookies, are more than just a treat; they’re a sweet journey into Russian culture and history. Imagine biting into a fragrant, subtly spiced cookie, its intricate designs whispering tales of ancient traditions. These cookies, often given as gifts during holidays and special occasions, are a testament to the artistry and warmth of Russian hospitality. In this guide, we’ll embark on a culinary adventure to recreate these treasured treats in your own kitchen.
Gathering Your Ingredients for Pryaniki
Before we begin our baking journey, let’s gather all the necessary ingredients. Don’t worry, most of these are likely already in your pantry!
- 3/4 cup honey
- 1/2 cup granulated sugar
- 1/2 cup unsalted butter, softened
- 1 large egg
- 1 teaspoon baking soda
- 1 tablespoon ground cinnamon
- 1 teaspoon ground ginger
- 1/2 teaspoon ground cloves
- 1/4 teaspoon salt
- 4 cups all-purpose flour, plus more for dusting
- Royal icing (for decoration, optional)
A Note on Substitutions and Special Ingredients:
- Honey: For a richer flavor, consider using buckwheat honey. If you don’t have honey, you can substitute it with an equal amount of maple syrup or golden syrup, though the flavor will differ slightly.
- Spices: Feel free to adjust the spices to your liking. You can add a pinch of cardamom or nutmeg for a warmer flavor profile.
Essential Tools for Pryaniki Baking
- Mixing bowls
- Whisk
- Wooden spoon or spatula
- Measuring cups and spoons
- Rolling pin
- Parchment paper
- Baking sheets
- Cookie cutters (traditional pryaniki molds or your favorite shapes)
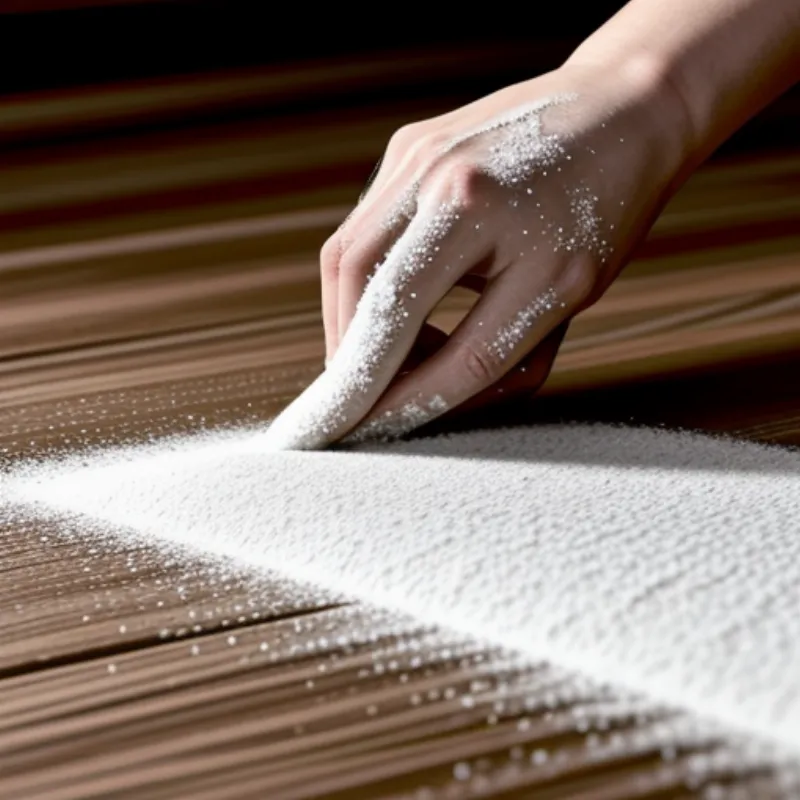
 Pryaniki dough
Crafting Your Pryaniki: A Step-by-Step Guide
-
Preparing the Dough: In a saucepan, combine the honey, sugar, and butter. Heat over medium heat, stirring constantly, until the butter is melted and the sugar is dissolved. Remove from heat and let cool slightly.
-
Infusing the Flavors: In a large bowl, whisk together the egg, baking soda, cinnamon, ginger, cloves, and salt. Gradually whisk in the cooled honey mixture until well combined.
-
Adding the Flour: Gradually add the flour, one cup at a time, mixing with a wooden spoon or spatula until the dough becomes too thick to stir. Turn the dough out onto a lightly floured surface and knead for 5-7 minutes, or until smooth and elastic.
-
Resting the Dough: Divide the dough in half, flatten each half into a disc, wrap tightly in plastic wrap, and refrigerate for at least 2 hours, or overnight.
-
Shaping and Baking: Preheat oven to 350°F (175°C). Line baking sheets with parchment paper. On a lightly floured surface, roll out one disc of dough to about 1/4 inch thickness. Use cookie cutters to cut out desired shapes. Place cookies about 1 inch apart on the prepared baking sheets.
-
Baking to Perfection: Bake for 8-10 minutes, or until the edges are lightly golden brown. Let cool completely on baking sheets before decorating.
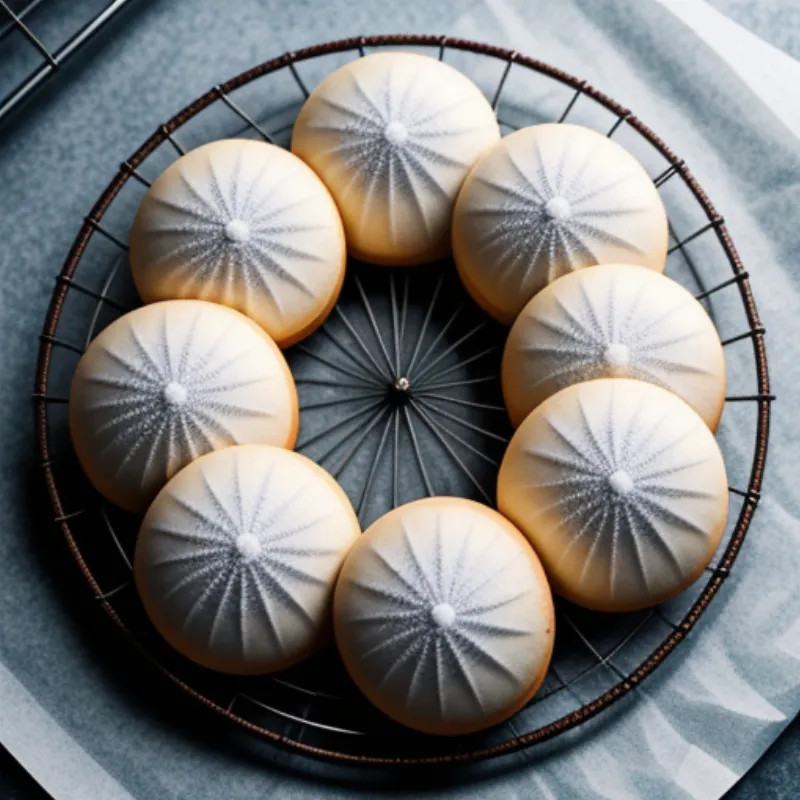
 Freshly baked pryaniki cookies
Decorating Your Pryaniki Masterpieces
While pryaniki are delicious on their own, decorating them elevates them to an art form.
- Traditional Royal Icing: Royal icing is the classic choice for decorating pryaniki. You can find pre-made royal icing mix or easily make your own. Separate the icing into bowls and tint with food coloring for vibrant designs. Use piping bags fitted with various tips to create intricate patterns, flowers, or traditional Russian motifs.
- Simple Glaze: For a less intricate but equally beautiful approach, make a simple glaze by whisking together powdered sugar with a little milk or lemon juice. Drizzle the glaze over the cooled cookies and let it set.
Expert Tips for Pryaniki Perfection
-
“When rolling out the dough, make sure it’s not too thin, as this can cause the cookies to become dry. Aim for a thickness of about 1/4 inch.” – Chef Olga Petrovna, renowned baker specializing in traditional Russian pastries.
-
“If you don’t have traditional pryaniki molds, feel free to get creative with your cookie cutters! Use hearts, stars, or even animal shapes for a fun twist.” – Maria Ilyinichna, grandmother and keeper of generations-old pryaniki recipes.
FAQs About Making Pryaniki
Q: Can I freeze pryaniki dough?
A: Absolutely! You can freeze the dough for up to 3 months. Thaw overnight in the refrigerator before rolling and baking.
Q: My cookies turned out a bit hard. What happened?
A: They might have been baked a bit too long. Make sure to keep a close eye on them while baking and adjust the baking time as needed.
Indulge in the Sweet History of Pryaniki
As you savor the warm, spicy flavors of your homemade pryaniki, remember that you’re partaking in a centuries-old tradition. These cookies are not just a treat, but a delicious link to Russian history and heritage.
We encourage you to share your pryaniki creations and baking experiences with us! Leave a comment below, tag us on social media, and happy baking!
