Pumpkin biscotti, with its delightful crunch and warm spices, is the quintessential fall treat. Imagine this: the leaves are turning golden, there’s a crispness in the air, and you’re curled up with a warm cup of coffee and a slice of this twice-baked goodness. Sounds tempting, right?
This guide will walk you through every step of making pumpkin biscotti, from gathering your ingredients to achieving that perfect crunch. Whether you’re a seasoned baker or just starting out, I promise you can conquer this recipe and impress everyone with your baking prowess.
Gathering Your Ingredients
Here’s what you’ll need to make about 24 biscotti:
- 2 cups all-purpose flour (you can substitute up to 1/2 cup with whole wheat flour for a nuttier flavor)
- 1 teaspoon baking powder
- 1/2 teaspoon baking soda
- 1/4 teaspoon salt
- 1 teaspoon ground cinnamon
- 1/2 teaspoon ground ginger
- 1/4 teaspoon ground nutmeg
- 1/8 teaspoon ground cloves
- 1/2 cup unsalted butter, softened
- 1 cup granulated sugar
- 1 large egg
- 1/2 cup pumpkin puree (make sure it’s pure pumpkin, not pumpkin pie filling)
- 1 teaspoon vanilla extract
- 1/2 cup chopped pecans or walnuts (optional, but highly recommended)
Pro Tip: Using high-quality spices makes a big difference in the final flavor. Invest in fresh spices or consider toasting and grinding your own for an extra flavor boost!
Tools of the Trade
You don’t need any fancy equipment for this recipe, just the basic baking essentials:
- 2 large mixing bowls
- Electric mixer (handheld or stand mixer both work)
- Measuring cups and spoons
- Spatula or wooden spoon
- Baking sheet
- Parchment paper
- Sharp knife for slicing
The Biscotti Baking Process: A Step-by-Step Guide
-
Preheat and Prep: Preheat your oven to 350°F (175°C) and line a baking sheet with parchment paper. This will prevent sticking and ensure easy removal later.
-
Combine the Dry Ingredients: In a large bowl, whisk together the flour, baking powder, baking soda, salt, and all the spices (cinnamon, ginger, nutmeg, cloves). This ensures the spices are evenly distributed throughout the dough.
-
Cream Together the Wet Ingredients: In a separate bowl, cream together the softened butter and sugar until light and fluffy. Use an electric mixer for best results. Add the egg, pumpkin puree, and vanilla extract and mix until well combined.
-
Combine Wet and Dry Ingredients: Gradually add the dry ingredients to the wet ingredients, mixing on low speed until just combined. Be careful not to overmix. If adding nuts, stir them in at this point.
-
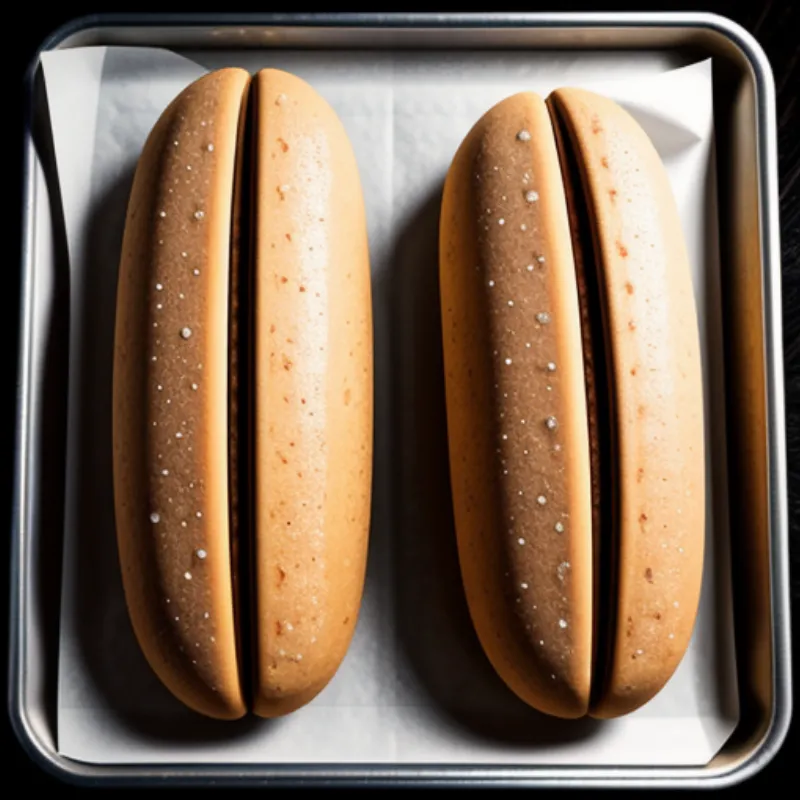
Shape the Dough: Divide the dough in half. On your prepared baking sheet, shape each half into a log about 12 inches long and 3 inches wide. Leave some space between the logs.
 Pumpkin Biscotti Dough
-
First Bake: Bake for 25-30 minutes, or until the logs are firm to the touch and lightly golden brown.
-
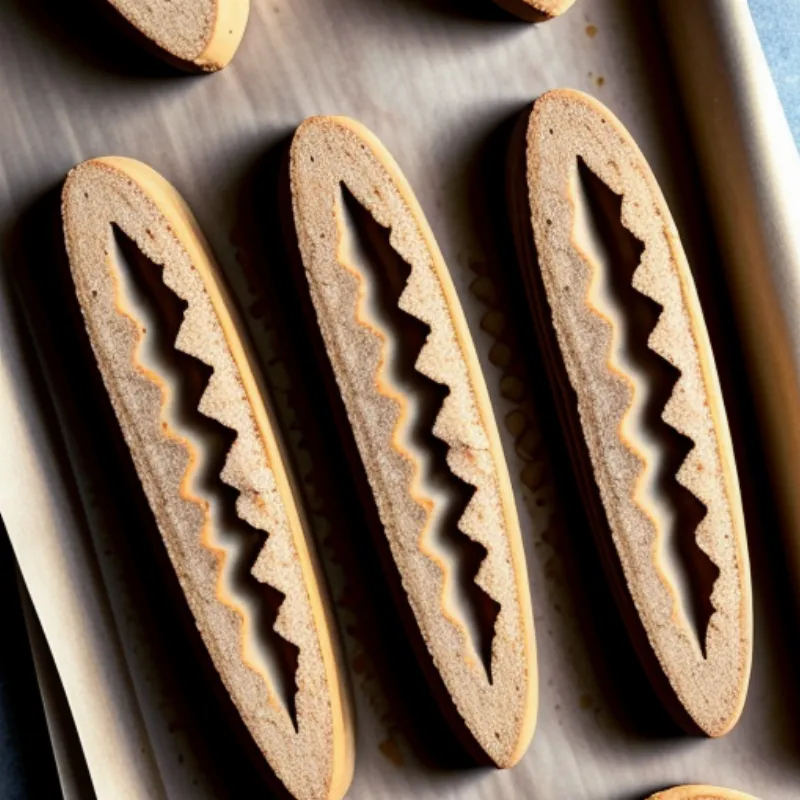
Cool and Slice: Let the logs cool on the baking sheet for about 10 minutes. Using a sharp knife, carefully slice each log diagonally into 1/2-inch thick slices.
 Sliced Pumpkin Biscotti
-
Second Bake: Place the biscotti slices back on the baking sheet, cut-side down. Bake for another 10-15 minutes, flipping them over halfway through, until golden brown and crisp.
-
Cool Completely: Let the biscotti cool completely on a wire rack. This is crucial for achieving that signature crunch.
Enjoy Your Pumpkin Biscotti!
Your pumpkin biscotti are now ready to be enjoyed! They’re delicious on their own, but even better when paired with a warm beverage like coffee, tea, or a pumpkin spice latte.
Tips and Tricks for Perfect Pumpkin Biscotti
- Don’t Overmix: Overmixing the dough can lead to tough biscotti. Mix until the ingredients are just combined.
- Cooling is Key: Allowing the logs to cool slightly before slicing prevents crumbling. Cooling the biscotti completely after the second bake ensures crispness.
- Storage: Store your pumpkin biscotti in an airtight container at room temperature for up to 5 days. You can also freeze them for longer storage.
FAQs About Making Pumpkin Biscotti
Q: Can I use pumpkin pie spice instead of individual spices?
A: While you can use pumpkin pie spice, using individual spices allows you to control the flavor profile better.
Q: My biscotti turned out too hard. What did I do wrong?
A: Biscotti that is too hard is usually a result of overbaking. Make sure to check for doneness early during the second bake.
Q: Can I add other mix-ins besides nuts?
A: Absolutely! Dried cranberries, chocolate chips, or white chocolate chunks are all delicious additions to pumpkin biscotti.
Conclusion
Making pumpkin biscotti is easier than you might think! With this detailed guide, you’ll be baking up these delightful treats like a pro in no time. If you’re interested in exploring more pumpkin spice recipes, check out our guide on how to make pumpkin spice biscotti. Happy baking!
Don’t forget to share photos of your pumpkin biscotti creations and let us know how they turned out in the comments below!
