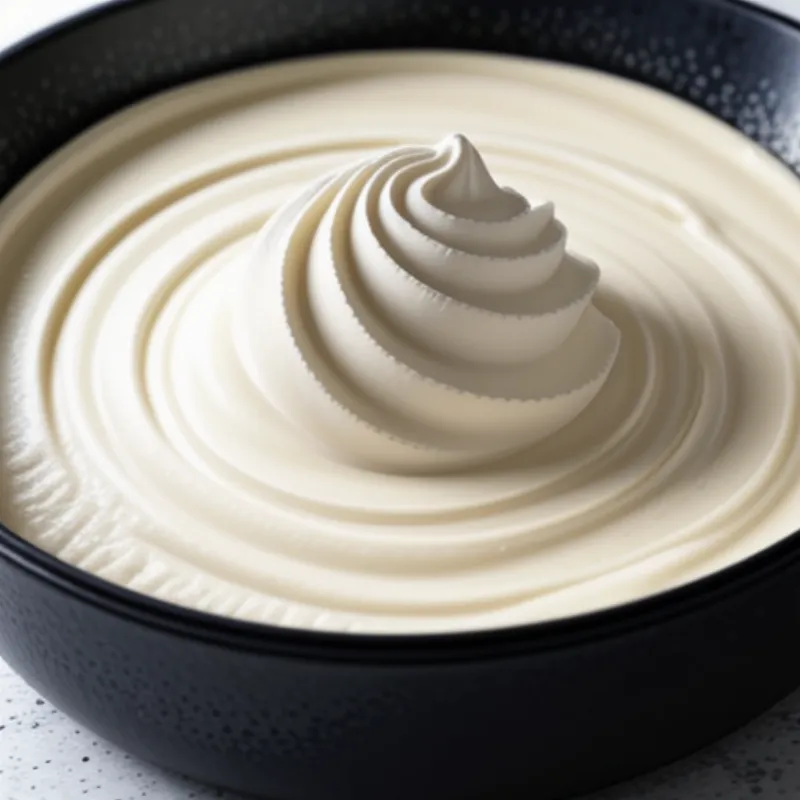
The Queen of Puddings. Does the name itself not inspire a certain sense of culinary curiosity? This classic dessert, with roots reaching back to Victorian England, is as much a delight to the palate as it is to the eyes. Imagine a creamy, vanilla-infused custard, generously studded with sweet, jammy berries, all crowned with a layer of golden, cloud-like meringue. That, my friends, is the magic of Queen of Puddings.
Don’t let the regal title intimidate you! This dessert, despite its elegant presentation, is surprisingly simple to make. Whether you’re a seasoned baker or a newbie in the kitchen, I assure you, this recipe is well within your grasp. So, roll up your sleeves, and let’s embark on this delicious adventure!
Gathering Your Royal Ingredients
Before we begin, let’s gather our “court” of ingredients. You’ll be pleased to know that most of these are probably already residing in your pantry!
For the Custard:
- 4 cups (1 quart) whole milk
- 1/2 cup granulated sugar
- 1/4 cup cornstarch
- 1/4 teaspoon salt
- 4 large egg yolks, lightly beaten
- 1 teaspoon pure vanilla extract
- 1/2 cup jam or fruit preserves (raspberry, strawberry, or your favorite)
For the Meringue:
- 4 large egg whites, at room temperature
- 1/4 teaspoon cream of tartar
- 1/2 cup granulated sugar
Tools of the Trade
You won’t need any fancy equipment for this recipe. Just a few basic baking tools will suffice:
- 2-quart saucepan
- Whisk
- Rubber spatula
- 9-inch baking dish
- Electric mixer
The Royal Decree: Steps to Pudding Perfection
- Creating the Custard: Preheat your oven to 350°F (175°C). In the saucepan, combine the milk, sugar, cornstarch, and salt. Whisk until smooth and no lumps remain.
- Tempering the Yolks: Place the egg yolks in a separate bowl. Gradually whisk in about 1 cup of the hot milk mixture to temper the yolks. Pour the tempered yolks back into the saucepan with the remaining milk mixture.
- Cooking the Custard: Cook over medium heat, whisking constantly, until the custard thickens and comes to a boil. This should take about 5-7 minutes. Remember, a smooth custard requires constant whisking!
- Adding the Vanilla: Remove the custard from the heat and stir in the vanilla extract.
- Layering the Pudding: Pour the custard into the baking dish. Spoon the jam or fruit preserves over the hot custard, allowing it to swirl and create beautiful patterns.
 Queen of Puddings Custard
- Whipping the Meringue: In a clean bowl, beat the egg whites with the cream of tartar until soft peaks form. Gradually add the sugar, beating until stiff and glossy peaks form.
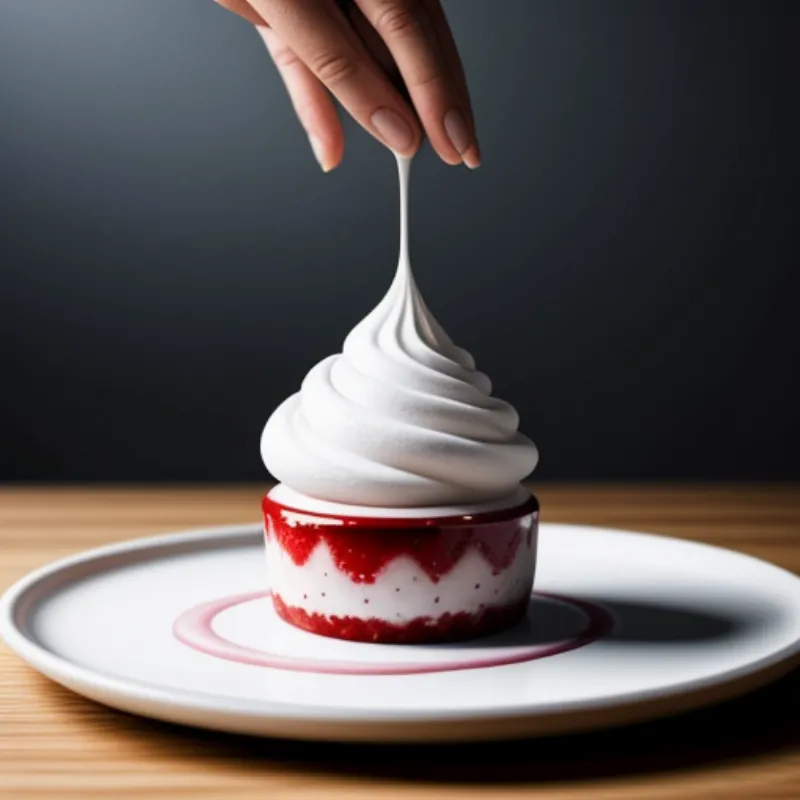
- Crowning with Meringue: Spread the meringue evenly over the hot custard, ensuring it touches the edges of the dish to prevent shrinking. Create peaks and swirls on the meringue for a visually appealing touch.
- Baking to Golden Perfection: Bake for 12-15 minutes, or until the meringue is golden brown. Keep a close watch to prevent burning.
- Cooling and Chilling: Let the pudding cool slightly at room temperature, then chill in the refrigerator for at least 2 hours, or preferably overnight, to allow the flavors to meld beautifully.
A Few Royal Tips From My Kitchen to Yours
- Lumpy Custard? No problem! Just pass it through a fine-mesh sieve for a silky-smooth texture.
- Short on Time? You can use store-bought lemon curd instead of making your own.
- Leftover Egg Whites? Don’t discard them! Freeze them for future use in recipes like macarons or angel food cake.
 Queen of Puddings Meringue
Serving Your Royal Dessert
The Queen of Puddings is best enjoyed cold. Serve it in individual dessert bowls for an elegant touch. You can garnish it with fresh berries, a dusting of powdered sugar, or even a sprig of mint for added flair.
This simple yet elegant dessert is sure to impress your family and friends. It’s the perfect ending to any meal, be it a casual weeknight dinner or a special occasion feast. So, go ahead and add a touch of royalty to your kitchen with this classic and comforting dessert.
Have You Met the Queen?
I’d love to hear about your experience making this classic dessert! Did you add your own personal touch? What did your family think? Share your stories and photos in the comments below! And for more delicious and easy-to-follow recipes, be sure to explore the rest of our website. Happy baking!
