Ravioli cookies – the name alone sparks curiosity! Imagine biting into a delicate, buttery cookie that resembles a tiny ravioli, only to be met with a surprise filling of sweet goodness. These delightful treats are easier to make than they look, and they’re sure to impress your family and friends. Whether you’re a seasoned baker or just starting out, this step-by-step guide will have you whipping up a batch of these irresistible cookies in no time.
Let’s Gather Our Ingredients:
For the Cookie Dough:
- 1 cup (2 sticks) unsalted butter, softened
- ¾ cup granulated sugar
- 1 teaspoon vanilla extract
- 1 large egg yolk
- 2 ¼ cups all-purpose flour, plus extra for dusting
- ¼ teaspoon salt
For the Filling:
- ½ cup fruit preserves, such as apricot, raspberry, or strawberry
- 1 tablespoon powdered sugar, for dusting (optional)
Tools of the Trade:
- Measuring cups and spoons
- Mixing bowls
- Electric mixer
- Rolling pin
- 2 ½ inch round cookie cutter or a ravioli cutter
- Baking sheets
- Parchment paper
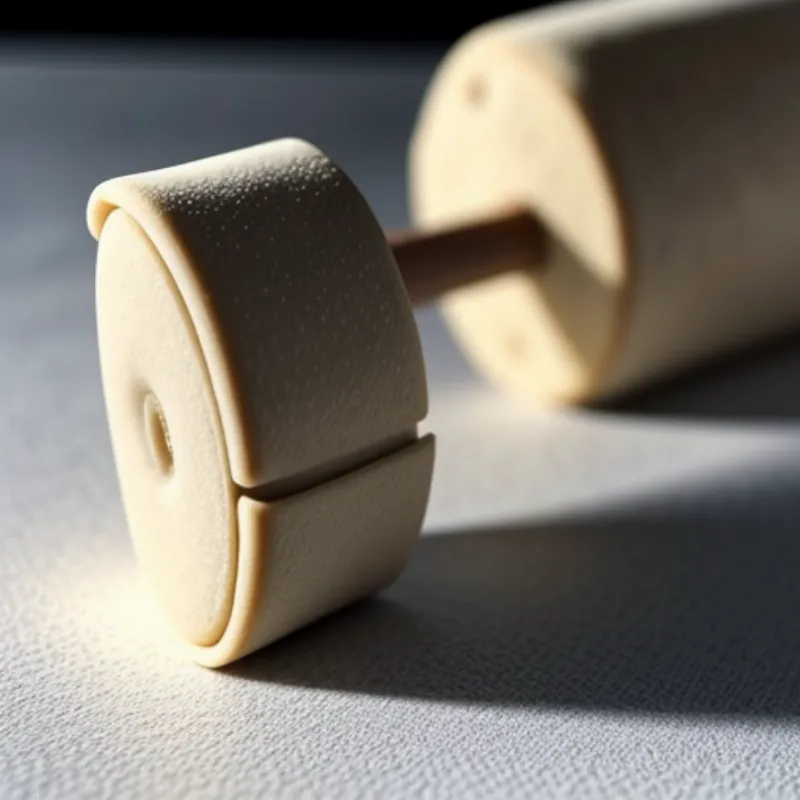
 Ravioli Cookie Dough
Time to Get Baking!
1. Preparing the Dough:
- In a large bowl, cream together the softened butter and granulated sugar until light and fluffy. This usually takes about 2-3 minutes with an electric mixer.
- Beat in the vanilla extract and egg yolk until well combined.
- In a separate bowl, whisk together the flour and salt.
- Gradually add the dry ingredients to the wet ingredients, mixing on low speed until just combined. Be careful not to overmix the dough.
- Divide the dough in half, flatten each half into a disk, wrap tightly in plastic wrap, and refrigerate for at least 1 hour (or up to 2 days).
Expert Tip from Chef Emily: Chilling the dough is crucial for preventing the cookies from spreading too thin during baking. It allows the gluten in the flour to relax, resulting in a more tender cookie.
2. Shaping and Filling the Ravioli Cookies:
- Preheat your oven to 350°F (175°C) and line your baking sheets with parchment paper.
- Lightly flour your work surface and rolling pin.
- Working with one disk of dough at a time (keep the other refrigerated), roll out the dough to about ⅛ inch thickness.
- Using a 2 ½ inch round cookie cutter or a ravioli cutter, cut out circles of dough.
- Place about a teaspoon of fruit preserves in the center of half of the dough circles.
- Lightly brush water around the edges of the filled circles.
- Top each filled circle with a plain dough circle and gently press the edges together to seal.
- Using a fork, crimp the edges of the cookies to create a decorative seal and prevent the filling from leaking out during baking.
FAQ: Can I use a different filling?
Absolutely! While fruit preserves are the classic choice, feel free to get creative. Nutella, lemon curd, or even a dollop of chocolate hazelnut spread would be delicious alternatives.
3. Baking to Perfection:
- Carefully transfer the filled ravioli cookies to your prepared baking sheets, leaving about an inch of space between each cookie.
- Bake for 12-15 minutes, or until the edges of the cookies are lightly golden brown.
- Remove from the oven and let the cookies cool on the baking sheets for a few minutes before transferring them to a wire rack to cool completely.
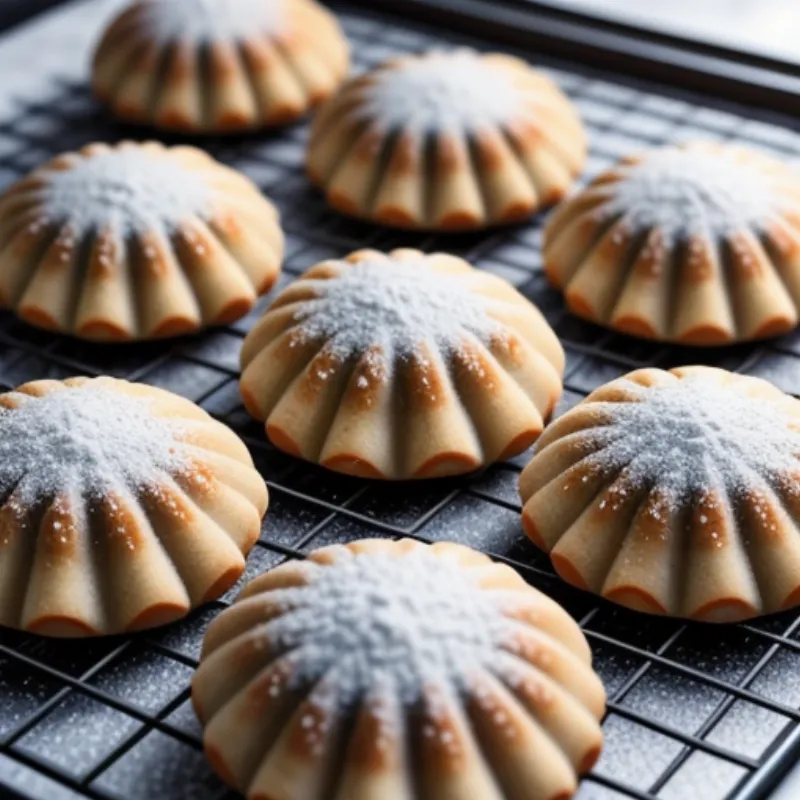
 Baked Ravioli Cookies
4. Serving and Enjoying:
- Once the cookies are completely cool, dust them with powdered sugar (optional) for a touch of sweetness and visual appeal.
These delightful ravioli cookies are best enjoyed fresh out of the oven with a glass of cold milk or a warm cup of tea. They also make a thoughtful homemade gift for any occasion!
A Few Parting Tips:
- Storage: Store any leftover cookies in an airtight container at room temperature for up to 3 days.
- Freezing: These cookies freeze beautifully! Arrange the unbaked, filled cookies on a baking sheet and freeze until solid. Once frozen, transfer them to a freezer-safe bag or container and freeze for up to 2 months. Bake from frozen, adding a few minutes to the baking time.
There you have it – a simple yet impressive treat that will surely satisfy your sweet cravings. Happy baking!
