Red velvet cake – the name alone evokes feelings of elegance and indulgence. This beloved dessert, with its vibrant red hue and subtle chocolate flavor, is a true showstopper. Today, we’ll tackle a fun and equally impressive variation: the red velvet roll cake.
Imagine slicing through a soft, velvety swirl of red velvet cake, revealing a creamy, tangy filling. It’s a feast for the eyes and a delight for the taste buds. Whether you’re a seasoned baker or a curious beginner, this guide will equip you with all the knowledge and confidence you need to create this stunning dessert. Let’s turn your kitchen into a bakery and whip up this classic treat!
Ingredients You’ll Need
For the cake:
- 1 ½ cups (190g) cake flour (not all-purpose), sifted
- ½ cup (60g) unsweetened cocoa powder, sifted
- 1 teaspoon baking powder
- ¼ teaspoon salt
- ½ cup (115g) unsalted butter, softened
- 1 ¾ cups (350g) granulated sugar
- 2 large eggs
- 1 teaspoon vanilla extract
- 1 cup (240ml) buttermilk
- 2 tablespoons red food coloring (gel preferred for vibrant color)
- 1 teaspoon white vinegar
For the filling:
- 8 ounces (225g) cream cheese, softened
- ½ cup (115g) unsalted butter, softened
- 3 cups (360g) powdered sugar, sifted
- 1 teaspoon vanilla extract
Tools of the Trade
- Two 10×15 inch baking sheets
- Parchment paper
- Stand mixer or hand mixer
- Mixing bowls
- Sifter
- Rubber spatula
- Serrated knife
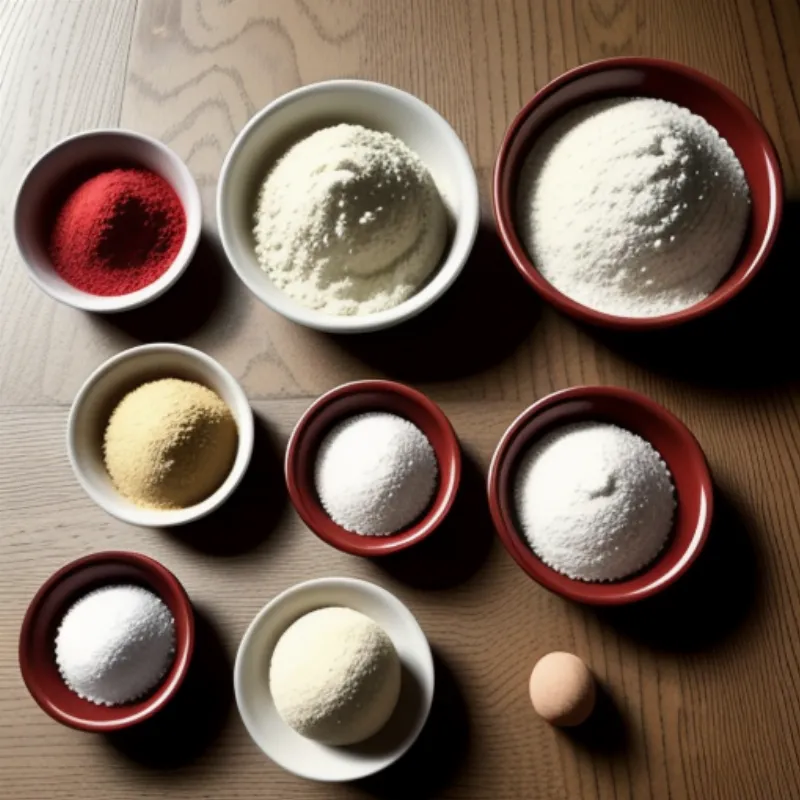
 Red Velvet Roll Cake Ingredients
Step-by-Step Baking Instructions
1. Preparing the Cake Batter
- Preheat your oven to 350°F (175°C). Grease and line your baking sheets with parchment paper. This ensures the cake won’t stick and makes for easy rolling later.
- In a large bowl, whisk together the cake flour, cocoa powder, baking powder, and salt. This dry ingredient blend ensures a light and airy cake.
- In a separate bowl, cream together the softened butter and sugar until light and fluffy. This step incorporates air into the batter, which contributes to the cake’s tender crumb.
- Beat in the eggs one at a time, followed by the vanilla extract.
- In a small bowl, whisk together the buttermilk, red food coloring, and white vinegar. The vinegar reacts with the buttermilk, creating a wonderfully tender crumb.
- Gradually add the dry ingredients to the wet ingredients, alternating with the buttermilk mixture, beginning and ending with the dry ingredients. Mix until just combined. Be careful not to overmix, as this can result in a tough cake.
2. Baking and Cooling the Cake
- Pour the batter evenly into the prepared baking sheets.
- Bake for 12-15 minutes, or until a toothpick inserted into the center comes out clean.
- While the cake is still hot, carefully invert it onto a clean kitchen towel dusted with powdered sugar. This prevents sticking and helps with rolling later.
- Gently roll the cake up in the towel, starting from the short end. Allow the cake to cool completely while rolled.
3. Making the Cream Cheese Filling
- While the cake cools, prepare the filling. In a large bowl, beat together the softened cream cheese and butter until smooth.
- Gradually beat in the powdered sugar until the filling is light and fluffy.
- Stir in the vanilla extract.
4. Assembling the Roll Cake
- Once the cake has cooled, carefully unroll it from the towel.
- Spread the cream cheese filling evenly over the cake, leaving a small border around the edges.
- Gently re-roll the cake, starting from the short end.
- Wrap the cake tightly in plastic wrap and refrigerate for at least 2 hours before serving. This allows the flavors to meld and the cake to firm up for easier slicing.
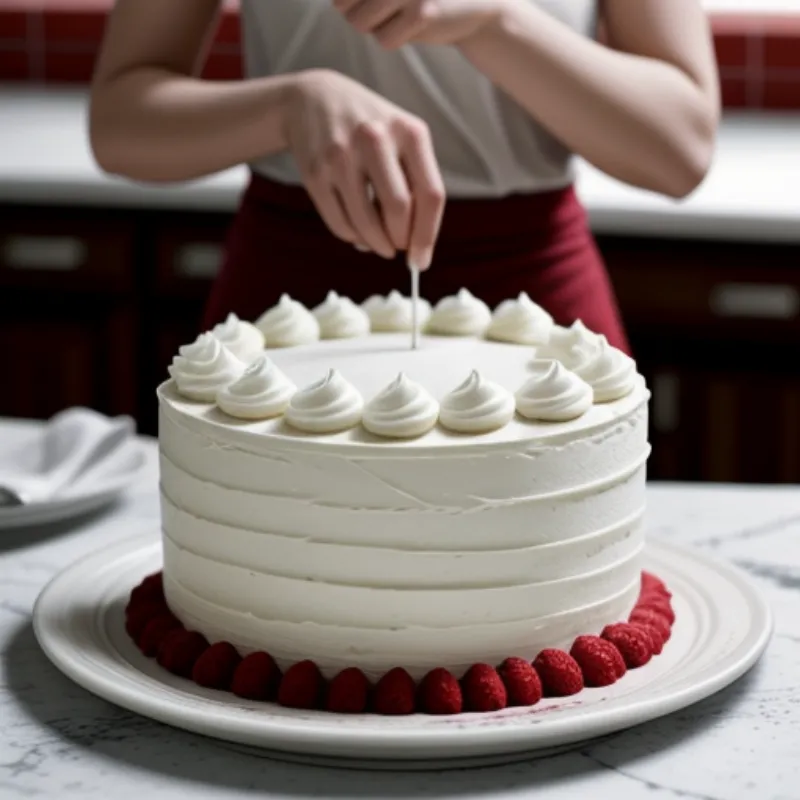
 Red Velvet Roll Cake Rolling
Tips and Tricks for Red Velvet Perfection
- Room Temperature Ingredients: Ensure your butter, eggs, and cream cheese are at room temperature before you begin. This helps them blend smoothly and evenly into the batter and filling.
- Don’t Overmix: Overmixing the cake batter can lead to a dense, chewy cake. Mix only until the ingredients are just combined.
- Even Baking: For even baking, make sure to spread the batter evenly in the pan.
- Careful Rolling: Rolling the cake while it’s still warm makes it pliable and prevents cracking.
- Chilling Time: Chilling the cake is crucial. It allows the flavors to meld, the filling to set, and the cake to firm up for cleaner slices.
FAQs About Red Velvet Roll Cake
Q: Can I use all-purpose flour instead of cake flour?
A: While you can use all-purpose flour, cake flour will result in a more tender and delicate crumb. If you do substitute, consider replacing 2 tablespoons of all-purpose flour with cornstarch for a closer texture.
Q: What can I use if I don’t have buttermilk?
A: You can easily make your own buttermilk substitute! Simply add 1 tablespoon of lemon juice or white vinegar to 1 cup of milk. Let it sit for 5-10 minutes until it slightly curdles.
Q: Can I make the cake ahead of time?
A: Absolutely! You can bake the cake and make the filling a day in advance. Store them separately in the refrigerator, and assemble the roll cake the day you plan to serve it.
Serving Up Your Culinary Masterpiece
Once your red velvet roll cake has chilled, it’s time for the grand finale – slicing and serving! Use a serrated knife for the cleanest cuts, and dust each slice with powdered sugar for an elegant touch. This dessert pairs beautifully with fresh berries, a dollop of whipped cream, or simply enjoyed on its own.
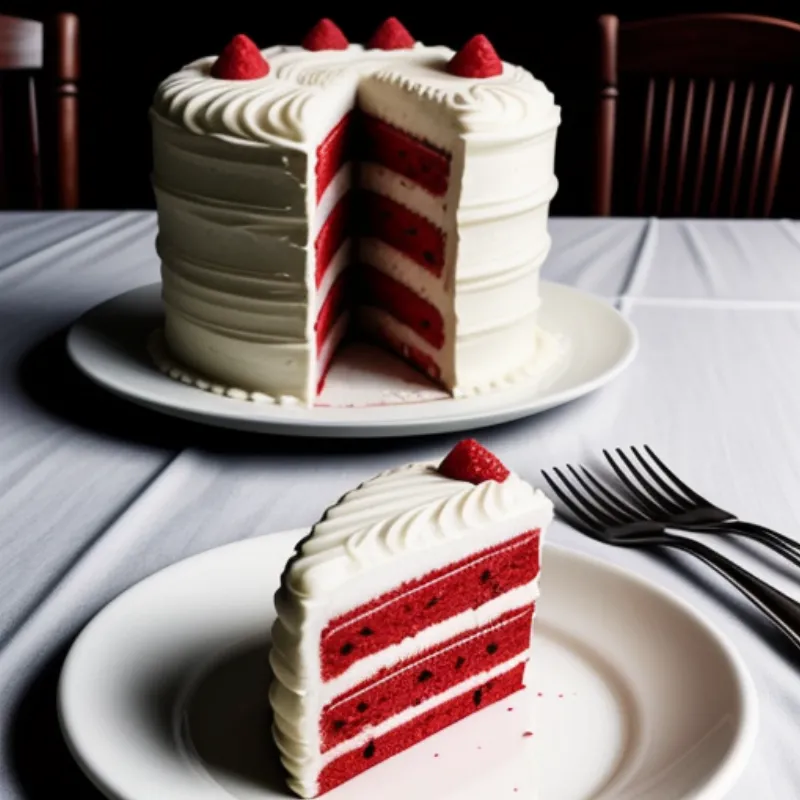
 Red Velvet Roll Cake Serving
Making this red velvet roll cake is a rewarding baking adventure that results in a dessert as beautiful as it is delicious. Enjoy the process, embrace the delicious aroma filling your kitchen, and remember that the most important ingredient is always love.
For those interested in exploring more delightful dessert recipes, be sure to check out our guides on how to make mille-feuille, how to make no-bake cheesecake, and how to make torta della nonna. We’re sure you’ll find something to tantalize your taste buds! Don’t forget to share your red velvet roll cake creations and baking adventures with us in the comments below!
