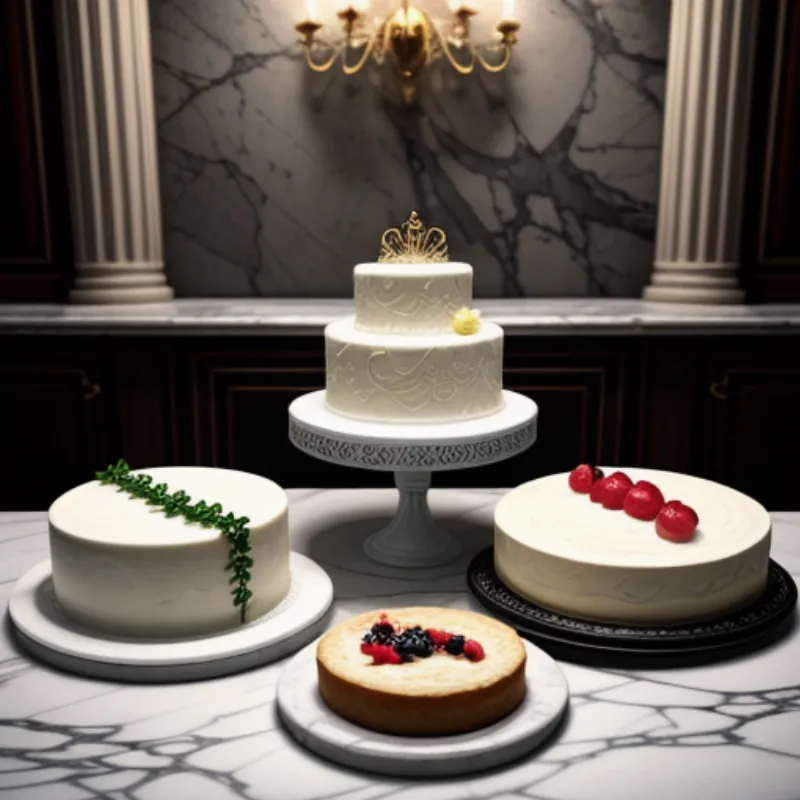
The royal wedding cake. A towering symbol of love, celebration, and a legacy that continues to inspire bakers and dessert enthusiasts alike. Imagine the delicate aroma of elderflower cordial mingling with the sweet scent of vanilla, all encased in a pristine white frosting that seems to shimmer under the chandelier lights. Sounds like a scene from a fairytale, right?
Today, we’re stepping into the shoes of royalty and crafting our own version of this iconic cake. Don’t worry, you don’t need a royal kitchen or years of baking experience to pull this off. With this step-by-step guide, even beginners can create a masterpiece that would impress even the Queen herself.
Gathering Your Royal Ingredients
Before we begin our baking journey, let’s gather the essential ingredients. This recipe is designed to be adaptable, so feel free to adjust quantities based on the size of your cake and your desired level of sweetness.
For the Cake Layers:
- 8 large eggs, at room temperature
- 3 cups granulated sugar
- 4 cups sifted cake flour
- 1 teaspoon baking powder
- 1/2 teaspoon salt
- 1 cup unsalted butter, softened
- 1 cup whole milk
- 2 teaspoons pure vanilla extract
- 1/2 cup elderflower cordial (you can find this at specialty food stores or online)
For the Swiss Meringue Buttercream:
- 8 large egg whites
- 2 cups granulated sugar
- 4 cups unsalted butter, softened
- 1 teaspoon pure vanilla extract
For Decoration:
- Fondant (white and any other desired colors)
- Edible flowers (fresh or sugared)
- Royal icing (optional, for piping details)
 Royal Wedding Cake Ingredients
Assembling Your Royal Baking Arsenal
To create a truly spectacular royal wedding cake, you’ll need the right tools for the job. Here’s a list of essential equipment:
- Stand mixer with paddle attachment and whisk attachment
- Several mixing bowls (various sizes)
- Measuring cups and spoons
- Rubber spatulas
- Parchment paper
- Cake pans (the number will depend on the desired number of tiers)
- Serrated knife or cake leveler
- Offset spatula or bench scraper
- Piping bags and tips (optional)
- Turntable (optional, but helpful for decorating)
Baking Like Royalty: A Step-by-Step Guide
Now that we have our ingredients and tools ready, let’s delve into the baking process.
Making the Cake Layers:
- Preheat oven to 350°F (175°C). Grease and flour your cake pans, lining the bottoms with parchment paper.
- In the bowl of your stand mixer, cream together the softened butter and sugar until light and fluffy.
- Add the eggs one at a time, beating well after each addition. Stir in the vanilla extract and elderflower cordial.
- In a separate bowl, whisk together the sifted flour, baking powder, and salt.
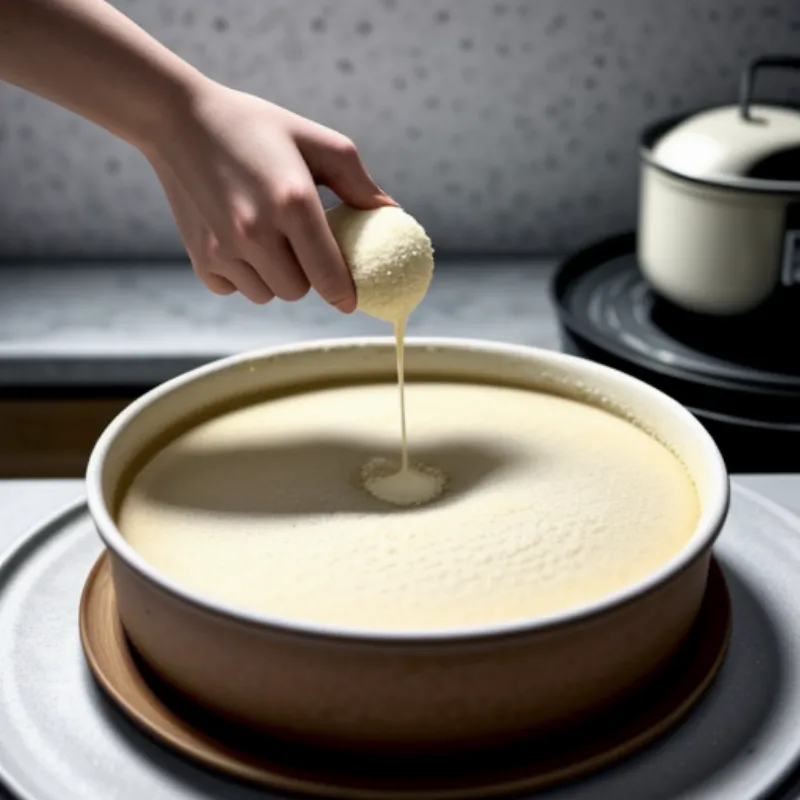
- Gradually add the dry ingredients to the wet ingredients, alternating with the milk, and beginning and ending with the dry ingredients. Mix until just combined, being careful not to overmix.
- Divide the batter evenly among the prepared cake pans.
- Bake for 30-35 minutes, or until a toothpick inserted into the center comes out clean.
- Let the cakes cool in the pans for 10 minutes before inverting them onto a wire rack to cool completely.
 Baking the Royal Wedding Cake
Crafting the Swiss Meringue Buttercream:
- Fill a saucepan with about an inch of water and bring to a simmer.
- In the bowl of your stand mixer (ensure the bowl is clean and dry), combine the egg whites and sugar.
- Set the bowl over the simmering water (make sure the bottom of the bowl doesn’t touch the water) and whisk constantly until the sugar is dissolved and the mixture is warm to the touch.
- Attach the bowl to your stand mixer fitted with the whisk attachment. Beat on high speed until stiff, glossy peaks form and the meringue has cooled completely.
- Switch to the paddle attachment and gradually add the softened butter, a few tablespoons at a time, beating well after each addition.
- Once all the butter is incorporated, beat in the vanilla extract.
FAQs: Addressing Your Royal Baking Queries
Q: Can I use a different type of frosting for this cake?
A: While Swiss meringue buttercream is the traditional choice for a royal wedding cake, you can certainly experiment with other frostings. Italian meringue buttercream or even a classic American buttercream would work well.
Q: What’s the best way to level my cake layers?
A: A serrated knife or a cake leveler are both great tools for leveling cake layers. If you’re new to this, a cake leveler might be easier to use as it provides a guide for even cutting.
Q: How far in advance can I make the cake?
A: You can bake the cake layers up to 2 days in advance. Wrap them tightly in plastic wrap and store them at room temperature. The frosting can also be made ahead of time and stored in an airtight container in the refrigerator for up to 3 days.
Assembling and Decorating Your Masterpiece
- Once your cake layers are completely cool, use a serrated knife or cake leveler to create flat, even tops.
- Place a dollop of buttercream on your cake stand or serving plate. Top with your first cake layer.
- Add a generous layer of frosting, spreading it evenly with an offset spatula. Repeat with remaining layers.
- Crumb coat the cake with a thin layer of frosting to seal in any crumbs. Chill for 30 minutes.
- Frost the cake with remaining buttercream, smoothing the sides and top.
Decorating Fit for a King or Queen:
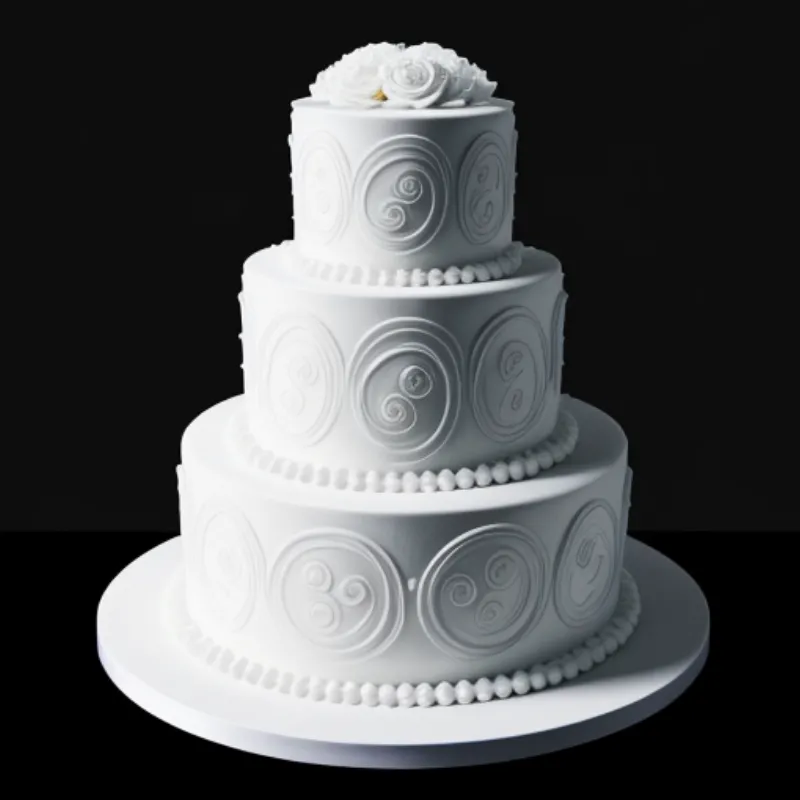
This is where you can unleash your creativity! Use fondant to create intricate designs, add delicate piping details with royal icing, or adorn the cake with fresh or sugared flowers.
 Decorating the Royal Wedding Cake
A Royal Feast for the Senses
Congratulations! You’ve officially baked a cake fit for royalty. The towering layers, the pristine white frosting, the delicate floral accents—it’s a testament to your baking prowess and a delicious celebration of love and tradition. Now, slice yourself a generous piece, pour a cup of tea, and savor the fruits of your labor. Remember, every baker starts somewhere, and with this recipe, you’ve just taken a giant leap towards becoming a true baking aficionado. Don’t forget to share your royal creations with us in the comments below! We’d love to see your masterpieces.
