Salami, the king of cured meats, evokes images of rustic Italian kitchens and mouthwatering charcuterie boards. While the process of making salami might seem intimidating, with a little patience and the right guidance, you too can master the art of crafting this delicacy in the comfort of your own home.
This comprehensive guide will walk you through each step, demystifying the process and empowering you to create your very own flavorful salami. Get ready to impress your family and friends with your newfound charcuterie skills!
Gathering Your Salami-Making Supplies
Ingredients:
- 3 lbs pork shoulder, cut into 1-inch cubes and chilled
- 1 lb pork fatback, cut into 1-inch cubes and chilled
- 28 grams fine sea salt (approximately 1.2 oz)
- 4 grams dextrose (approximately 1 1/2 tsp)
- 3 grams Prague powder #2 (approximately 1 tsp)
- 1/2 tsp black pepper, finely ground
- 1/2 tsp garlic powder
- 1/4 tsp red pepper flakes (optional, for a touch of heat)
- 1/2 cup dry red wine
- Beef casings, soaked in warm water for at least 30 minutes
Equipment:
- Meat grinder with a fine grinding plate
- Sausage stuffer
- Kitchen scale
- Large mixing bowl
- Meat thermometer
- Butcher’s twine
- Curing chamber or a well-ventilated area with controlled temperature and humidity
A Step-by-Step Guide to Crafting Homemade Salami
1. Preparing the Meat Mixture:
-
Grind the meat: Using the fine grinding plate, grind the chilled pork shoulder and fatback into a large mixing bowl.
-
Mix in the seasonings: Add the salt, dextrose, Prague powder #2, black pepper, garlic powder, and red pepper flakes (if using) to the ground meat.
-
Incorporate the wine: Gradually pour in the dry red wine while mixing the meat with your hands. This will help to distribute the wine evenly and create a smoother texture.
-
Develop the texture: Continue mixing the meat for several minutes, ensuring all ingredients are thoroughly combined. This step is crucial for developing the proper texture and binding of the salami.
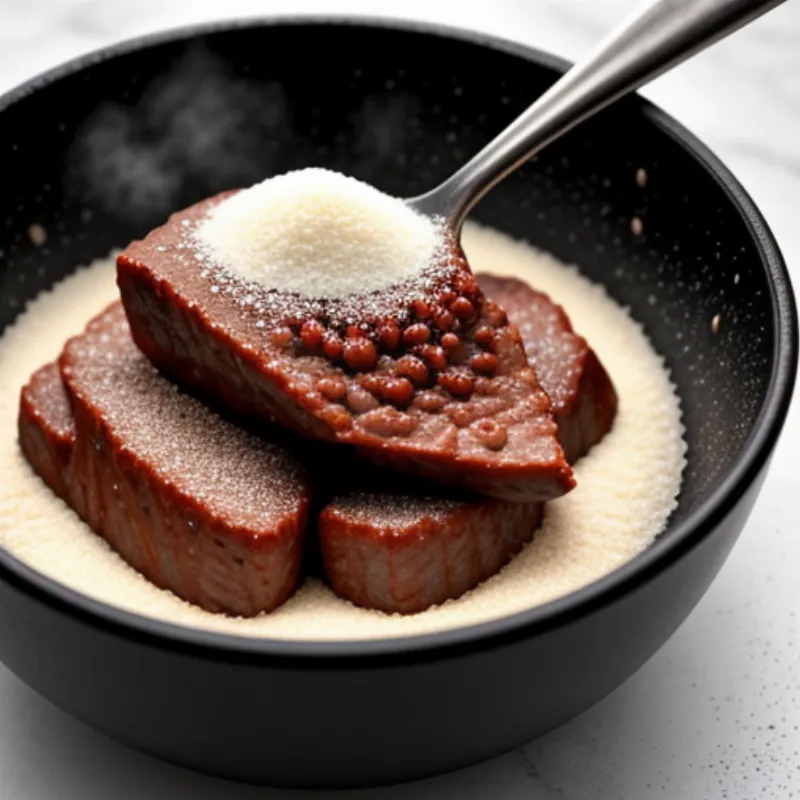
 Ground Meat & Seasonings
2. Stuffing the Salami:
-
Prepare the casings: Rinse the soaked beef casings thoroughly under cold water and thread them onto the sausage stuffer’s nozzle.
-
Stuff the casings: Carefully fill the casings with the meat mixture, avoiding air pockets. Twist the casings at regular intervals to create individual salami links.
-
Prick the casings: Using a sterilized needle or sausage pricker, make small holes along the length of each salami link. This will allow any trapped air to escape during the drying process.
3. Curing and Drying Your Salami:
-
Hang the salami: Tie loops of butcher’s twine around each salami link and hang them in your curing chamber or designated curing area. Ensure adequate spacing between the links for proper air circulation.
-
Maintain temperature and humidity: Maintain a temperature of 55-60°F (13-16°C) and a relative humidity of 75-85% throughout the drying process. This can be achieved using a dedicated curing chamber, or by adapting a refrigerator or other well-ventilated space.
-
Drying time: Allow the salami to cure for a minimum of 4 weeks, or until it has lost approximately 30-40% of its original weight. The drying time may vary depending on the thickness of the salami and the environmental conditions. Regularly check for mold growth, which is normal and desirable. If any unwanted mold appears, wipe it off with a cloth soaked in vinegar.
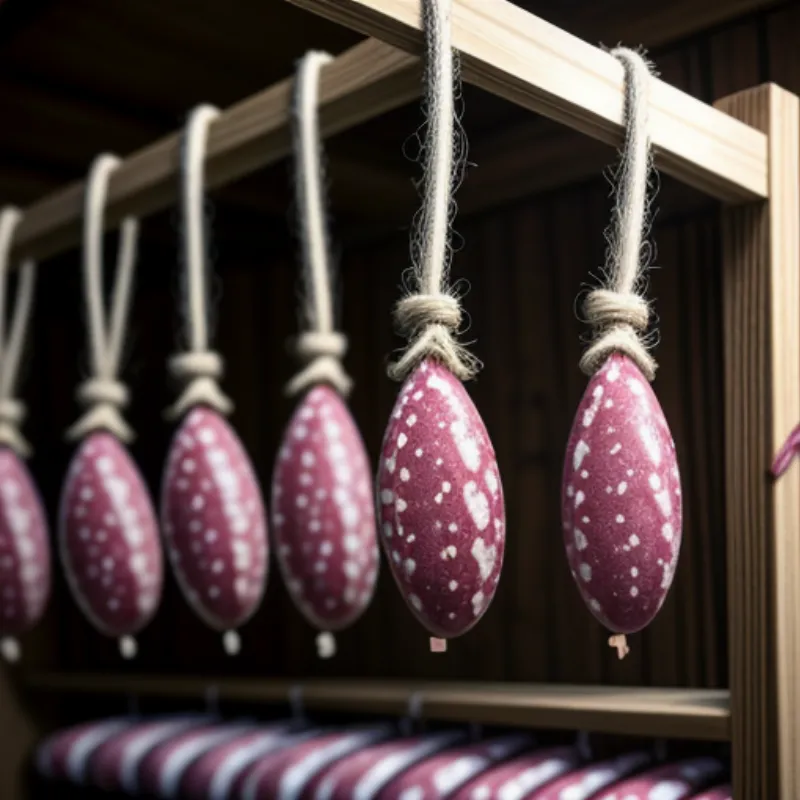
 Salami Hanging in a Curing Chamber
4. Enjoying Your Homemade Salami:
Once your salami has cured to the desired dryness, it’s ready to be enjoyed! Slice it thinly and savor the complex flavors you’ve created. Pair your homemade salami with crusty bread, cheese, olives, and a glass of red wine for an authentic Italian experience.
Tips and Tricks for Salami Success:
- Choose the right meat: Opt for pork shoulder for its ideal fat-to-lean ratio, which contributes to a flavorful and moist salami.
- Maintain cleanliness: Sanitation is crucial throughout the entire process. Thoroughly clean and sanitize all equipment and surfaces that will come into contact with the meat.
- Monitor the temperature and humidity: Invest in a thermometer and hygrometer to accurately monitor the curing conditions. Fluctuations in temperature and humidity can negatively impact the quality of your salami.
FAQs About Making Salami at Home:
Q: Can I make salami without a curing chamber?
A: Yes, you can adapt a refrigerator or other well-ventilated space for curing salami. Maintain the necessary temperature and humidity levels using a humidifier and temperature controller. You can also hang your salami in a cool, dark, and well-ventilated area of your home during cooler months.
Q: How do I know when my salami is ready?
A: The salami is typically ready when it has lost approximately 30-40% of its original weight. You can also test for doneness by pressing on the salami; it should feel firm to the touch.
Q: What should I do if I see mold growing on my salami?
A: White mold is a natural and desirable part of the curing process. However, if you notice any green, black, or fuzzy mold, wipe it off immediately with a cloth soaked in vinegar.
Expanding Your Charcuterie Horizons
Now that you’ve conquered salami, why stop there? Explore the world of fermented sausages further with these tantalizing recipes:
- Spicy Nduja: Discover the fiery flavors of ‘Nduja, a spreadable salami originating from Southern Italy. Learn how to make it at home with our detailed recipe: How to Make ‘Nduja.
- Southern Italian Soppressata: Embark on a culinary journey to Southern Italy with our guide to making Soppressata, a flavorful and aromatic salami. Find the recipe here: How to Make Soppressata.
This is just the beginning of your salami-making adventure! With practice and experimentation, you’ll be crafting delicious, artisanal charcuterie that rivals anything you can find in a store. Don’t forget to share your creations and experiences with us in the comments below. Happy curing!
