Salça, a vibrant and flavorful Turkish red pepper paste, is a pantry staple in many Mediterranean and Middle Eastern cuisines. Think of it as sunshine in a jar, adding a depth of flavor and a touch of color to countless dishes. Whether you’re a seasoned cook or just starting out, I’m here to guide you through making your own salça. Trust me, the aroma alone will be worth it, and the taste? Absolutely incredible!
Why You Should Try Making Salça
Perhaps you’ve seen salça on your travels or tasted its magic in a restaurant. Making it at home is easier than you might think, and it allows you to control the ingredients for a truly authentic taste. Plus, there’s a certain satisfaction that comes from creating something so flavorful from scratch.
Ingredients for Homemade Salça
Main Ingredients:
- 2 lbs red bell peppers (approximately 6-8 large peppers)
- 1 lb long red chili peppers (optional, for extra heat)
- 2 tbsp olive oil
- 1 tbsp sea salt (or to taste)
Optional Ingredients for Added Flavor:
- 2-3 cloves garlic, minced (adds a subtle pungent flavor)
- 1 tsp smoked paprika (enhances the smoky notes)
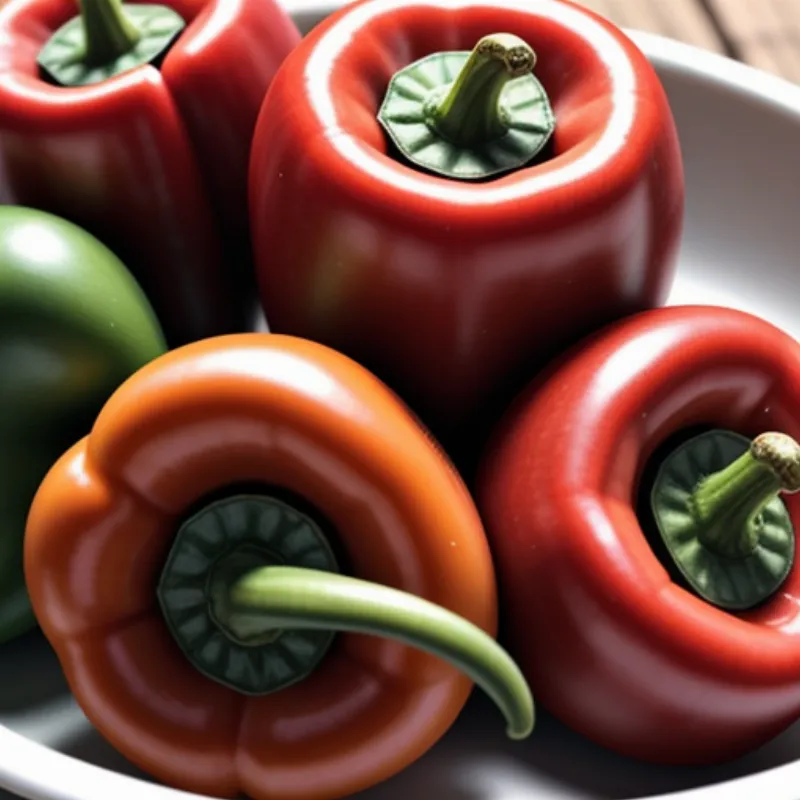
 Red bell peppers and chilis
Equipment You’ll Need
- Large baking sheet
- Food processor or blender
- Airtight jars for storage
Step-by-Step Guide to Making Salça
- Prep the Peppers: Preheat your oven to 400°F (200°C). Wash the peppers thoroughly and pat them dry. Cut the peppers in half lengthwise and remove the stems, seeds, and membranes.
- Roast for Flavor: Toss the peppers with olive oil and salt on your baking sheet. Make sure they’re cut-side down for maximum caramelization. Roast for about 45 minutes to an hour, or until the skins are blistered and slightly charred.
- Cool and Peel (Optional): Allow the peppers to cool completely. While optional, peeling the peppers will give your salça a smoother consistency. The skins should peel off easily after roasting.
- Blend to a Paste: Add the roasted peppers (with or without skins) to your food processor or blender. Pulse until a coarse paste forms. If you’re adding garlic or smoked paprika, now’s the time!
- Simmer for Depth: Transfer your pepper paste to a saucepan and simmer over low heat for about 30 minutes, stirring occasionally. This step helps to further concentrate the flavors and remove excess moisture.
- Jar and Store: While the salça is still hot, carefully ladle it into sterilized jars, leaving about ½ inch of headspace. Seal the jars tightly and allow them to cool completely before storing in the refrigerator.
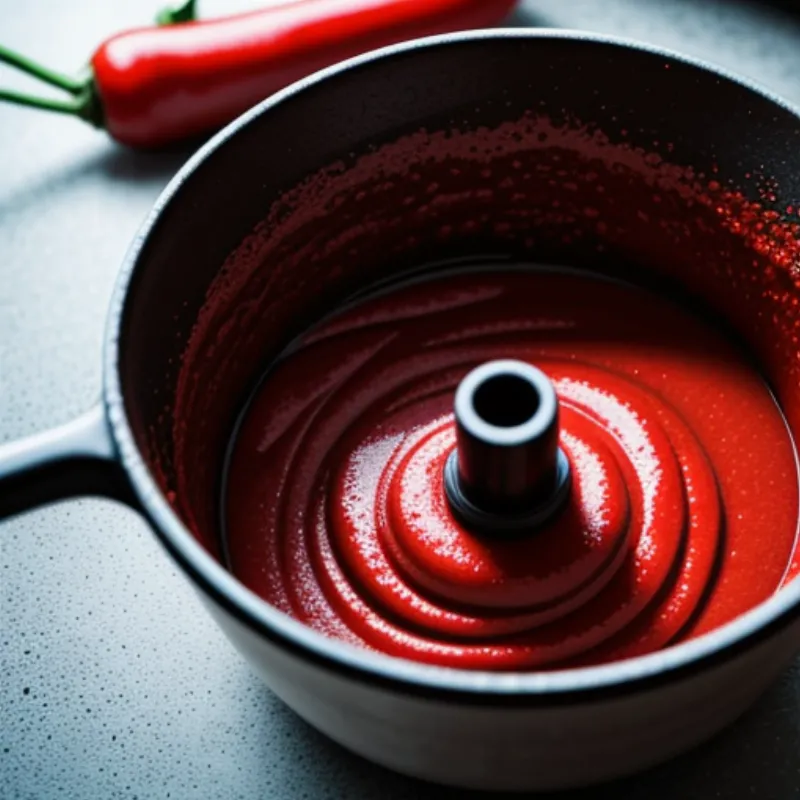
 Blending roasted peppers
Tips and Tricks for Perfect Salça
- Pepper Power: You can adjust the heat level of your salça by adding more or less chili peppers. For a milder salça, omit the chilis altogether.
- Garlic Goodness: For a richer flavor, roast the garlic cloves along with the peppers.
- Sun-Dried Tradition: Traditionally, salça is sun-dried for several days. While this step isn’t essential, it intensifies the flavor. If you live in a sunny climate, you can spread the pepper paste on a clean cloth and let it dry in direct sunlight for a few days, turning it occasionally.
Serving Suggestions and Storage
Your homemade salça is incredibly versatile. Here are some ideas:
- Spice Up Your Soups and Stews: Add a spoonful or two of salça to your favorite lentil soup, chickpea stew, or tomato-based sauces for an instant flavor boost.
- Elevate Your Eggs: Swirl a dollop of salça into scrambled eggs or shakshuka for a vibrant and smoky twist.
- Marinade Magic: Use salça as a base for marinades for chicken, lamb, or vegetables.
- Dip It Good: Combine salça with yogurt, olive oil, and fresh herbs for a delicious dip for bread or crudités.
Salça will last for several weeks in the refrigerator. For longer storage, you can freeze it in ice cube trays and then transfer the frozen cubes to a freezer-safe bag.
Enjoy the Flavors of Homemade Salça
Making your own salça is a rewarding culinary adventure. The rich, smoky, and slightly sweet flavor will transform your dishes and impress your family and friends. I encourage you to give it a try! Share your experience and photos of your homemade salça in the comments below.
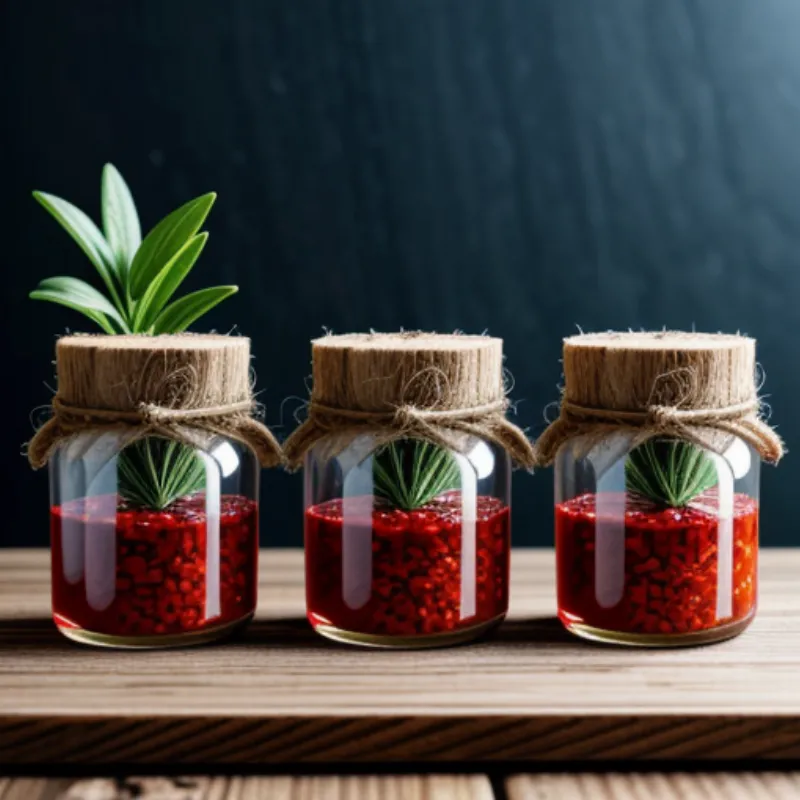
 Jars of homemade salça
