Few desserts can rival the seductive allure of salted caramel ice cream. That perfect blend of sweet, salty, creamy, and cool is simply irresistible. And guess what? You don’t need to be a professional pastry chef to create this masterpiece at home. With my easy-to-follow guide, we’ll transform your kitchen into a haven of frozen delights!
The Sweet and Salty History of Caramel
Did you know that caramel’s origin story is a bit of a happy accident? Legend has it that centuries ago, sugar was accidentally overheated, resulting in a beautiful, golden-brown, bittersweet syrup. Over time, this “burnt sugar” evolved into the caramel we know and love today. Adding a touch of salt enhances the flavor, creating a taste sensation that dances on your palate.
Gather Your Ingredients:
For this recipe, you’ll need a few simple ingredients readily available at most grocery stores.
For the Caramel:
- 1 cup granulated sugar
- ¼ cup water
- ½ cup heavy cream, at room temperature
- 4 tablespoons unsalted butter, cut into pieces
- 1 teaspoon sea salt, plus more to taste
For the Ice Cream:
- 2 cups heavy cream
- 1 cup whole milk
- ¾ cup granulated sugar
- ¼ teaspoon fine sea salt
- 1 teaspoon pure vanilla extract
Tools of the Trade:
Having the right equipment on hand will make the ice cream making process smoother. You will need:
- A heavy-bottomed saucepan
- A candy thermometer (crucial for perfect caramel)
- A whisk
- An ice cream maker
- An airtight container for freezing
Let’s Make Salted Caramel Ice Cream!
Step 1: Creating Caramel Magic
- In your heavy-bottomed saucepan, combine the sugar and water over medium heat. Stir until the sugar dissolves.
- Clip your candy thermometer to the side of the pan, ensuring it doesn’t touch the bottom.
- Allow the mixture to boil without stirring until it reaches a beautiful amber color, around 350°F (175°C). This is where the magic happens!
- Carefully remove the pan from the heat.
- Slowly whisk in the heavy cream (be careful, it will bubble vigorously).
- Whisk in the butter and salt until smooth and well combined.
- Pour your caramel into a heat-proof bowl and let it cool completely.
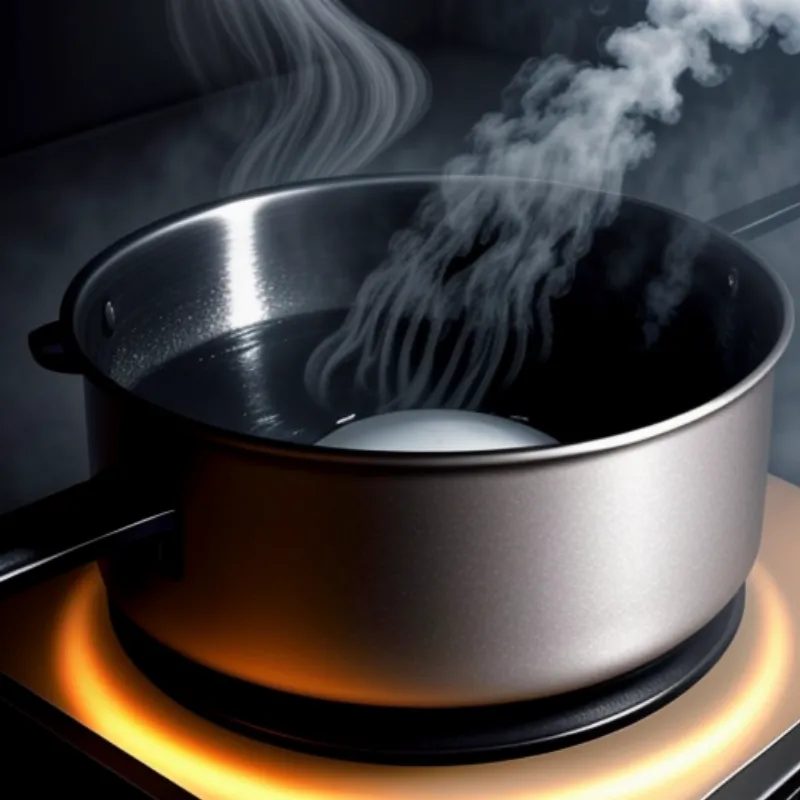
 Making Caramel on Stove
Step 2: The Ice Cream Base
- In a large bowl, whisk together the heavy cream, milk, sugar, and salt until the sugar dissolves.
- Stir in the vanilla extract.
Step 3: Churning Your Way to Deliciousness
- Pour your ice cream base into your ice cream maker and churn according to the manufacturer’s instructions.
- During the last few minutes of churning, drizzle in your cooled salted caramel and churn until it’s incorporated into beautiful swirls.
Step 4: The Patience of a Frozen Treat
- Transfer the ice cream to an airtight container.
- Freeze for at least 4 hours, or preferably overnight, to allow it to fully harden.
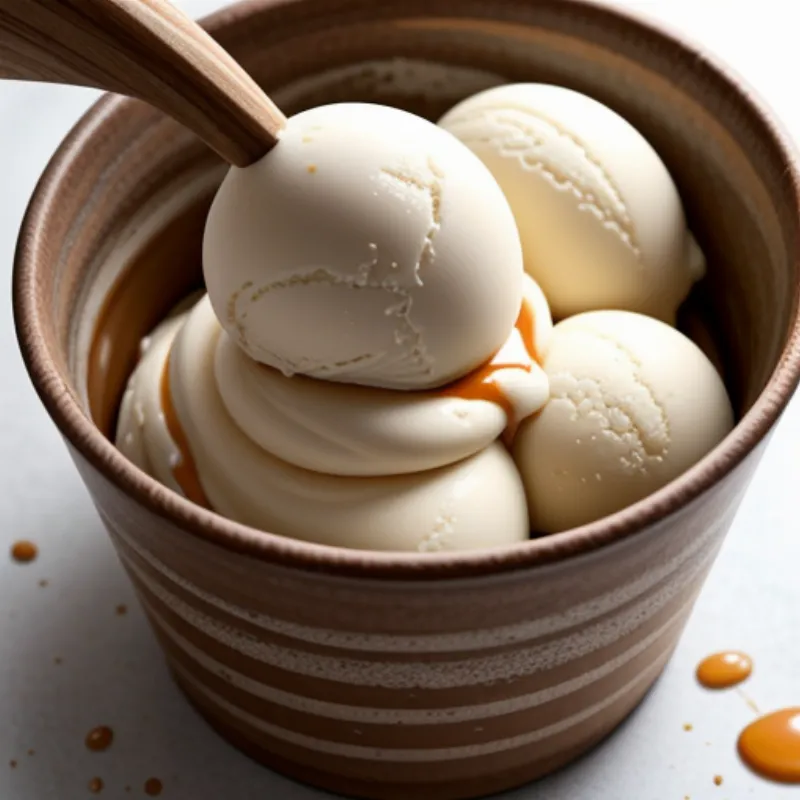
 Scooping Salted Caramel Ice Cream
Tips for Ice Cream Perfection:
- Room Temperature Ingredients: Using room temperature dairy products will help them incorporate more smoothly, resulting in a creamier texture.
- Don’t Be Afraid of the Salt: The salt is crucial to balancing the sweetness of the caramel. Don’t be shy! Taste and adjust to your liking.
- Get Creative with Toppings: While salted caramel ice cream is divine on its own, a sprinkle of flaky sea salt or chopped pecans takes it to the next level.
FAQs About Salted Caramel Ice Cream:
Q: Can I make this recipe without an ice cream maker?
A: While an ice cream maker produces the creamiest results, you can still achieve a delicious frozen treat without one. After incorporating the caramel into the ice cream base, pour the mixture into a freezer-safe container and freeze for 4-6 hours, whisking every hour to prevent large ice crystals from forming.
Q: How long will my salted caramel ice cream last in the freezer?
A: For the best flavor and texture, enjoy your homemade ice cream within a week. However, it will still be safe to eat for longer if stored properly.
Time to Indulge:
Congratulations, you’ve just made homemade salted caramel ice cream! Now grab your favorite spoon, scoop up a generous portion, and savor the sweet reward of your hard work.
Want to explore more frozen delights? Check out our recipe for Salted Caramel Gelato, a rich and decadent Italian-style ice cream!
