Sandbakelse, a beloved Norwegian cookie, holds a special place in the hearts (and kitchens!) of many. These small, buttery shortbread cookies, with their signature fluted edges and a delicate sprinkle of sugar, are the epitome of melt-in-your-mouth goodness.
Whether you have Norwegian heritage or simply appreciate a delicious and beautiful cookie, learning How To Make Sandbakelse is a rewarding experience. In this guide, we’ll walk you through the process step-by-step, offering tips and tricks to ensure your sandbakelse turn out picture-perfect. Get ready to impress your family and friends with these delightful treats, perfect for any occasion!
Gather Your Ingredients
Before we begin our sandbakelse-making adventure, let’s gather our ingredients:
- 1 cup (2 sticks) unsalted butter, softened
- 1/2 cup granulated sugar
- 1 large egg yolk
- 1 teaspoon vanilla extract
- 2 cups all-purpose flour
- Pinch of salt (optional)
- Granulated sugar, for sprinkling
A Note on Ingredients:
- Butter: Using high-quality, unsalted butter is crucial for the best flavor and texture.
- Flour: While all-purpose flour works well, some bakers prefer using cake flour for a slightly tenderer crumb.
- Salt: A pinch of salt can enhance the flavors, but it’s optional if you prefer a less salty cookie.
Tools of the Trade
You’ll need a few essential tools to make sandbakelse:
- Sandbakelse molds: These special molds are key to achieving the traditional fluted shape. If you don’t have them, small tartlet pans or even muffin tins can work as substitutes.
- Electric mixer: While you can certainly cream the butter and sugar by hand, an electric mixer makes the process quicker and easier.
- Measuring cups and spoons: Accurate measurements are essential for consistent results.
- Mixing bowls: You’ll need a few bowls for mixing the dough and preparing the molds.
- Baking sheet: For even baking, place the molds on a baking sheet.
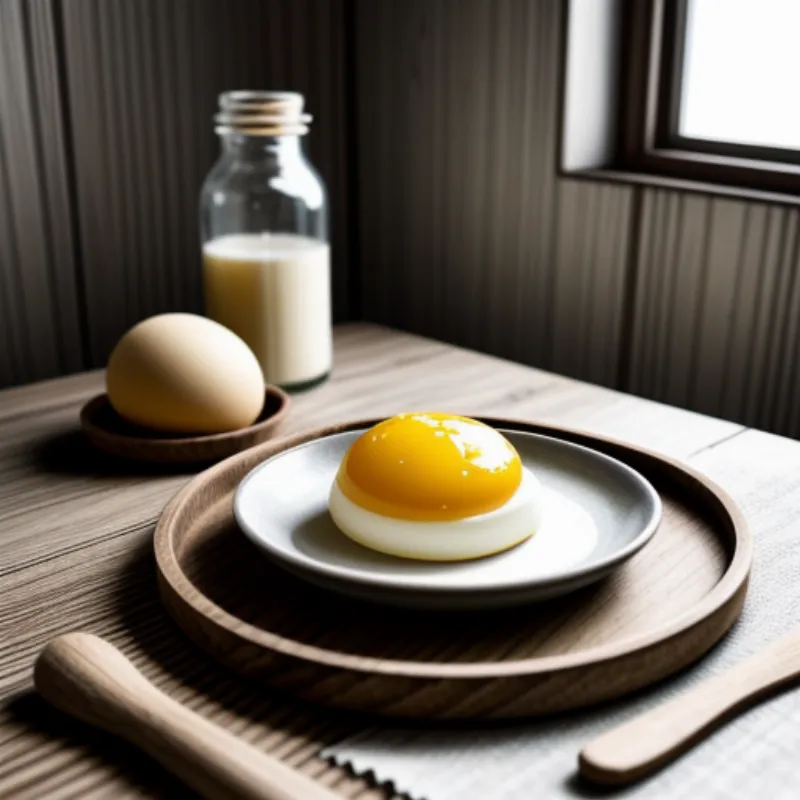
 Sandbakelse ingredients arranged on a wooden table
Let’s Bake Sandbakelse: A Step-by-Step Guide
1. Prepare the Dough
- In a large bowl, cream together the softened butter and sugar until light and fluffy. This should take about 2-3 minutes using an electric mixer on medium speed.
- Beat in the egg yolk and vanilla extract until well combined.
- In a separate bowl, whisk together the flour and salt (if using).
- Gradually add the dry ingredients to the wet ingredients, mixing on low speed until just combined. Be careful not to overmix the dough.
2. Shaping and Filling the Molds
- Preheat your oven to 375°F (190°C) and lightly grease your sandbakelse molds or chosen substitutes.
- Divide the dough into small balls, about the size of a walnut.
- Press each dough ball into a mold, using your fingers to spread it evenly and create a slight indentation in the center.
- Sprinkle the tops of the cookies with granulated sugar.
Tips:
- If the dough becomes too soft to work with, refrigerate it for 15-20 minutes before continuing.
- For a more decorative touch, use a fork to create a criss-cross pattern on top of the dough before baking.
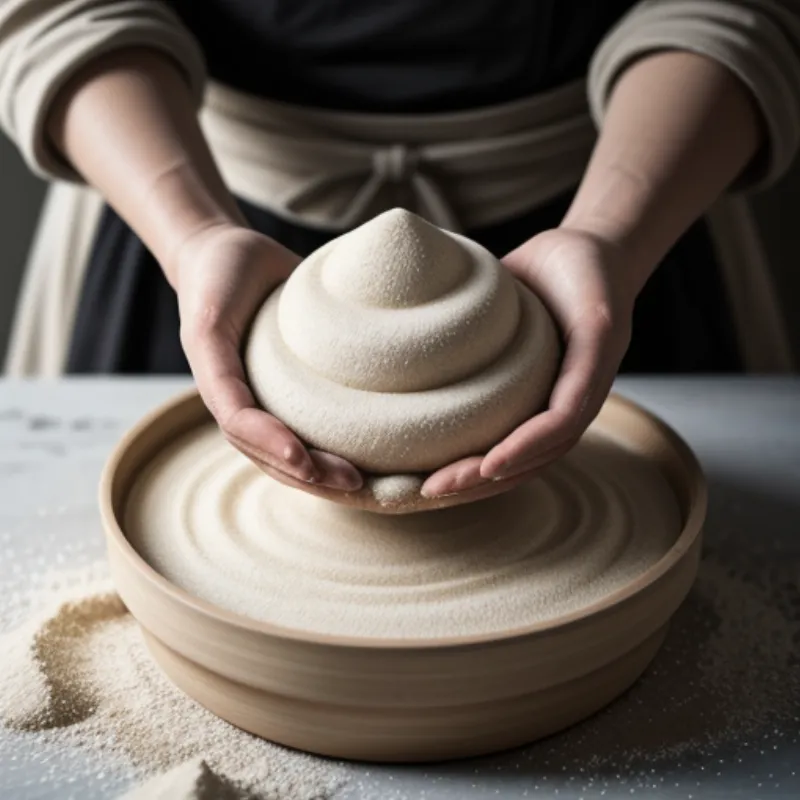
 Close-up of sandbakelse dough being pressed into molds
3. Baking Time!
- Place the filled molds on a baking sheet and bake for 10-12 minutes, or until the edges of the cookies are lightly golden brown.
- Keep a close eye on the cookies while they bake, as they can go from perfectly golden to over-browned quite quickly.
4. Cooling and Serving
- Once baked, allow the sandbakelse to cool in the molds for a few minutes before carefully removing them.
- Transfer the cookies to a wire rack to cool completely.
Tips:
- If the cookies are difficult to remove from the molds, gently run a thin knife around the edges to loosen them.
FAQs About Sandbakelse
Q: Can I freeze sandbakelse dough?
A: Absolutely! The dough can be frozen for up to 3 months. Thaw it overnight in the refrigerator before shaping and baking.
Q: My sandbakelse cookies spread too much while baking. What went wrong?
A: This could be due to a few factors, such as using overly soft butter or not chilling the dough sufficiently. Make sure your butter is at a cool room temperature, and consider chilling the dough for 15-20 minutes before baking if it seems too soft.
Enjoy Your Delicious Norwegian Treats!
Sandbakelse cookies are best enjoyed fresh, their buttery aroma filling your kitchen as they cool. Serve them with a cup of coffee or tea for a delightful afternoon treat. They also make a wonderful addition to cookie platters during the holiday season.
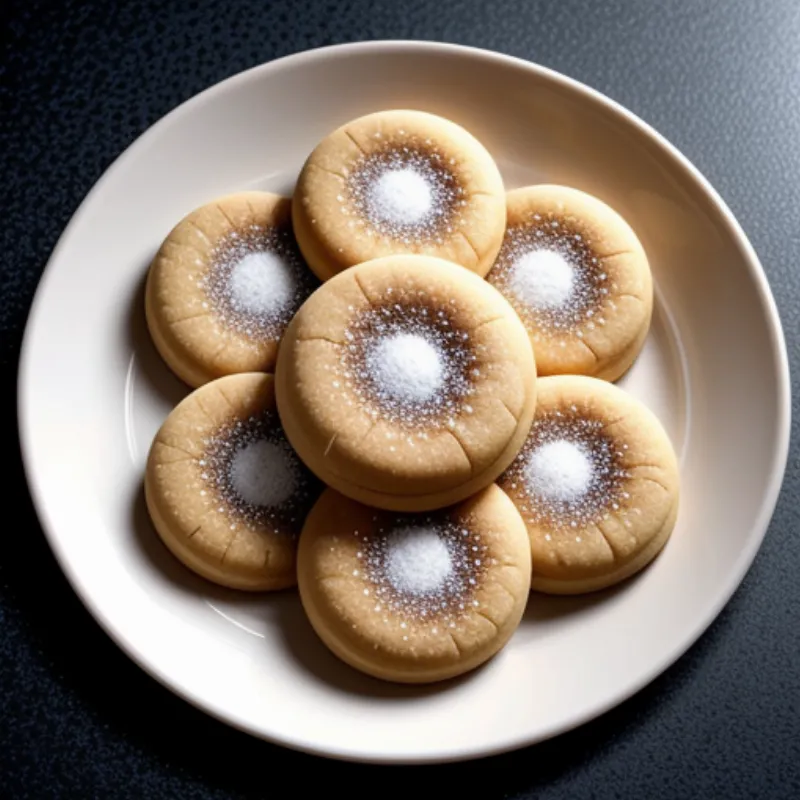
 Sandbakelse cookies arranged on a plate
We hope you enjoyed this journey into the world of sandbakelse! We encourage you to share your baking experiences, tips, and photos in the comments below. Happy baking!
