Sata Andagi, often called Okinawan doughnuts, are a delightful treat that will transport your taste buds straight to the sunny shores of Okinawa, Japan. These golden-brown puffs are crispy on the outside, fluffy on the inside, and bursting with a subtly sweet flavor that’s simply irresistible. Whether you’re a seasoned baker or a curious beginner, this recipe will guide you through each step to create these little balls of sunshine in your own kitchen.
Let’s Gather Our Ingredients:
- 2 cups all-purpose flour (or cake flour for a lighter texture)
- 1/2 cup granulated sugar
- 1/4 teaspoon baking powder
- 1/4 teaspoon salt
- 1 large egg
- 1/2 cup milk
- 1 tablespoon vegetable oil (plus more for frying)
- Optional: 1/2 teaspoon vanilla extract, 1/4 teaspoon cinnamon powder
Tip: For a chewier texture, you can substitute 1/4 cup of the all-purpose flour with tapioca starch or cornstarch.
Tools of the Trade:
- 2 large mixing bowls
- Whisk
- Rubber spatula
- Measuring cups and spoons
- Large pot or deep fryer
- Slotted spoon or spider strainer
- Wire rack
- Paper towels
Time to Get Cooking!
Step 1: Combining Dry Ingredients
In a large bowl, whisk together the flour, sugar, baking powder, and salt. This ensures all the dry ingredients are evenly distributed, creating a consistent texture for your sata andagi.
Step 2: Preparing the Wet Ingredients
In a separate bowl, whisk together the egg, milk, and oil until well combined. If you’re adding vanilla extract or cinnamon powder, whisk them in as well.
Tip: Avoid overmixing the wet ingredients, as this can lead to tough doughnuts.
Step 3: The Perfect Dough
Gradually add the wet ingredients to the dry ingredients, mixing gently with a rubber spatula until just combined. Don’t worry about a few lumps – it’s better to have a slightly lumpy dough than an overmixed one.
Tip: For a lighter texture, avoid kneading the dough.
Step 4: Heating Things Up
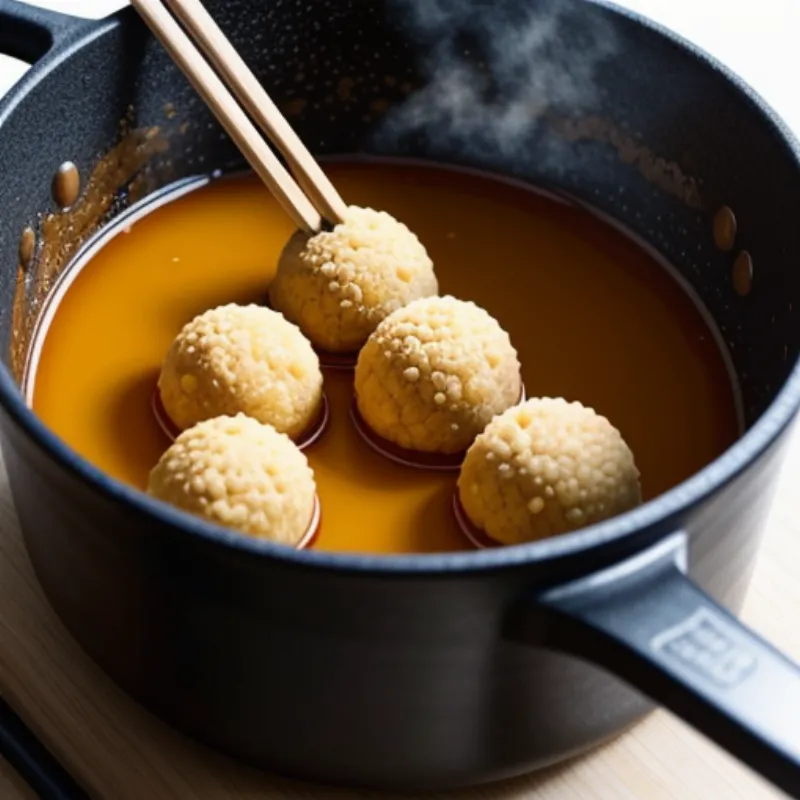
In a large pot or deep fryer, heat about 2-3 inches of vegetable oil to 350°F (175°C). To test if the oil is ready, drop a small amount of dough into the hot oil – it should sizzle gently and float to the surface within seconds.
Tip: Use a thermometer to ensure the oil maintains a consistent temperature throughout the frying process.
Step 5: Shaping Our Sunshine
Using a spoon or your hands, carefully drop small portions of dough (about 1-2 tablespoons each) into the hot oil. Don’t overcrowd the pot, as this will lower the oil temperature and result in greasy doughnuts.
Tip: If you’re using your hands to shape the dough, lightly wet them with water to prevent sticking.
Step 6: Golden Brown Perfection
Fry the sata andagi for about 3-4 minutes on each side, or until they turn a beautiful golden brown color. Use a slotted spoon or spider strainer to flip them over and ensure even cooking.
Step 7: Draining and Cooling
Once golden brown, carefully remove the sata andagi from the oil and place them on a wire rack lined with paper towels to drain any excess oil. This step helps achieve that crispy exterior we all love.
 Sata Andagi frying
Serving and Enjoying:
Sata andagi are best served warm, but you can also enjoy them at room temperature. They are delicious on their own but can also be paired with a cup of tea or coffee.
Tip: For an extra touch of sweetness, dust the warm sata andagi with powdered sugar or drizzle them with honey.
FAQs:
Q: Can I bake sata andagi instead of frying them?
A: While frying is the traditional method, you can bake sata andagi in a preheated oven at 350°F (175°C) for 15-20 minutes, or until golden brown. However, keep in mind that baking might result in a slightly drier texture compared to the fried version.
Q: How do I store leftover sata andagi?
A: Store any leftover sata andagi in an airtight container at room temperature for up to 2 days. You can also freeze them for longer storage.
Q: What can I serve with sata andagi?
A: Sata andagi are incredibly versatile and can be enjoyed on their own, with a cup of tea or coffee, or even as a dessert topping for ice cream or yogurt.
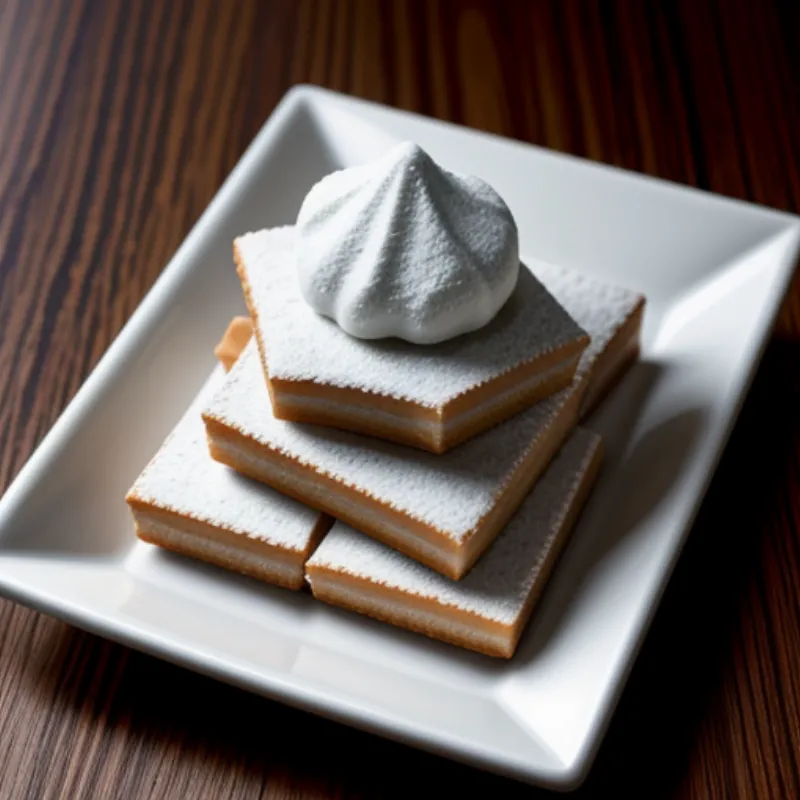
 Sata Andagi plated
A Taste of Tradition:
“Sata andagi hold a special place in Okinawan culture,” says renowned pastry chef, Hana Suzuki. “They are a symbol of happiness and good luck, often served during celebrations and festivals. Making them at home is a wonderful way to experience the warmth and generosity of Okinawan hospitality.”
So why not bring a taste of Okinawa into your kitchen? Try this recipe for sata andagi and experience the joy of creating these delightful treats. Don’t forget to share your experience and tag us on social media! We’d love to see your golden-brown creations!
Looking for more delicious recipes from around the world? Explore our website for a culinary adventure!
