Serinakaker, also known as “thin cookies” or “Norwegian tea cookies,” are a beloved treat in Norway, often enjoyed during special occasions and holidays. These delicate, buttery cookies have a melt-in-your-mouth texture and a subtle sweetness that pairs perfectly with a cup of coffee or tea.
Making serinakaker is easier than you might think! With this step-by-step guide, you’ll be able to recreate these traditional Norwegian cookies in your own kitchen and impress your family and friends with their delightful flavor and charming simplicity.
Ingredients You’ll Need:
- 2 cups (250g) all-purpose flour
- 1/2 teaspoon baking powder
- 1/4 teaspoon salt
- 1 cup (2 sticks) unsalted butter, softened
- 1 cup (200g) granulated sugar
- 1 large egg
- 1 teaspoon vanilla extract
Tools of the Trade:
- Measuring cups and spoons
- Mixing bowls
- Electric mixer (handheld or stand mixer)
- Rolling pin
- Cookie cutters (various shapes)
- Baking sheets
- Parchment paper or silicone baking mats
Let’s Bake Serinakaker!
Step 1: Preparing the Dough
- In a medium bowl, whisk together the flour, baking powder, and salt. Set aside.
- In a large bowl, cream together the softened butter and sugar until light and fluffy. You can use an electric mixer for this step.
- Beat in the egg and vanilla extract until well combined.
- Gradually add the dry ingredients to the wet ingredients, mixing on low speed until just combined. Be careful not to overmix the dough.
- Divide the dough in half, flatten each half into a disk, wrap tightly in plastic wrap, and refrigerate for at least 1 hour (or up to overnight).
Expert Tip from Chef Lars: Chilling the dough helps to prevent the cookies from spreading too much during baking. This ensures they maintain their signature thin and delicate texture.
Step 2: Rolling and Cutting the Cookies
- Preheat your oven to 375°F (190°C) and line your baking sheets with parchment paper or silicone baking mats.
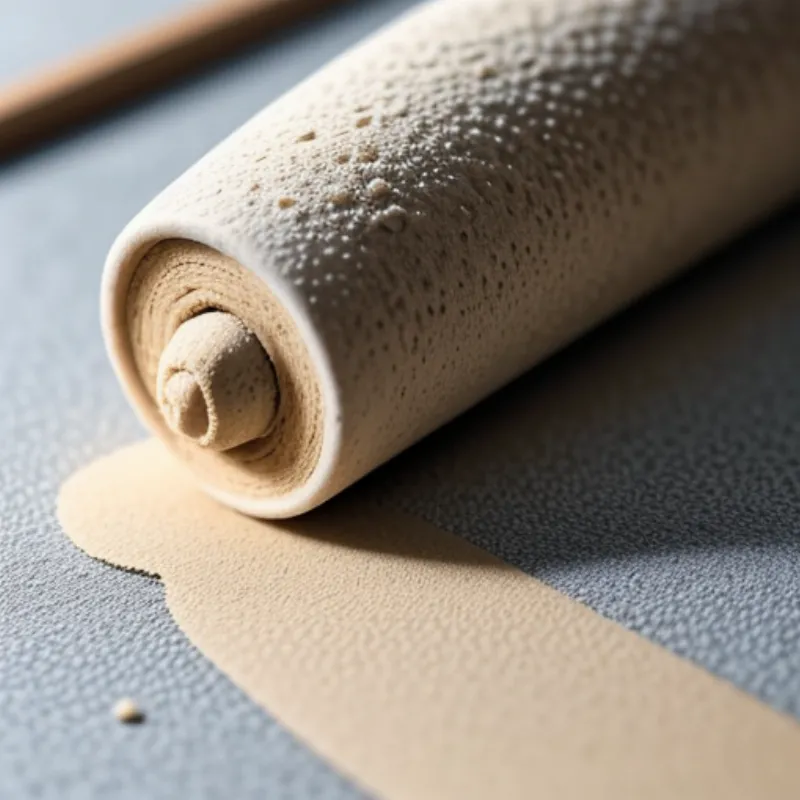
- Working with one disk of dough at a time, lightly flour a clean work surface and roll out the dough to about 1/8 inch thickness.
- Use your favorite cookie cutters to cut out desired shapes from the dough. You can use traditional shapes like hearts, stars, or circles, or get creative with other festive designs.
FAQ: Can I use a patterned rolling pin for a unique design?
Answer: Absolutely! Using a patterned rolling pin is a fantastic way to add a beautiful and unique touch to your serinakaker.
Step 3: Baking the Serinakaker
- Carefully transfer the cut-out cookies to your prepared baking sheets, leaving a little space between each cookie.
- Bake for 8-10 minutes, or until the edges of the cookies are lightly golden brown.
- Remove from the oven and allow the cookies to cool on the baking sheets for a few minutes before transferring them to a wire rack to cool completely.
Helpful Hint: If you notice the cookies browning too quickly, you can lower the oven temperature slightly or reduce the baking time.
 Serinakaker Dough
Step 4: Serving and Enjoying!
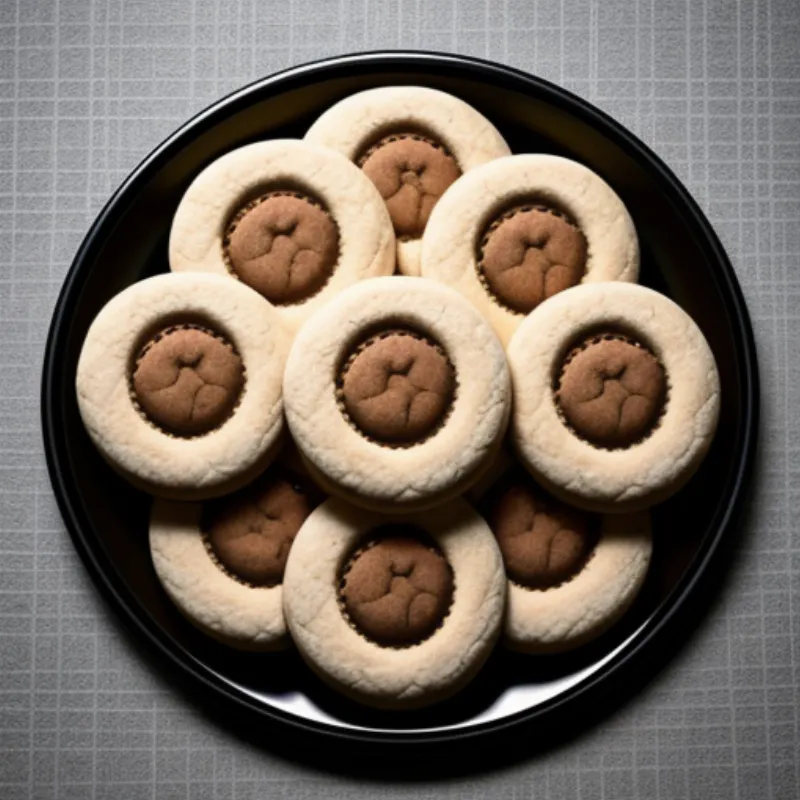
Once the serinakaker have completely cooled, they are ready to be enjoyed! Arrange them on a platter and serve them with your favorite hot beverage. They are especially delightful with a cup of coffee, tea, or even a glass of cold milk.
Presentation Tip: For an extra touch of elegance, you can dust the cooled cookies with powdered sugar before serving.
 Platter of Serinakaker
More Delicious Details about Serinakaker
- Storing Your Serinakaker: These cookies can be stored in an airtight container at room temperature for up to 3 days.
- Freezing for Later: You can also freeze the unbaked cookies for up to 3 months. When ready to bake, simply arrange the frozen cookies on a baking sheet and bake as directed, adding a few minutes to the baking time.
A Final Word from the Kitchen: Serinakaker are not just cookies, they are a taste of Norwegian heritage and a testament to the simple joys of baking. I encourage you to gather your loved ones, put on your aprons, and embark on this culinary adventure together. You’ll be amazed by the delicious results and the memories you create along the way.
