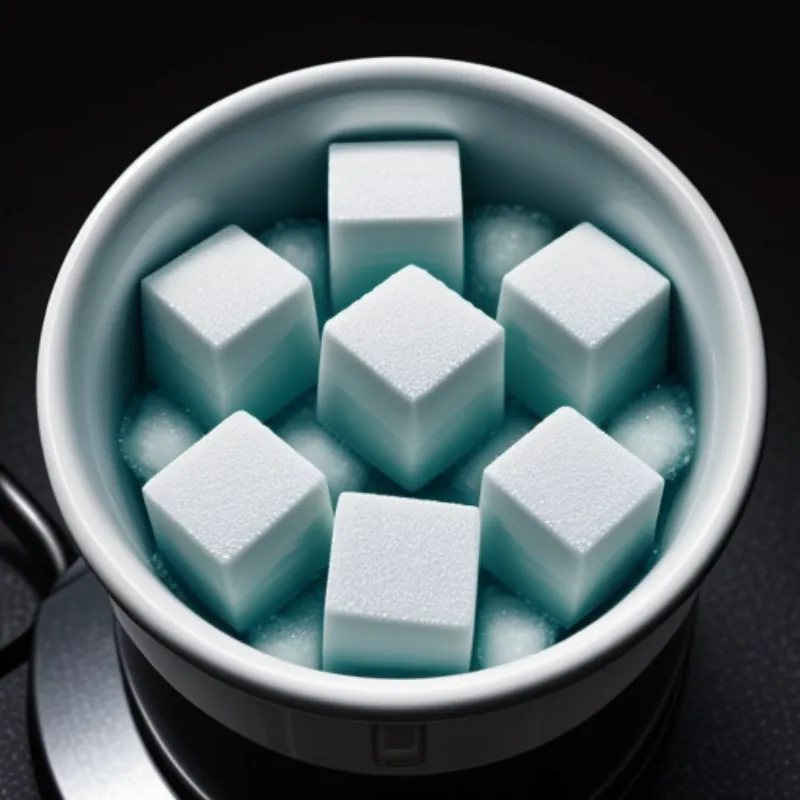
Shaved ice, also known as snow cones, is a classic summer treat that’s both refreshing and versatile. It’s simply finely shaved ice drizzled with flavored syrups, creating a colorful and delicious dessert that’s perfect for hot days. While the concept is simple, making perfect shaved ice at home requires a bit of know-how.
But fear not, fellow dessert enthusiasts! This comprehensive guide will walk you through everything you need to know to create the perfect shaved ice in your own kitchen. We’ll explore the tools, techniques, and even some creative flavor combinations to impress your family and friends. Get ready to beat the heat with this delightful treat that’s sure to bring back fond childhood memories and create new ones!
Gathering Your Shaved Ice Essentials
Making shaved ice at home is easier than you might think! Before we dive into the process, let’s gather the necessary ingredients and tools.
Ingredients:
- Ice: You’ll need a good amount of ice for this recipe. It’s best to use purified water to avoid any off-flavors.
- Sugar: Granulated white sugar is the base for most syrups.
- Water: Used to dissolve the sugar and create the syrup base.
- Flavorings: Get creative with your flavors! You can use store-bought syrups, fruit juices, extracts, or even fresh fruits and herbs.
Tools:
- Ice Shaver: The key to perfect shaved ice is a good-quality ice shaver. You can choose from manual or electric models depending on your preference and how much shaved ice you want to make.
- Saucepan: To make the syrup.
- Measuring Cups and Spoons: For accurate measurements.
- Whisk or Spoon: To stir the syrup.
- Cups or Cones: To serve your shaved ice creations.
 Ice Shaver Machine
How To Make Shaved Ice: A Step-by-Step Guide
Now that you have your ingredients and tools ready, let’s get started on making delicious shaved ice!
1. Prepare the Syrup
- Combine Sugar and Water: In a saucepan, combine equal parts sugar and water over medium heat.
- Stir to Dissolve: Stir continuously until the sugar completely dissolves and the mixture becomes clear.
- Add Flavor: Remove the syrup from the heat and stir in your desired flavorings. Let it cool completely.
Pro Tip from Chef Emily Carter: “For a richer syrup, try using simple syrup instead of plain sugar and water. To make simple syrup, dissolve equal parts sugar and water over low heat, stirring constantly. Allow it to cool completely before adding your chosen flavorings.”
2. Shave the Ice
- Freeze the Ice: Ensure your ice is completely frozen. You might need to freeze it for a longer time to achieve the right consistency for shaving.
- Shave the Ice: Following your ice shaver’s instructions, carefully shave the ice into a bowl or directly into cups.
Important Note: “Don’t overfill your ice shaver,” advises Chef Michael Thompson. “This can cause it to jam or produce unevenly shaved ice.”
3. Assemble Your Shaved Ice Delight
- Layer Ice and Syrup: Fill your cups or cones with shaved ice, layering the syrup between each layer for even distribution.
- Get Creative with Toppings: Once you’ve added the syrup, feel free to add your favorite toppings. Some popular options include:
- Fresh fruit (berries, mango, pineapple)
- Chopped nuts
- Sprinkles
- Whipped cream
- Chocolate sauce
- Condensed milk
 Shaved Ice with Colorful Syrups
Tips for the Best Shaved Ice
- Ice Matters: The type of ice you use significantly affects the final texture of your shaved ice. Avoid using ice cubes from your freezer tray, as they tend to be hard and result in crunchy shaved ice. Block ice or bagged ice specifically designed for snow cones works best.
- Storage is Key: For the fluffiest shaved ice, use the shaved ice immediately. If you need to shave the ice in advance, store it in a freezer-safe container for up to an hour. Avoid packing the shaved ice too tightly.
- Experiment with Flavors: The beauty of shaved ice lies in its endless flavor possibilities! Don’t hesitate to try out different combinations of syrups, juices, and fresh ingredients to create your signature shaved ice concoction.
FAQs about Making Shaved Ice
Can I use a blender to make shaved ice?
While a blender can crush ice, it won’t produce the same fine, fluffy texture as a dedicated ice shaver. Using a blender may result in a slushy consistency rather than the light and airy texture of shaved ice.
How do I prevent my shaved ice from melting too quickly?
Working quickly is key to prevent melting. Have your cups or cones ready and work in batches, shaving the ice right before serving. Using chilled cups or cones can also help slow down the melting process.
Conclusion
There you have it! You’re now equipped with the knowledge and skills to make delicious shaved ice at home. It’s a fun and refreshing treat that’s perfect for cooling down on hot days or simply satisfying your sweet tooth. So gather your ingredients, unleash your inner chef, and get ready to impress your loved ones with your homemade shaved ice creations. Don’t forget to share your culinary masterpieces with us in the comments below!
For more refreshing dessert recipes, check out our guide on how to make Filipino Halo-Halo.
