Nothing says summer like a refreshing snow cone! This icy treat, bursting with vibrant colors and sweet flavors, has the magical ability to transport you back to childhood. Whether you’re reminiscing about carefree days at the amusement park or simply seeking a fun and easy dessert to beat the heat, homemade snow cones are the perfect solution. The best part? They’re incredibly simple to make! With just a few ingredients and a little bit of effort, you can create a rainbow of flavors right in your own kitchen.
Gather Your Snow Cone Essentials
Ingredients:
- Ice: The star of the show! You’ll need about 4 cups of ice for 2 servings.
- Sugar: 2/3 cup, or adjust to your sweetness preference.
- Water: 1/3 cup
- Flavoring: Get creative! Use your favorite fruit juices, drink mixes, or even pureed fruits.
- Food Coloring (optional): A drop or two can enhance the visual appeal, especially for kids.
Equipment:
- Blender or Food Processor: To crush the ice into that perfect snow-like consistency.
- Saucepan: For creating your simple syrup.
- Snow Cone Cups or Bowls: Choose your vessel for this icy delight.
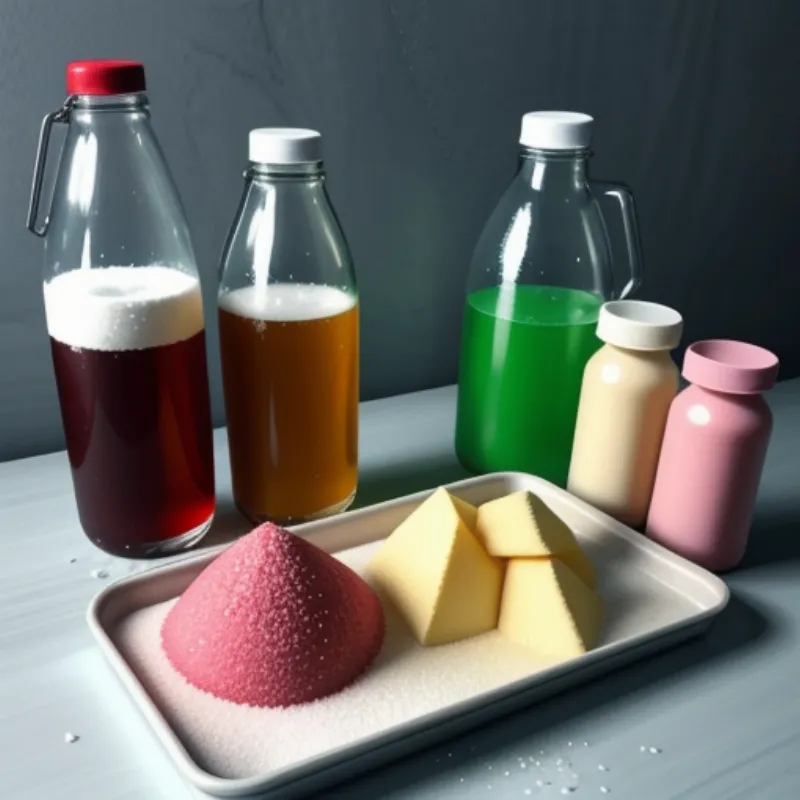
 Snow Cone Ingredients
Let’s Make Some Snow Cones!
Step 1: Creating the Sweet Base
- In your saucepan, combine the sugar and water.
- Heat over medium heat, stirring constantly, until the sugar dissolves completely.
- Bring the mixture to a boil, then reduce heat and simmer for 3-5 minutes, allowing it to slightly thicken.
- Remove from heat and let the syrup cool completely.
Step 2: Transforming Ice into Snow
- While the syrup cools, add your ice to the blender or food processor.
- Pulse the ice until it reaches a fine, powdery consistency, resembling snow. If it starts to clump, break it up with a spoon and continue pulsing.
Step 3: Infusing with Flavor and Fun!
- Divide the shaved ice evenly among your snow cone cups or bowls.
- Drizzle your desired flavoring over the ice. You can use store-bought syrups or get creative with homemade concoctions.
- For a bolder color, add a drop or two of food coloring to the syrup before pouring.
Step 4: Serve and Savor
Hand these icy treats to your eager recipients and watch their faces light up! For an extra touch of indulgence, top with whipped cream, sprinkles, or a drizzle of chocolate sauce.
 Making a Snow Cone
Tips for Snow Cone Success:
- Ice Matters: For the fluffiest snow cones, use ice that’s been frozen for at least 24 hours.
- Flavor Exploration: Experiment with different flavors! Try fruit purees, lemonade, iced tea, or even coffee for a grown-up twist.
- Storage Savvy: If you have leftover shaved ice, store it in a freezer-safe bag for up to a week. Let it thaw slightly before using.
FAQs:
Q: Can I use a shaved ice machine instead of a blender?
A: Absolutely! A shaved ice machine is a great investment if you plan on making snow cones frequently.
Q: My syrup is too thin. What did I do wrong?
A: It’s likely that you didn’t simmer the syrup long enough. Try heating it again for a few more minutes until it thickens slightly.
Q: Can I make sugar-free snow cones?
A: Of course! Simply substitute the sugar with your preferred sugar substitute in the simple syrup recipe.
Making snow cones at home is a fun and rewarding experience. Get creative with flavors, experiment with toppings, and enjoy this delightful treat with your loved ones. For more refreshing homemade frozen treats, check out our guide on how to make ice cream rolls: [link to https://familycuisine.net/how-to-make-ice-cream-rolls/ using relevant anchor text, such as “delicious ice cream rolls”]. Happy snow cone making!
