Snow skin mooncakes, also known as “băng bì nguyệt bánh” in Cantonese, are a delightful twist on the traditional mooncake enjoyed during the Mid-Autumn Festival. Unlike their baked counterparts, these delicate treats boast a soft, slightly chewy exterior derived from glutinous rice flour. Their cool, refreshing nature and versatility in fillings make them a modern favorite.
Whether you’re a seasoned baker or a curious novice, this comprehensive guide will equip you with all the knowledge and confidence to craft your own batch of beautiful snow skin mooncakes. Let’s dive in!
Ingredients You’ll Need:
For the Snow Skin Dough:
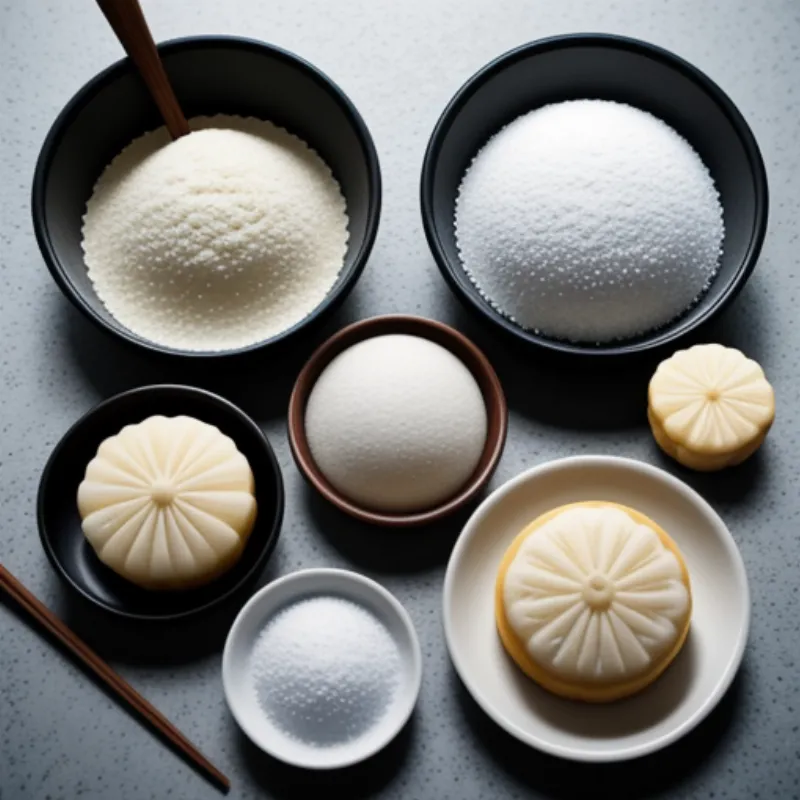
- 100g glutinous rice flour (also known as mochiko flour)
- 20g rice flour
- 30g icing sugar
- 15g unsalted butter, melted and cooled
- 120ml cold milk
- Food coloring of your choice (optional)
For the Filling:
- 200g store-bought or homemade lotus seed paste (or your preferred filling like red bean paste, mung bean paste)
Other:
- Mooncake molds (various designs available online or at Asian grocery stores)
 Snow Skin Mooncake Ingredients
Tools of the Trade:
- Steamer
- Mixing bowls
- Non-stick spatula
- Cling wrap
- Rolling pin
Crafting Your Snow Skin Masterpieces:
1. Preparing the Dough:
- In a large bowl, whisk together the glutinous rice flour, rice flour, and icing sugar.
- Gradually add the melted butter and cold milk, whisking constantly to prevent lumps from forming.
- If you’re using food coloring, divide the batter into separate bowls and add a few drops of color to each.
- Cover the bowls with cling wrap and let the batter rest for at least 30 minutes. This allows the flour to fully hydrate, resulting in a smoother dough.
Expert Tip from Chef Anna Lee: “For vibrantly colored mooncakes, use gel food coloring instead of liquid food coloring. Gel colors are more concentrated and won’t alter the consistency of the dough.”
2. Steaming the Dough:
- While the dough rests, prepare your steamer by filling it with water and bringing it to a boil.
- Once the water is boiling, place the bowls of batter (still covered with cling wrap) in the steamer basket.
- Steam for 20-25 minutes, or until the dough is cooked through. You’ll know it’s ready when it turns translucent and a toothpick inserted comes out clean.
3. Kneading and Shaping:
- Carefully remove the bowls from the steamer and let them cool slightly.
- Once cool enough to handle, lightly dust your work surface with some glutinous rice flour (this prevents sticking).
- Turn out the steamed dough onto the floured surface and knead gently for a minute or two until smooth and pliable. If the dough feels too sticky, add a tiny amount of glutinous rice flour at a time.
Troubleshooting Time: What if my dough is too dry and crumbly? Don’t worry, it happens! Simply sprinkle a tablespoon of water onto the dough and knead it in. Repeat this process until the dough comes together.
4. Filling and Molding:
- Divide the dough and filling into equal portions according to the size of your mooncake molds. A good ratio is 1 part filling to 2 parts dough.
- Roll each portion of dough into a smooth ball. Flatten the ball into a disc, making sure the edges are slightly thinner than the center.
- Place a ball of filling in the center of the disc.
- Gently wrap the dough around the filling, pinching the edges to seal completely.
- Lightly dust your mooncake mold with glutinous rice flour.
- Place the filled dough ball into the mold and press firmly.
- Gently tap the mold to release the mooncake.
 Snow Skin Mooncake Molding
5. Serving and Storing:
- Arrange your beautifully crafted snow skin mooncakes on a serving platter and marvel at your creation!
- They are best enjoyed fresh but can be stored in an airtight container in the refrigerator for up to 2 days.
A Taste of Tradition: Snow skin mooncakes are traditionally enjoyed during the Mid-Autumn Festival, a time for families to gather under the light of the full moon. These sweet treats symbolize unity and wholeness.
Frequently Asked Questions:
Q: Can I use a different type of flour?
A: While glutinous rice flour is essential for the chewy texture, you can substitute a small portion (no more than 10%) with tapioca starch for a slightly chewier result.
Q: My dough is too sticky, what should I do?
A: Add a teaspoon of glutinous rice flour at a time to the dough and knead until it becomes manageable. Remember, a light hand is key when working with this type of dough.
Q: Can I freeze snow skin mooncakes?
A: Yes, you can freeze them for up to a month. Thaw them in the refrigerator overnight before serving.
Conclusion
Making snow skin mooncakes at home is a rewarding experience that allows you to connect with tradition and impress your loved ones. Don’t be afraid to experiment with different fillings and colors to create your own unique masterpieces.
We encourage you to give this recipe a try and share your beautiful creations with us! Tag your photos with #FamilyCuisineMooncakes so we can admire your baking prowess. Happy Mid-Autumn Festival!
