Sourdough bread. It’s the holy grail for many home bakers. With its crispy crust, chewy texture, and signature tangy flavor, it’s no wonder sourdough has captured the hearts (and stomachs) of people worldwide. But the journey to baking the perfect loaf can seem daunting, almost mythical. Fear not, fellow bread enthusiast! I’m here to demystify the sourdough process and guide you every step of the way.
What Makes Sourdough So Special?
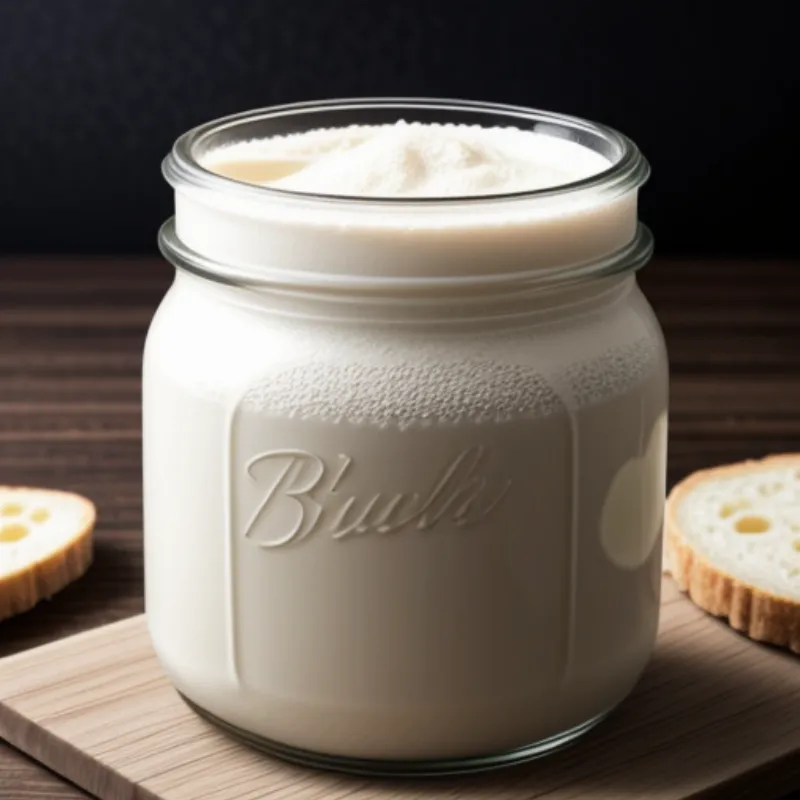
Sourdough bread’s unique flavor and texture come from its natural leavening agent: the sourdough starter. Unlike commercial yeast, which is a single-celled fungus, a sourdough starter is a vibrant ecosystem of wild yeasts and lactic acid bacteria. These little helpers ferment the dough, creating those characteristic air pockets and that delightful tang we all love.
“Think of your sourdough starter as a pet,” says renowned baking expert, Emily Carter. “It needs love, care, and regular feeding to thrive. But the reward is well worth the effort – a truly unique and delicious bread that you can proudly call your own.”
Gathering Your Sourdough Baking Arsenal
Ingredients:
- 200g ripe sourdough starter (fed and bubbly)
- 300g lukewarm water
- 500g strong bread flour (or a mix of bread flour and all-purpose flour)
- 10g salt
Optional additions:
- 2 tbsp olive oil (for a softer crust)
- 1 tbsp honey or maple syrup (for added flavor)
Important Note: The beauty of sourdough lies in its adaptability. Feel free to experiment with different flour types, such as whole wheat or rye, to create unique flavors and textures.
Tools:
- Large mixing bowl
- Kitchen scale
- Dough scraper
- Clean kitchen towel
- Banneton or bowl lined with a floured cloth (for proofing)
- Dutch oven or baking stone
 Active Sourdough Starter in a Glass Jar
The Art of Crafting Your Sourdough Masterpiece
Step 1: Mixing and Kneading
- In a large bowl, combine the sourdough starter and lukewarm water. Stir gently to dissolve the starter.
- Add the flour and salt. Mix until a shaggy dough forms.
- Turn the dough out onto a lightly floured surface and knead for 10-15 minutes, or until smooth and elastic. If the dough feels too sticky, add a tablespoon of flour at a time until manageable.
- Place the dough back in the bowl, cover it with a damp cloth, and let it rest for 30 minutes (this is called the autolyse).
Step 2: Stretch and Fold
- After the autolyse, perform a series of “stretch and folds.” Gently pull one side of the dough up and fold it over to the opposite side. Rotate the bowl 90 degrees and repeat the process for all four sides.
- Repeat the stretch and folds every 30 minutes for the next 2-3 hours. This helps develop the gluten structure, resulting in a light and airy loaf.
Step 3: Bulk Fermentation
- After the final stretch and fold, shape the dough into a ball and place it back in the bowl. Cover it tightly with plastic wrap or a damp cloth.
- Let the dough ferment at room temperature for 4-6 hours, or until it has doubled in size. The fermentation time will vary depending on the temperature and humidity of your kitchen.
Step 4: Shaping and Proofing
- Gently transfer the dough to a lightly floured surface. Divide it in half if making two loaves.
- Shape each piece of dough into a boule (round loaf) or batard (oblong loaf) by gently pulling the edges towards the center and tucking them underneath.
- Place the shaped dough into a well-floured banneton or a bowl lined with a floured cloth, seam-side up.
- Cover the bannetons with plastic wrap or a damp cloth and let the dough proof in the refrigerator overnight (12-18 hours).
Step 5: Baking Time
- Preheat your oven to 450°F (232°C) with the Dutch oven inside.
- Carefully remove the dough from the refrigerator and gently turn it out onto a piece of parchment paper.
- Score the top of the dough with a sharp knife or razor blade. This creates weak points for the steam to escape during baking, resulting in a beautiful oven spring.
- Carefully lower the dough (along with the parchment paper) into the preheated Dutch oven. Cover with the lid and bake for 20 minutes.
- After 20 minutes, remove the lid and continue baking for another 20-25 minutes, or until the crust is a deep golden brown.
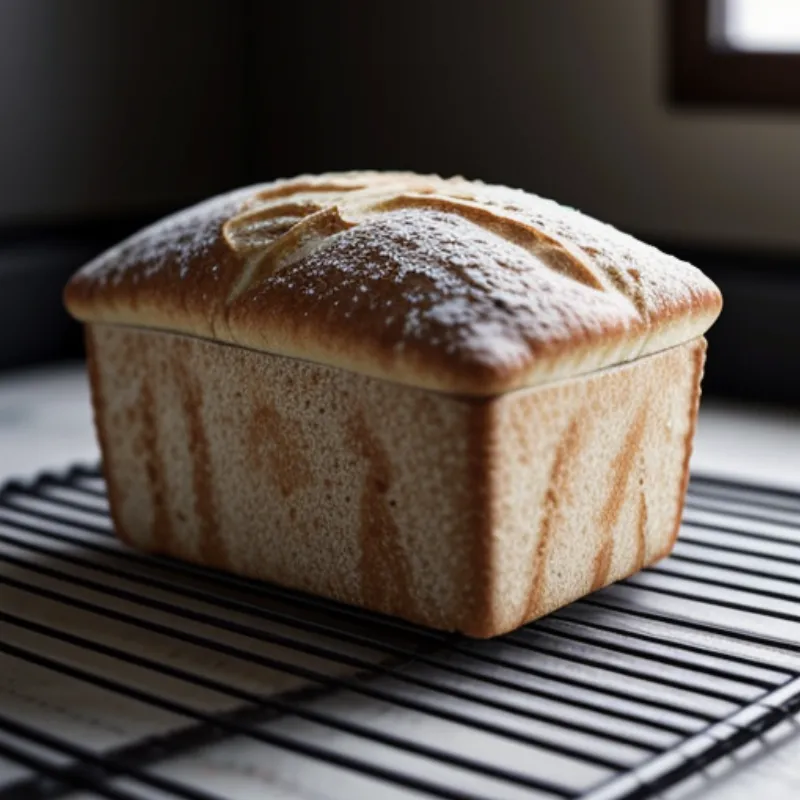
- Carefully remove the bread from the Dutch oven and let it cool completely on a wire rack before slicing and enjoying.
 Freshly Baked Sourdough Bread Cooling on a Rack
Tips and Tricks for Sourdough Success
- Feeding your starter: Your sourdough starter is the heart of your bread. Remember to feed it regularly with equal parts flour and water to keep it active and happy.
- Testing for doneness: To check if your bread is fully baked, tap the bottom of the loaf. It should sound hollow when tapped. You can also use an instant-read thermometer to check the internal temperature – it should register between 200-210°F (93-99°C).
- Experiment with flavors: Once you’ve mastered the basic sourdough recipe, don’t be afraid to get creative! Add different seeds, nuts, herbs, or spices to create your own signature loaves.
The Joys of Sharing Homemade Sourdough
Baking sourdough bread is more than just following a recipe; it’s a journey of discovery, patience, and ultimately, the joy of creating something truly special with your own hands. So, gather your ingredients, awaken your inner baker, and experience the magic of sourdough!
Want to explore other ways to use your sourdough starter? Check out our delicious recipe for Sourdough Pizza Crust!
