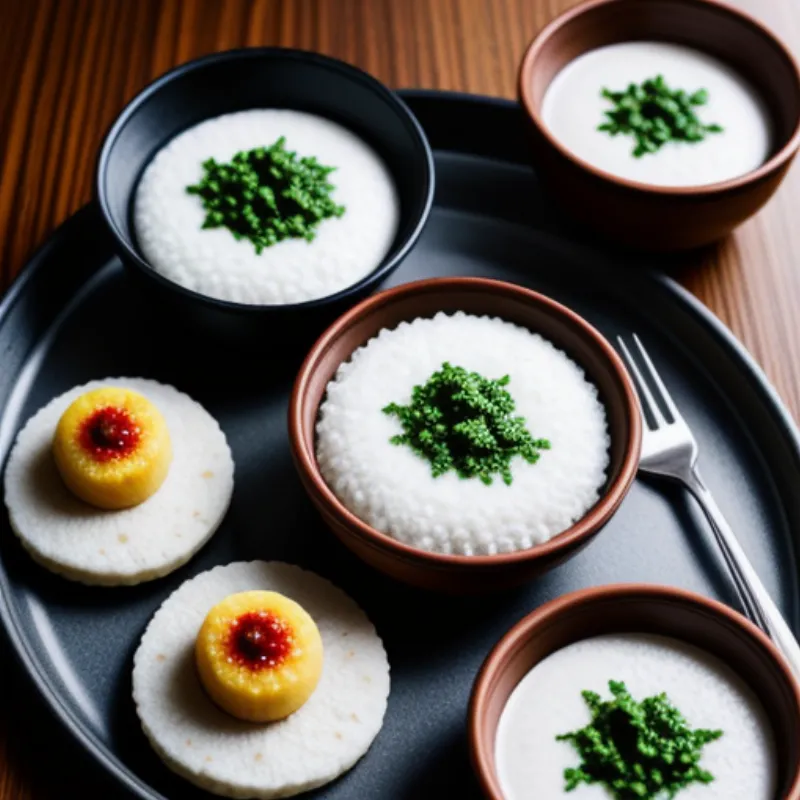
Steamed idli – the very name evokes images of light, fluffy, and subtly tangy South Indian breakfast staples. These savory rice cakes, a beloved tradition in countless households, are not just delicious but also incredibly healthy. If you’ve ever wanted to recreate this fermented delight in your own kitchen, you’ve come to the right place!
This comprehensive guide will walk you through the entire process, from soaking the rice and lentils to steaming those perfect idlis. Get ready to impress your family and friends with your newfound culinary prowess!
Ingredients for Perfect Steamed Idli
Here’s what you’ll need to embark on your idli-making journey:
- Idli Rice: 2 cups (Use parboiled rice if idli rice isn’t available)
- Urad Dal (Split Black Gram Lentils): 1/2 cup
- Fenugreek Seeds: 1 teaspoon
- Salt: 1.5 teaspoons (adjust to taste)
- Water: As needed for soaking and grinding
- Oil: For greasing the idli molds
Optional Ingredients:
- Cooked Rice: 1/4 cup (for extra softness)
- Poha (Flattened Rice): 1/4 cup (for a porous texture)
Essential Tools for Steaming Idlis
- Large Bowl: For soaking the rice and lentils
- Blender or Grinder: To achieve a smooth batter
- Large Pot or Vessel: For fermentation
- Idli Steamer: The heart of the operation! If you don’t have one, you can use a large pot with a tight-fitting lid and a rack to hold the idli molds.
 Idli batter
Step-by-Step Guide to Making Steamed Idlis
- Soaking: Begin by rinsing the idli rice, urad dal, and fenugreek seeds separately under running water until the water runs clear. Soak them in separate bowls with enough water to cover them completely. Allow them to soak for at least 6-8 hours or overnight.
- Grinding: Drain the soaked rice and lentils. Add them to a blender or grinder, along with the fenugreek seeds. Add a little water at a time and grind to a smooth and fluffy batter. The consistency should be thick but pourable.
- Fermentation: Transfer the batter to a large pot or vessel, leaving some space at the top for it to rise. Cover the pot and let it ferment in a warm place for 8-12 hours, depending on the weather. A well-fermented batter will almost double in volume and have a slightly sour aroma.
- Preparing the Steamer: While the batter ferments, grease your idli molds with oil. Fill the steamer pot with water and bring it to a boil.
- Steaming: Gently mix the fermented batter with a spoon. Add salt and mix again. Pour a ladleful of batter into each greased idli mold, filling them about three-quarters full. Place the filled molds in the steamer, ensuring they don’t touch the water. Cover the steamer with a lid and steam for 10-12 minutes over medium heat.
- The Toothpick Test: To check if the idlis are cooked, insert a toothpick into the center. If it comes out clean, they’re ready!
 Idlis steaming
Tips & Tricks for the Best Steamed Idlis
- Use good quality idli rice and urad dal for optimal flavor and texture.
- Don’t over-grind the batter as it can make the idlis dense.
- The fermentation time may vary depending on the room temperature. In warmer climates, it might take less time.
- If the batter seems too thick after fermentation, you can add a little lukewarm water and mix gently.
- Steaming time may vary depending on the size and type of steamer used.
Presenting Your Steamed Idlis
Once cooked, carefully remove the idli molds from the steamer. Let them cool slightly before gently scooping out the idlis with a spoon. Serve them hot with traditional accompaniments like:
- Sambar: A flavorful lentil-based vegetable stew.
- Coconut Chutney: A spicy and tangy condiment made with coconut, chilies, and spices.
- Podi (Gunpowder): A dry spice mix sprinkled over the idlis with a drizzle of ghee.
 Plating of idlis
Conclusion
Making steamed idlis might seem like an intricate process, but with a little practice, you’ll be churning out perfectly soft and fluffy idlis in no time! So, gather your ingredients, put on your chef’s hat, and embark on this culinary adventure. Don’t forget to share your idli-making experience in the comments below – we’d love to hear from you!
