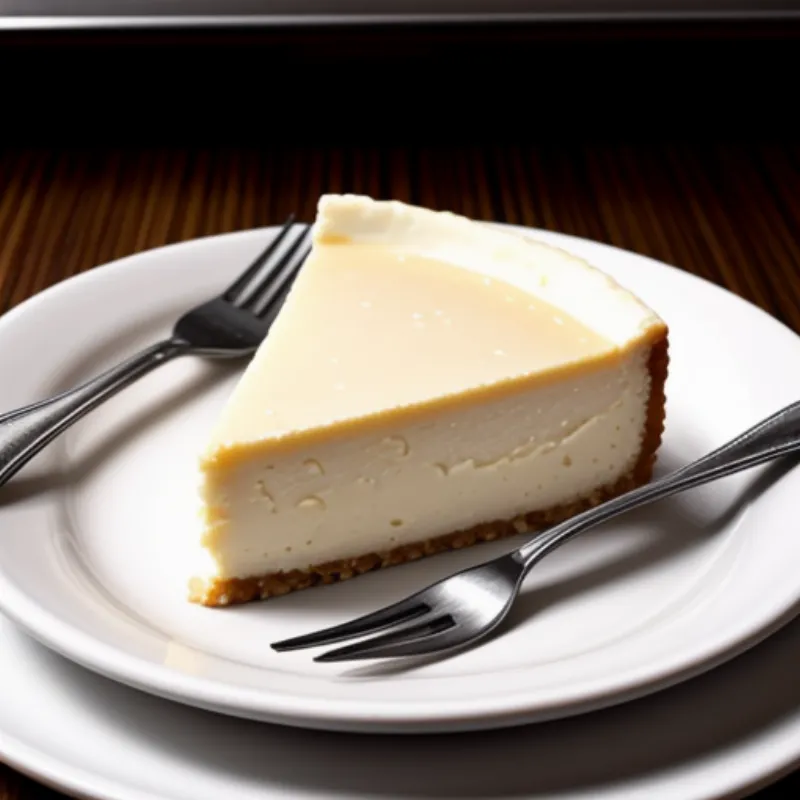
Tarta de queso, the Spanish cheesecake, is not your typical cheesecake. This dessert, hailing from the Basque Country in Spain, captivates with its simplicity and intensely creamy texture. Unlike its American counterpart, tarta de queso boasts a crustless base and a decadent, almost custard-like interior. The beauty lies in its minimal ingredients, allowing the richness of the cheese to truly shine. Today, we’ll unlock the secrets to baking this Spanish delight that will have you saying “¡Delicioso!” from the first bite.
Ingredients You’ll Need for this Creamy Dream
- 2 lbs (900g) cream cheese, at room temperature
- 1 1/4 cups (250g) granulated sugar
- 5 large eggs
- 1 cup (240ml) heavy cream
- 1 teaspoon vanilla extract
- Pinch of salt
Tools to Equip Your Spanish Bakery
- 9-inch springform pan
- Parchment paper
- Large mixing bowl
- Handheld mixer or stand mixer
- Roasting pan
- Whisk
Baking a Tarta de Queso: A Step-by-Step Journey
- Prepare the Pan: Preheat your oven to 400°F (200°C). Line the bottom of your springform pan with parchment paper. This will help prevent sticking later.
- Cream the Cheese and Sugar: In a large bowl, beat the softened cream cheese and sugar together until smooth and fluffy. Ensure no lumps remain.
- Incorporate the Eggs: Add the eggs one at a time, mixing well after each addition. Don’t overmix; just ensure they’re fully incorporated.
- Add the Final Touches: Gently whisk in the heavy cream, vanilla extract, and salt until the batter is homogenous and beautifully smooth.
- Water Bath Magic: Place your springform pan inside a larger roasting pan. Pour hot water into the roasting pan until it reaches halfway up the sides of the springform pan. This water bath ensures even baking and that creamy texture.
- Bake to Perfection: Carefully transfer the roasting pan into the preheated oven. Bake for 50-60 minutes. The cheesecake should be lightly browned on top and slightly jiggly in the center.
- Cooling Ritual: Turn off the oven and let the cheesecake cool inside with the door slightly ajar for an hour. This gradual cooling prevents cracking. Afterward, remove the cheesecake from the water bath and let it cool completely on a wire rack.
- Chilling Time: Once cooled, cover the cheesecake and refrigerate for at least 4 hours, preferably overnight. This allows the cheesecake to set completely and develop its full flavor.
Secrets to Tarta de Queso Success
- Room Temperature is Key: Ensure your cream cheese is at room temperature before starting. This will prevent lumps and make for a smoother batter.
- Don’t Overmix: Overmixing incorporates too much air, which can lead to cracks. Mix until just combined.
- Embrace the Jiggle: A slight jiggle in the center means it’s perfectly baked. It will continue to set as it cools.
Presenting Your Masterpiece
Tarta de queso is beautiful in its simplicity. Dust the top with powdered sugar for an elegant touch. Serve chilled with a dollop of whipped cream or fresh berries for a burst of color and flavor.
 Slice of tarta de queso
FAQs: Answering Your Burning Cheesecake Questions
Q: Can I make tarta de queso ahead of time?
A: Absolutely! In fact, it’s best made a day in advance to allow for ample chilling time.
Q: My cheesecake cracked! What went wrong?
A: Don’t worry; cracks happen! It might be due to overmixing, drastic temperature changes, or baking at too high a temperature. The good news is, the taste remains just as divine!
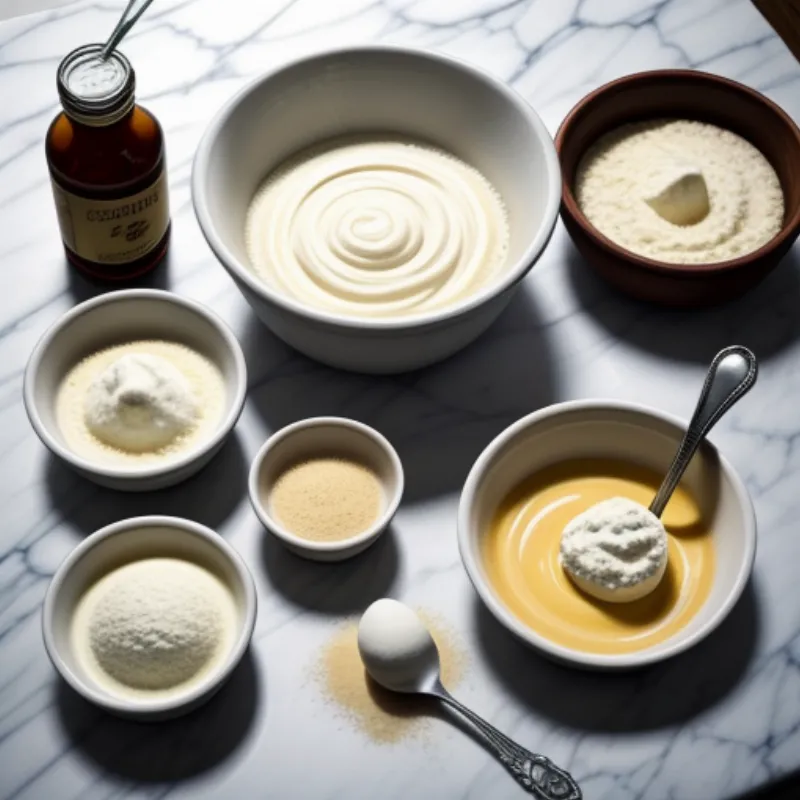
 Ingredients for tarta de queso
Indulge in the Creamy Spanish Delight!
There you have it—your guide to crafting a stunning tarta de queso. This dessert, with its rich history and simple elegance, is sure to impress your family and friends. So gather your ingredients, put on your apron, and embark on this delicious baking adventure. Remember, the most important ingredient is love!
Let us know in the comments below how your tarta de queso turns out. And don’t forget to share pictures of your creations and tag us on social media. Happy baking!
