Tarte Tatin! The name itself sounds elegant, doesn’t it? This classic French dessert, with its caramelized fruit nestled under a golden crust, is a true showstopper. While it may seem intimidating to make, I assure you, it’s surprisingly approachable. Follow my lead, and you’ll be enjoying a slice of heaven (with a hint of caramelized magic) in no time!
A Little Backstory
Legend has it that Tarte Tatin was born from a happy accident. The story goes that Stephanie Tatin, one half of the hotel-owning Tatin sisters, was in the midst of baking a traditional apple pie when she accidentally flipped the tart pan upside down. Instead of starting over, she decided to serve it as is, and thus, the Tarte Tatin was born!
Whether the story is true or not, one thing is certain: this upside-down tart is a testament to the deliciousness that can come from embracing imperfection.
Let’s Gather Our Ingredients
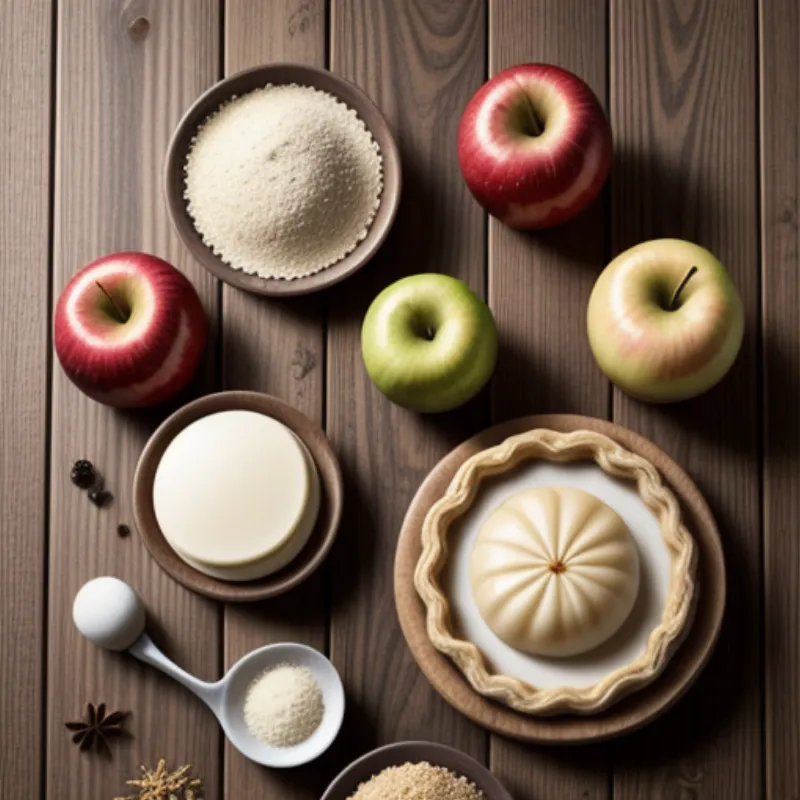
For this recipe, we’ll be sticking with the classic apple filling. Feel free to experiment with other fruits like pears or plums once you’ve mastered the basic technique.
For the Caramel:
- 1/2 cup (1 stick) unsalted butter
- 1/2 cup granulated sugar
- Pinch of salt
For the Apples:
- 6-8 medium apples, such as Granny Smith or Honeycrisp (about 2 pounds)
- 2 tablespoons unsalted butter
- 1/4 cup granulated sugar
- 1 teaspoon ground cinnamon
- 1/4 teaspoon ground nutmeg
For the Crust:
- 1 sheet of store-bought puff pastry (or your favorite homemade recipe)
Tools of the Trade
- 9-inch oven-safe skillet (cast iron works best!)
- Medium saucepan
- Chef’s knife
- Cutting board
- Rubber spatula
- Pastry brush (optional)
 Tarte Tatin Ingredients
The Art of the Upside-Down Tart
Step 1: Caramelize the Magic
- Preheat your oven to 400 degrees Fahrenheit.
- In your oven-safe skillet, melt the butter over medium heat.
- Stir in the sugar and salt and cook, stirring constantly, until the mixture turns a beautiful amber color. This is the caramel, and it’s where the magic happens!
A Word from a Pastry Pro: “Don’t be afraid to let the caramel get nice and dark – that’s where the deep, rich flavor comes from.” – Chef Pierre, Parisian Pastry Aficionado
Step 2: Arrange the Apples
- While the caramel is working its magic, peel, core, and cut your apples into quarters or sixths, depending on their size.
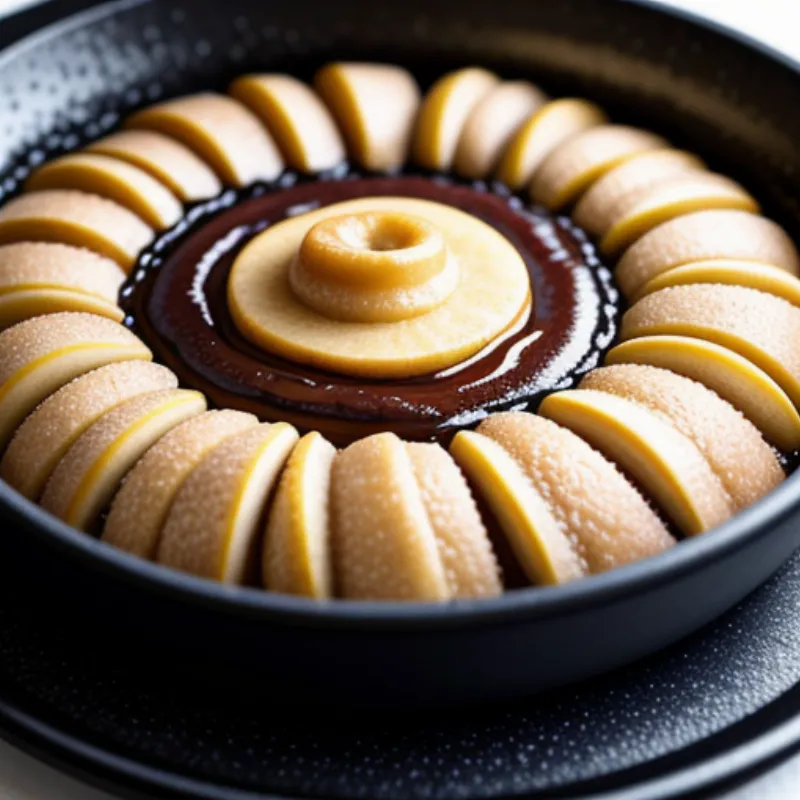
- Once the caramel is ready, remove the skillet from the heat and carefully arrange the apple slices in a circular pattern, overlapping them slightly.
- Return the skillet to the stovetop over low heat and cook for about 5 minutes, allowing the apples to soften slightly.
Step 3: The Crust Unveiled
- Place the puff pastry sheet over the apples, tucking the edges down the sides of the pan.
- Use a fork to poke a few holes in the top of the pastry to allow steam to escape.
- Brush the top with a little melted butter for extra golden-brown goodness (optional, but highly recommended!).
 Making Tarte Tatin
Step 4: Bake to Perfection
- Bake for 30-35 minutes, or until the crust is puffed and golden brown.
- Let cool slightly in the pan before inverting onto a serving plate. This is the moment of truth!
FAQ Alert: “What if my caramel hardens before I finish arranging the apples?” No worries! Just pop the skillet back on the stovetop over low heat for a minute or two to soften it up again.
Step 5: The Grand Finale
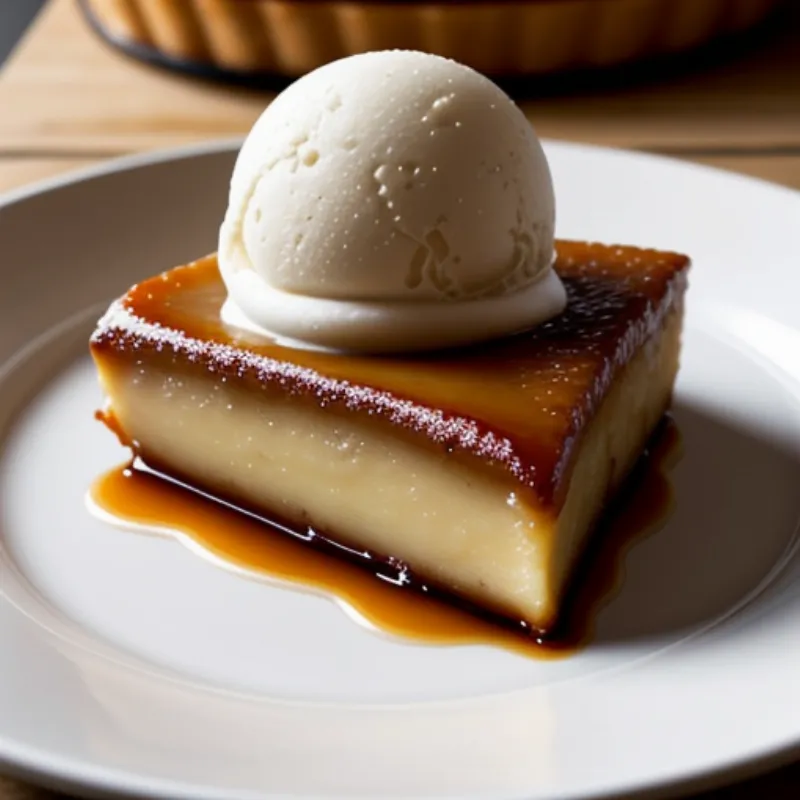
Carefully invert the tart onto a serving plate. Be sure to use oven mitts, as the caramel will be very hot! Serve warm with a dollop of vanilla ice cream or a sprinkle of powdered sugar.
 Beautiful Tarte Tatin
A Few Parting Tips
- Want a crispier crust? Blind-bake the pastry for 10 minutes before adding the apples.
- Feeling adventurous? Add a splash of Calvados or rum to the caramel for an extra layer of flavor.
- Tarte Tatin is best served warm, but it can be stored at room temperature for a day or two.
There you have it! Your very own homemade Tarte Tatin, ready to impress your friends and family. Ready to explore more delicious desserts? Check out our recipe for a show-stopping spit cake! Don’t forget to share your baking triumphs with us in the comments below! Happy baking!
