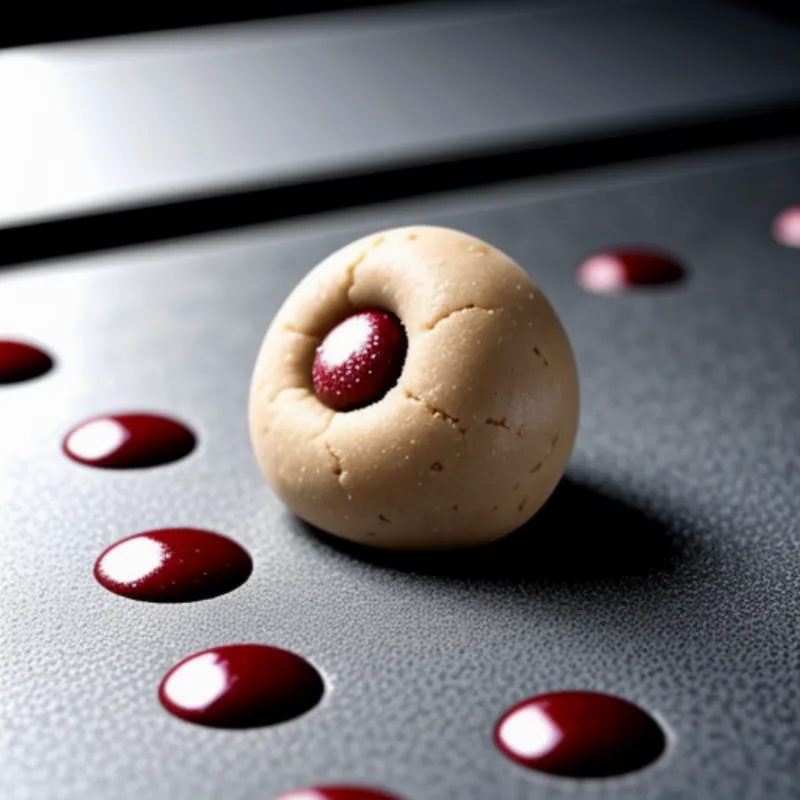
Thumbprint cookies – those little bites of buttery goodness with a sweet surprise in the center – are a classic for a reason. They’re not only delicious but also incredibly fun to make, especially with little helpers in the kitchen. Whether you’re a seasoned baker or just starting out, this recipe will guide you through each step, ensuring perfectly delightful thumbprint cookies every time.
The Allure of Thumbprint Cookies
What’s not to love about a buttery, melt-in-your-mouth cookie with a dollop of your favorite jam? Thumbprint cookies have a rich history, originating in medieval Europe and gaining popularity worldwide. They’re the perfect treat for any occasion, from casual gatherings to festive celebrations.
Ingredients for Thumbprint Cookie Success
Here’s what you’ll need to make a batch of these delightful treats:
- 1 cup (2 sticks) unsalted butter, softened
- 1/2 cup granulated sugar
- 1 teaspoon vanilla extract
- 2 cups all-purpose flour
- 1/4 teaspoon salt
- 1/2 cup jam or preserves of your choice (raspberry, apricot, and strawberry are all excellent choices)
Optional Ingredients for Flavor Variations:
- 1/4 cup almond flour (for a nutty flavor)
- 1/2 teaspoon almond extract (to complement almond flour)
- 1/4 cup finely chopped pecans or walnuts (for added texture and nuttiness)
Tools of the Trade
- Measuring cups and spoons
- Mixing bowls
- Electric mixer (handheld or stand mixer)
- Baking sheet
- Parchment paper or silicone baking mat
Let’s Get Baking!
-
Cream Together the Butter and Sugar: In a large bowl, beat together the softened butter and granulated sugar until the mixture is light and fluffy. This will take about 2-3 minutes with an electric mixer.
-
Incorporate Vanilla: Add the vanilla extract to the butter-sugar mixture and beat until well combined.
-
Gradually Add Dry Ingredients: In a separate bowl, whisk together the flour and salt. Gradually add the dry ingredients to the wet ingredients, mixing on low speed until just combined. Be careful not to overmix the dough.
-
Chill the Dough: Shape the dough into a disc, wrap it tightly in plastic wrap, and refrigerate for at least 30 minutes (and up to 2 hours). Chilling the dough helps prevent the cookies from spreading too much while baking.
-
Preheat and Prepare: While the dough chills, preheat your oven to 350°F (175°C) and line a baking sheet with parchment paper or a silicone baking mat.
-
Shape and Fill: Roll the chilled dough into 1-inch balls. Place the balls onto the prepared baking sheet, leaving about 2 inches between each cookie.
-
Make the Thumbprints: Use your thumb or the back of a teaspoon to make a well in the center of each cookie dough ball.
-
Fill with Jam: Fill each indentation with about 1/2 teaspoon of your chosen jam or preserves.
-
Bake to Perfection: Bake for 12-15 minutes, or until the edges of the cookies are lightly golden brown.
-
Cool and Enjoy: Let the cookies cool completely on the baking sheet before transferring them to a wire rack to cool completely.
 Thumbprint Cookie Dough
Tips for Thumbprint Cookie Triumph
- Room Temperature Butter is Key: Ensure your butter is softened to room temperature for optimal creaminess and easier mixing.
- Don’t Overmix: Overmixing the dough can result in tough cookies. Mix until the ingredients are just combined.
- Chilling is Crucial: Chilling the dough prevents excessive spreading during baking.
- Get Creative with Fillings: While jam is traditional, feel free to experiment with different fillings like lemon curd, Nutella, or even caramel sauce.
FAQs About Thumbprint Cookies
Q: Can I freeze thumbprint cookie dough?
A: Absolutely! You can freeze the dough for up to 3 months. When ready to bake, thaw the dough in the refrigerator overnight and proceed with the recipe as directed.
Q: How do I prevent the jam from overflowing during baking?
A: Don’t overfill the indentations. Start with a smaller amount of jam and add more if needed after the cookies have baked and cooled slightly.
Q: My cookies turned out flat. What happened?
A: This could be due to several factors, including not chilling the dough long enough, using old baking powder, or an oven that’s not properly calibrated.
 Assorted Thumbprint Cookies
Conclusion
Thumbprint cookies are a testament to the fact that sometimes, the simplest things in life are the most delicious. With a little effort and a whole lot of love, you can create a batch of these delightful treats that will impress your family and friends. So gather your ingredients, preheat that oven, and get ready to experience the joy of baking (and devouring) homemade thumbprint cookies!
Ready for more cookie adventures? Check out our other delicious recipes:
We’d love to hear about your thumbprint cookie creations! Share your baking experiences and photos with us in the comments below.
