Tsoureki. Just the name sounds exotic and intriguing, doesn’t it? This sweet, aromatic bread, traditionally braided and studded with brightly colored eggs, is synonymous with Greek Easter celebrations. But the beauty of tsoureki is that its deliciousness can be enjoyed year-round. Imagine biting into a fluffy, cloud-like bread, infused with the warm flavors of mahlepi and mastic, a unique resin that lends a subtle piney aroma.
Sound tempting? It is! And the best part? It’s surprisingly achievable to make at home. Follow this detailed guide, and you’ll be pulling a beautiful, golden-brown tsoureki out of your oven, filling your kitchen with the irresistible aromas of Greece. Ready to impress your family and friends? Let’s dive in!
Gathering Your Ingredients: A Trip to the Greek Market
Before we begin our tsoureki-making journey, let’s gather our supplies. Don’t worry, most of these ingredients are readily available at your local grocery store, though you might need to make a special trip to a Greek or Middle Eastern market for the mahlepi and mastic. Trust me, these unique flavors are worth seeking out!
For the Bread:
- 7 cups (900g) all-purpose flour, plus extra for dusting
- 1 1/2 cups (350ml) warm milk (around 100-110°F or 38-43°C)
- 2 teaspoons (7g) active dry yeast
- 1 cup (200g) granulated sugar
- 1 teaspoon salt
- 1 teaspoon ground mahlepi (available at Greek or Middle Eastern markets)
- 1/2 teaspoon ground mastic, finely ground (available at Greek or Middle Eastern markets)
- 4 large eggs, at room temperature
- 1 cup (225g) unsalted butter, melted and cooled, plus extra for greasing the bowl
- 1 teaspoon vanilla extract
For the Egg Wash:
- 1 large egg yolk
- 1 tablespoon milk
For Decoration (Optional):
- Red food coloring (if dyeing eggs)
- Sprinkles (optional)
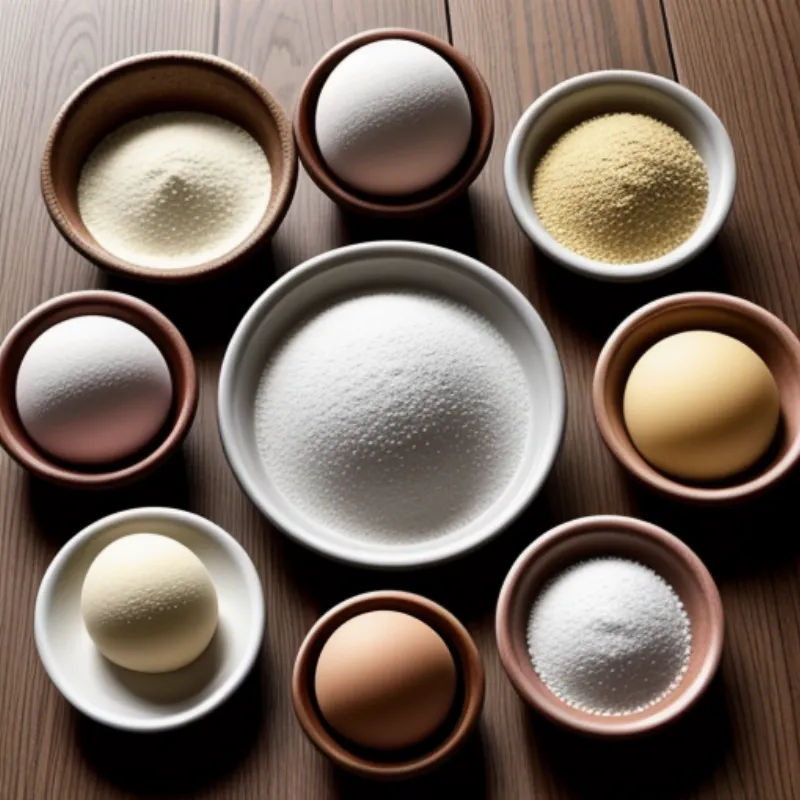
 Tsoureki ingredients
Tools of the Trade:
- Large mixing bowl
- Plastic wrap
- Kitchen towel
- Measuring cups and spoons
- Whisk
- Stand mixer fitted with the dough hook attachment (optional, but recommended)
- Baking sheet
- Parchment paper
- Pastry brush
Step-by-Step Guide: Crafting Your Tsoureki Masterpiece
-
Waking Up the Yeast: In the warm milk, sprinkle the yeast and a teaspoon of sugar. Give it a gentle stir and let it sit for about 5-10 minutes until it becomes frothy. This is how you know your yeast is alive and ready to work its magic!
-
Creating the Dough: In a large mixing bowl, or the bowl of your stand mixer, whisk together the flour, remaining sugar, salt, mahlepi, and mastic.
-
Incorporating the Wet Ingredients: Make a well in the center of the dry ingredients and add the frothy yeast mixture, eggs, melted butter, and vanilla extract.
-
Kneading for Fluffy Perfection: If using a stand mixer, fit it with the dough hook attachment and knead on low speed for about 8-10 minutes, or until the dough becomes smooth and elastic. If kneading by hand, turn the dough out onto a lightly floured surface and knead for about 10-12 minutes.
FAQ: How do I know if the dough has been kneaded enough?
The dough should be smooth and elastic. To test, poke the dough with your finger. If it bounces back slowly, you’re good to go. If it stays indented, it needs a little more kneading.
-
The First Rise: Shape the dough into a ball, place it in a greased bowl, and turn it to coat it lightly with the butter. Cover the bowl with plastic wrap and a clean kitchen towel and let it rise in a warm, draft-free place for about 1-1.5 hours, or until doubled in size.
Tip: A great place for the dough to rise is in a turned-off oven with the oven light on. This creates a warm, humid environment perfect for yeast activity.
-
Punching Down & Dividing the Dough: Gently punch down the risen dough to release the air. Divide the dough into three equal portions.
Tip: For a professional touch, use a kitchen scale to ensure the portions are equal.
-
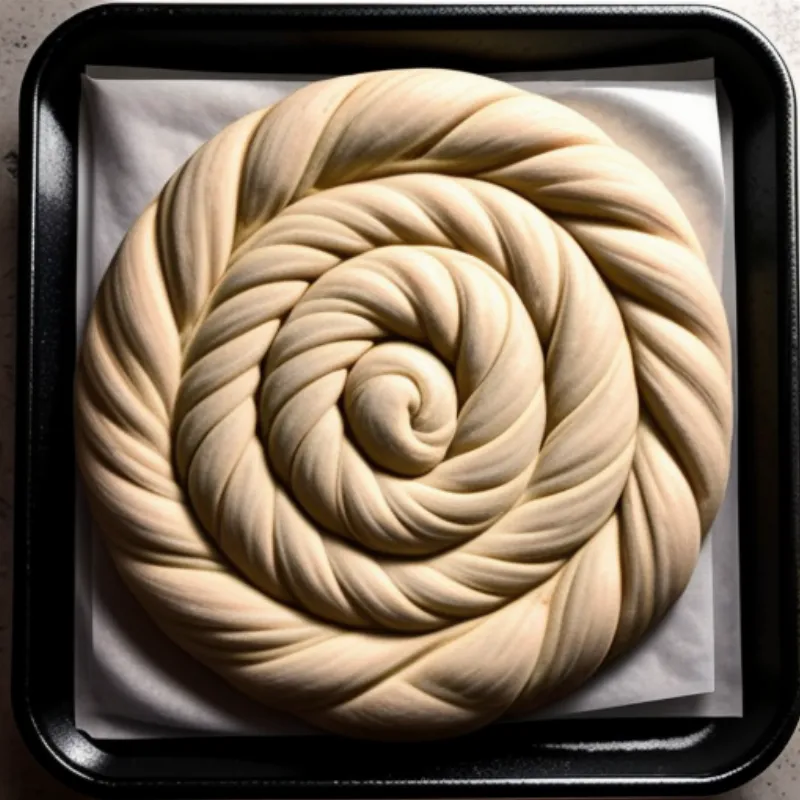
Braiding Time: Roll each portion of dough into a long rope, about 20 inches long. Braid the three ropes together, then carefully transfer the braid to a baking sheet lined with parchment paper. Form the braid into a circle, tucking the ends underneath.
FAQ: Help! My dough keeps springing back when I try to roll it out.
This means the gluten in the dough is still quite tight. Let the dough rest, covered, for 10-15 minutes to relax the gluten, then try rolling again.
-
The Second Rise: Loosely cover the braided bread with plastic wrap and let it rise in a warm, draft-free place for another 45 minutes to an hour, or until puffy.
-
The Egg Wash: Preheat the oven to 350°F (175°C). Whisk together the egg yolk and milk to make the egg wash. Gently brush the egg wash over the risen bread.
-
Baking to Golden Perfection: Bake for 30-35 minutes, or until the tsoureki is a beautiful golden brown and sounds hollow when tapped on the bottom. If it’s browning too quickly, tent it loosely with foil.
 Braided Tsoureki dough
- Cooling & Serving: Let the tsoureki cool slightly on a wire rack before slicing and serving.
Adding the Traditional Touches:
-
Red Easter Eggs: If you’re making tsoureki for Greek Easter, you can add the traditional red eggs. Simply hard boil eggs, let them cool, then dye them red using food coloring. Gently press the dyed eggs into the dough before the second rise.
-
Sprinkles & Decorations: Get festive and sprinkle the top of the baked tsoureki with colorful sprinkles.
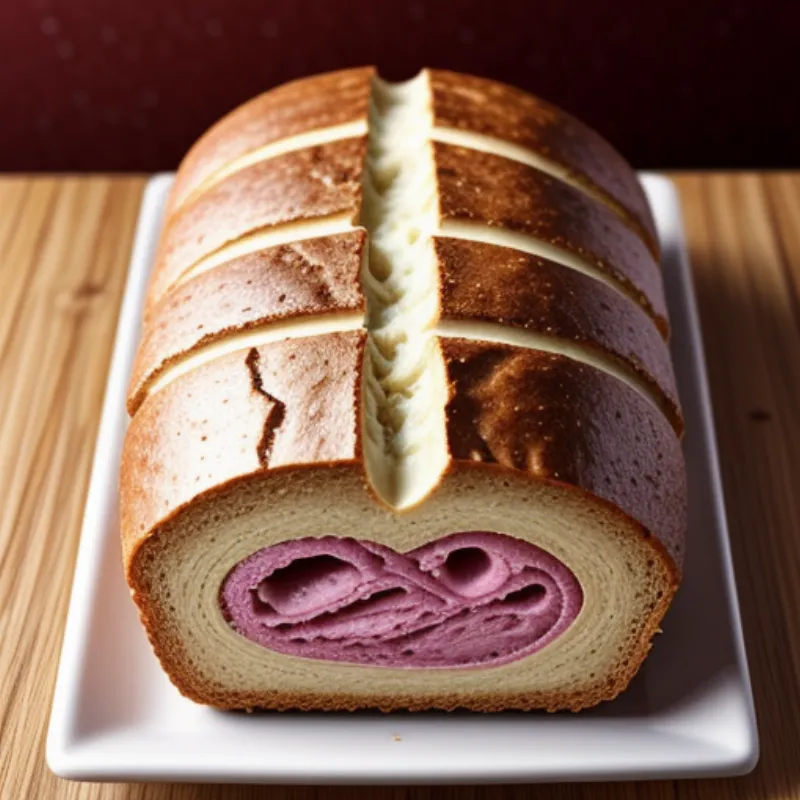
 Baked Tsoureki
Enjoying Your Tsoureki:
Tsoureki is delicious on its own, but even better when paired with a cup of strong Greek coffee or a glass of chilled milk. You can also enjoy it toasted with butter and honey, or even use it to make French toast.
Storing Leftovers:
Store any leftover tsoureki in an airtight container at room temperature for up to 3 days. You can also freeze it for longer storage.
Congratulations! You’ve just baked a beautiful, delicious tsoureki. Share it with your loved ones, savor the flavors, and remember – the most important ingredient in any recipe is love.
Now it’s your turn! We’d love to hear about your tsoureki adventures. Share your photos and experiences in the comments below. And don’t forget to check out our other delicious bread recipes for more baking inspiration!
