Tuiles – those delicate, crispy, and beautifully curved cookies are easier to make than you might think. With just a few simple ingredients and a little bit of patience, you can create these elegant treats that will elevate any dessert platter. Whether you’re a baking enthusiast or just looking for a show-stopping dessert, this guide will walk you through every step of the process.
Unveiling the Art of Tuile Making
Tuiles, pronounced “twee-l”, originated in the Lorraine region of France and are named after the curved tiles they resemble. These thin, crispy cookies can be molded into various shapes while still warm, making them a versatile and impressive addition to your baking repertoire. The beauty of tuiles lies not only in their taste but also in their versatility. While traditionally served with desserts like ice cream and mousse, they can also be used to garnish cakes, parfaits, or even enjoyed on their own with a cup of coffee or tea.
Ready to impress your friends and family with your newfound baking prowess? Let’s gather our ingredients and tools and embark on this delightful baking adventure!
Ingredients for Perfect Tuiles:
- 1/2 cup (1 stick) unsalted butter, softened
- 1/2 cup granulated sugar
- 1/4 cup all-purpose flour
- 2 large egg whites
- 1/4 teaspoon vanilla extract
Optional Add-ins:
- 1/4 cup finely chopped nuts (almonds, pistachios, or pecans work well)
- 1 tablespoon unsweetened cocoa powder
- Zest of one orange or lemon
Tools You’ll Need:
- Mixing bowls
- Whisk or electric mixer
- Silicone spatula
- Baking sheet
- Parchment paper
- Metal spatula
- Rolling pin (optional)
- Tuile mold (optional)
Baking Tuiles to Perfection: A Step-by-Step Guide
- Preparing the Batter: In a mixing bowl, cream together the softened butter and granulated sugar until light and fluffy. Gradually whisk in the egg whites, one at a time, ensuring each is fully incorporated before adding the next. Stir in the vanilla extract.
- Incorporating the Dry Ingredients: Gently fold in the flour using a spatula, just until combined. Be careful not to overmix, as this can result in tough cookies.
- Adding Your Personal Touch (Optional): Now is the time to get creative! Stir in your desired add-ins like chopped nuts, cocoa powder, or citrus zest for an extra burst of flavor and texture.
- Chilling the Dough: Cover the bowl with plastic wrap and refrigerate for at least 30 minutes, or up to 2 hours. This step allows the butter to firm up, making it easier to spread the cookies thinly.
- Preheating and Prepping: Preheat your oven to 350°F (175°C). Line a baking sheet with parchment paper.
- Shaping the Tuiles: Using a spoon or a piping bag, create small circles of dough on the prepared baking sheet, leaving enough space between each cookie as they will spread slightly during baking. For thinner tuiles, you can gently flatten the dough circles using the back of a spoon or a rolling pin.
- Baking Time: Bake for 8-10 minutes, or until the edges of the cookies turn golden brown. Keep a close eye on them, as they can burn quickly.
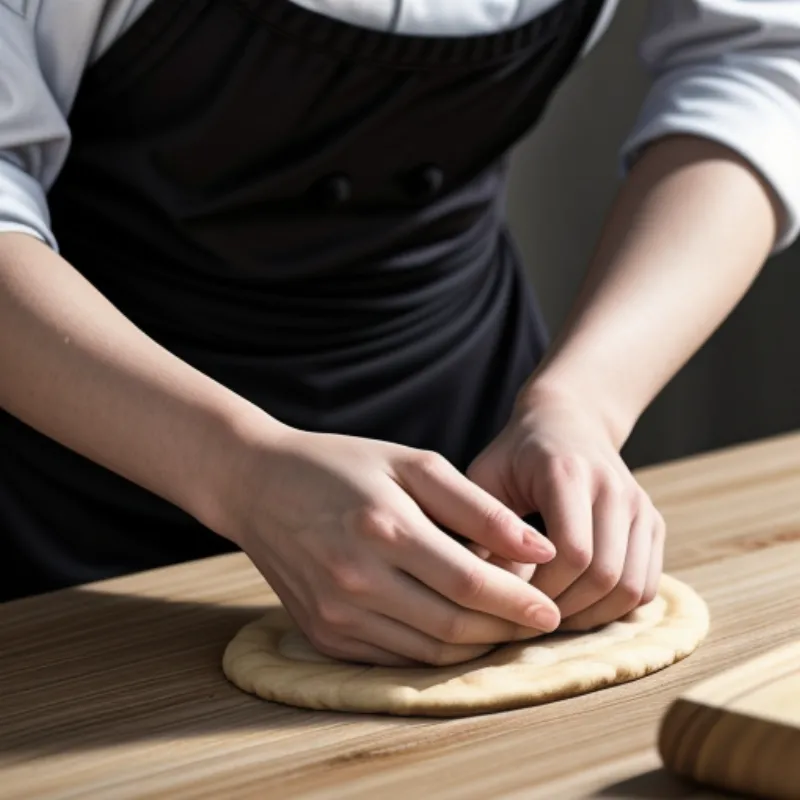
- Shaping While Warm: As soon as the tuiles are out of the oven, carefully lift them from the baking sheet using a metal spatula. While still warm and pliable, drape them over a rolling pin, wine bottle, or use a tuile mold to create the desired curved shape. If the cookies become too firm to shape, simply pop them back into the oven for a few seconds to soften them again.
Tips and Tricks for Tuile Triumph:
- For perfectly even cookies, you can use a stencil to trace circles on the parchment paper before spreading the dough.
- If your tuiles become too brittle to shape after baking, simply return them to the oven for a few seconds to warm up and become pliable again.
- To prevent sticking, make sure to use parchment paper and not wax paper, as the wax can melt at high temperatures.
- Get creative with flavors! Try adding spices like cinnamon or cardamom to the batter, or drizzle melted chocolate over the cooled tuiles.
Frequently Asked Questions:
Q: Can I make tuiles ahead of time?
A: Absolutely! Once cooled, tuiles can be stored in an airtight container at room temperature for up to 3 days.
Q: My tuiles turned out soft, not crispy. What happened?
A: This could be due to underbaking or a humid environment. Make sure your oven is properly preheated and bake the tuiles until they are golden brown and crisp around the edges.
Q: Can I use different types of flour?
A: While all-purpose flour is recommended, you can experiment with almond flour or gluten-free blends. Keep in mind that the texture and baking time may vary slightly.
Conclusion:
Congratulations! You’ve mastered the art of making tuiles. Now, impress your guests with these delicate and delicious treats. Remember, practice makes perfect, and don’t be afraid to experiment with different flavors and shapes.
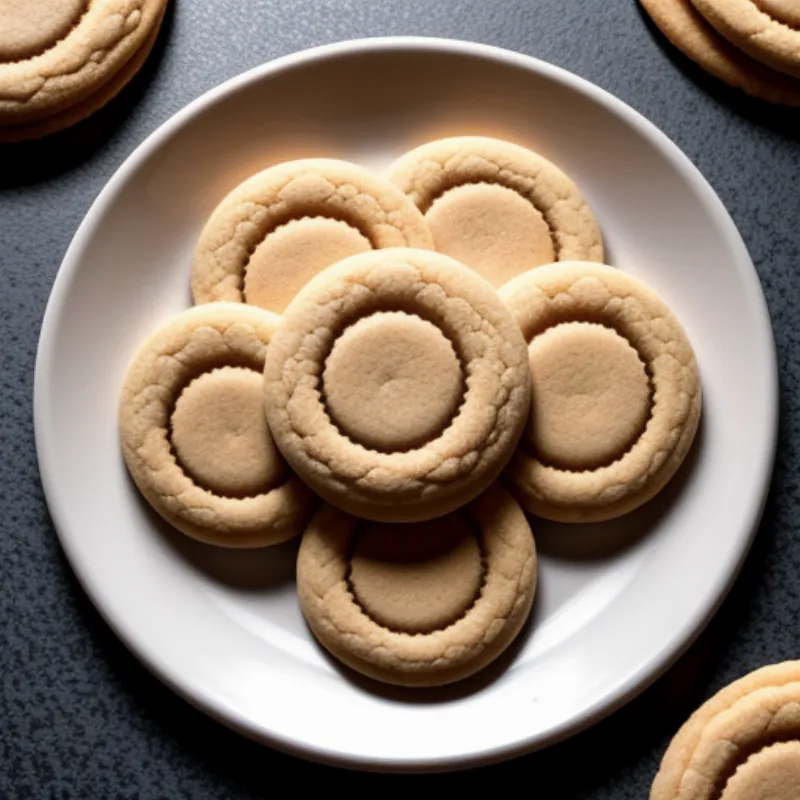
 tuile cookies arranged on a white plate
 chef shaping tuiles over a rolling pin
Share your tuile creations with us in the comments below! Happy baking!
