Twinkies. Those little golden sponge cakes with the creamy, dreamy filling. They’re an American icon, a nostalgic bite of childhood, and let’s face it, incredibly delicious. But have you ever thought about making them at home? Today, we’re diving headfirst into the wonderful world of homemade Twinkies. Get ready for a baking adventure that’s fun, rewarding, and yields results even tastier than the store-bought kind!
Unlocking the Mystery: What Makes a Twinkie a Twinkie?
Before we embark on this delicious journey, let’s break down the magic that is a Twinkie. A soft, airy sponge cake forms the base, and it’s the star of the show. Then, we have that irresistible creamy filling, piped in with precision to create those iconic three pockets of delight.
Gathering Your Ingredients: Shopping List for Homemade Happiness
Here’s what you’ll need to recreate these golden beauties in your own kitchen. Don’t be intimidated by the list; it’s all about simple ingredients coming together in perfect harmony.
For the Sponge Cake:
- 1 cup cake flour (not all-purpose – this makes a difference!)
- 1/2 cup all-purpose flour
- 1/2 teaspoon baking powder
- 1/4 teaspoon baking soda
- 1/4 teaspoon salt
- 1/2 cup (1 stick) unsalted butter, softened
- 3/4 cup granulated sugar
- 2 large eggs
- 1 teaspoon vanilla extract
- 1/2 cup buttermilk
For the Creamy Filling:
- 1/2 cup shortening
- 1/2 cup unsalted butter, softened
- 3 cups powdered sugar
- 1/4 teaspoon salt
- 1 teaspoon vanilla extract
- 5-6 tablespoons heavy cream
Tools of the Trade: Equipping Your Kitchen for Success
You won’t need any fancy equipment for this recipe, just a few baking staples:
- Two 9×13 inch baking pans
- Electric mixer
- Mixing bowls
- Measuring cups and spoons
- Rubber spatula
- Pastry bag and large round tip (or a ziplock bag with a corner snipped off)
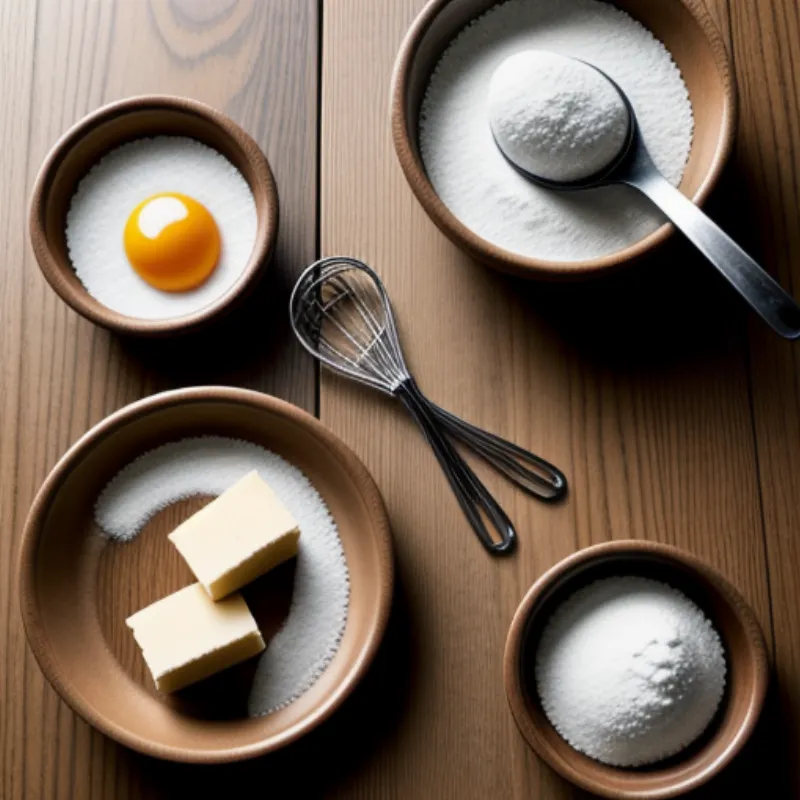
 Homemade Twinkie Ingredients
Baking Like a Pro: Step-by-Step Guide to Twinkie Bliss
Now, let’s roll up our sleeves and get baking!
1. Creating the Golden Sponge Cake:
- Preheat your oven to 350°F (175°C) and grease and flour your baking pans.
- In a medium bowl, whisk together the cake flour, all-purpose flour, baking powder, baking soda, and salt.
- In a separate large bowl, cream together the softened butter and granulated sugar until light and fluffy using your electric mixer.
- Beat in the eggs one at a time, then stir in the vanilla extract.
- Gradually add the dry ingredients to the wet ingredients, alternating with the buttermilk, and mix until just combined. Don’t overmix!
- Divide the batter evenly between the prepared pans and bake for 12-15 minutes, or until a wooden skewer inserted into the center comes out clean.
2. Whipping Up the Dreamy Filling:
- While the cakes are baking, let’s make the filling. In a large bowl, beat together the shortening and butter until smooth.
- Gradually add the powdered sugar and salt, beating until well combined.
- Stir in the vanilla extract.
- Add the heavy cream, one tablespoon at a time, until you reach your desired consistency. You want it smooth and spreadable but still thick enough to hold its shape.
3. Assembling the Twinkie:
- Once the cakes have cooled completely, use a serrated knife to carefully trim off the edges, creating smooth, even rectangles.
- Cut each cake rectangle lengthwise into three equal strips.
- Fill your pastry bag (or ziplock bag) with the creamy filling.
- Poke three evenly spaced holes along the bottom of each cake strip.
- Pipe the filling into each hole, filling the cake strips with that signature creamy goodness.
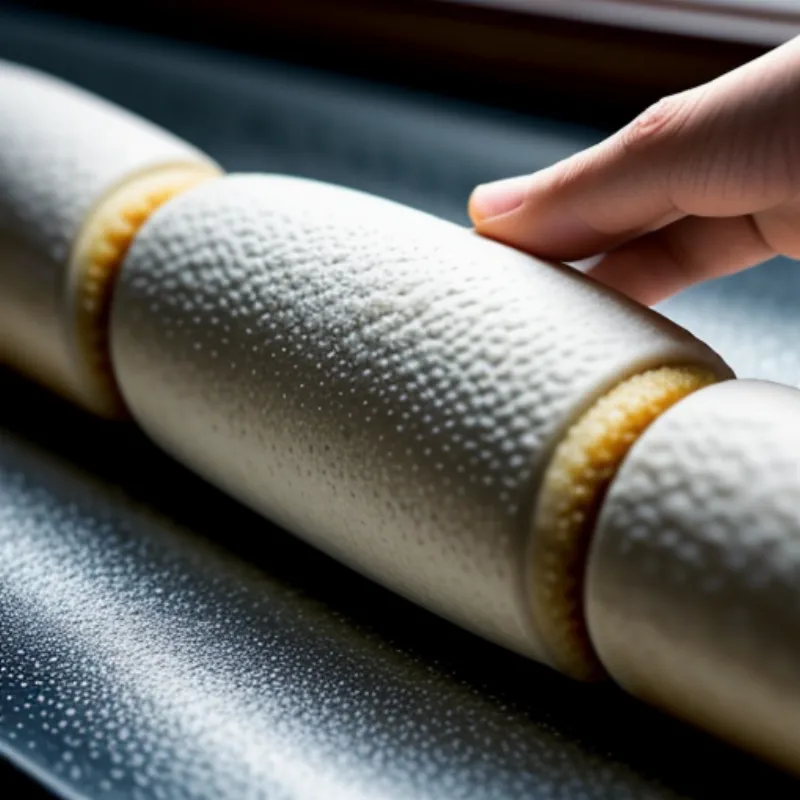
 Filling Homemade Twinkies
Twinkie Tips from a Baking Enthusiast:
- Cake flour is key: It creates that signature light and airy texture. Don’t substitute it with all-purpose flour!
- Don’t overmix the batter: Overmixing leads to tough cakes. Mix just until the ingredients are combined.
- Cool the cakes completely: Filling warm cakes will melt the filling and create a gooey mess.
- Get creative with the filling: Try different extracts like almond or lemon for a twist on the classic flavor.
Frequently Asked Questions: All Your Twinkie Queries Answered!
Q: Can I make Twinkies ahead of time?
A: Absolutely! Store them in an airtight container at room temperature for up to 2 days, or freeze them for up to 2 months.
Q: My filling is too runny! What do I do?
A: Add more powdered sugar, one tablespoon at a time, until you reach the desired consistency.
Q: Can I use a different type of pan?
A: While 9×13 inch pans are ideal, you can use smaller rectangular pans, adjusting the baking time as needed.
The Sweet Reward: Enjoying Your Homemade Twinkies
And there you have it! Homemade Twinkies, even better than the store-bought kind. They’re perfect for a sweet treat, a nostalgic dessert, or even a bake sale showstopper. Enjoy them with a cold glass of milk, and be prepared to impress everyone with your baking prowess.
What are you waiting for? Preheat those ovens, gather your ingredients, and embark on this delicious adventure. We’d love to hear about your Twinkie triumphs! Share your baking experiences, photos, and any creative variations in the comments below.
