There’s something utterly captivating about an upside-down cake. Maybe it’s the way the fruit bakes to a caramelized perfection, or the inviting aroma that fills the kitchen as it bakes. Whatever the reason, this classic dessert always feels like a warm hug on a plate. And the best part? It’s surprisingly easy to make!
Today, we’re diving into the world of upside-down cakes with a beloved classic: the Upside-Down Apple Cake. This recipe will guide you through each step, ensuring your cake emerges from the oven golden, gooey, and bursting with flavor.
Gathering Your Baking Arsenal: Ingredients for Upside-Down Apple Cake
Before we embark on our baking journey, let’s gather our delicious companions:
For the Caramel Topping:
- 1/2 cup (113 grams) unsalted butter
- 3/4 cup (150 grams) packed light brown sugar
- 1/4 teaspoon ground cinnamon (optional, but highly recommended for a warm spice)
- Pinch of salt
- 3-4 medium apples, peeled, cored, and sliced (I prefer Honeycrisp or Granny Smith for their balance of sweetness and tartness)
For the Cake Batter:
- 1 1/2 cups (190 grams) all-purpose flour
- 1 teaspoon baking powder
- 1/4 teaspoon baking soda
- 1/4 teaspoon salt
- 1/2 cup (113 grams) unsalted butter, softened
- 3/4 cup (150 grams) granulated sugar
- 2 large eggs
- 1 teaspoon vanilla extract
- 1/2 cup (120 ml) buttermilk (If you don’t have buttermilk, simply add 1 tablespoon of lemon juice or white vinegar to 1/2 cup of milk and let it sit for 5 minutes)
Tools of the Trade: Equipment You’ll Need
- 9-inch cake pan (springform pan works best for easy removal)
- Medium saucepan
- Mixing bowls (one large, one medium)
- Electric mixer (handheld or stand mixer)
- Whisk
- Rubber spatula
- Measuring cups and spoons
- Parchment paper (optional, but makes cleanup a breeze)
The Art of Crafting the Perfect Upside-Down Apple Cake: Step-by-Step Guide
1. Creating the Caramel Canvas:
-
Preheat your oven to 350°F (175°C). Grease the bottom and sides of your cake pan with butter. For an extra layer of insurance against sticking, line the bottom with parchment paper.
-
In your medium saucepan, melt the butter over medium heat. Once melted, stir in the brown sugar, cinnamon, and salt. Cook for 2-3 minutes, stirring constantly, until the sugar dissolves and the mixture is smooth and bubbly.
-
Pour the caramel mixture into your prepared cake pan, spreading it evenly over the bottom.
-
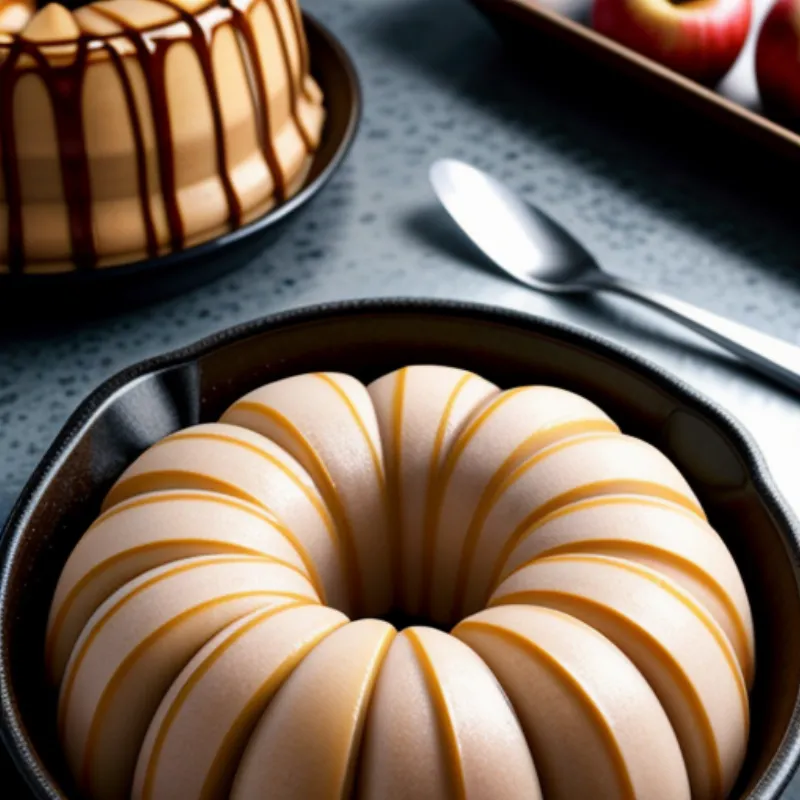
Arrange your apple slices over the caramel in a beautiful pattern. Don’t be afraid to get creative here! Overlapping the slices slightly creates a stunning effect.
 Caramelized Apples in Cake Pan
2. Whisking Up the Batter:
-
In your large mixing bowl, whisk together the flour, baking powder, baking soda, and salt.
-
In your medium bowl, cream together the softened butter and granulated sugar until light and fluffy. This is where your electric mixer comes in handy.
-
Beat in the eggs one at a time, followed by the vanilla extract.
-
Gradually add the dry ingredients to the wet ingredients, alternating with the buttermilk, beginning and ending with the dry ingredients. Mix until just combined, being careful not to overmix.
3. Baking the Masterpiece:
-
Carefully pour the cake batter over the arranged apples in the pan, spreading it evenly.
-
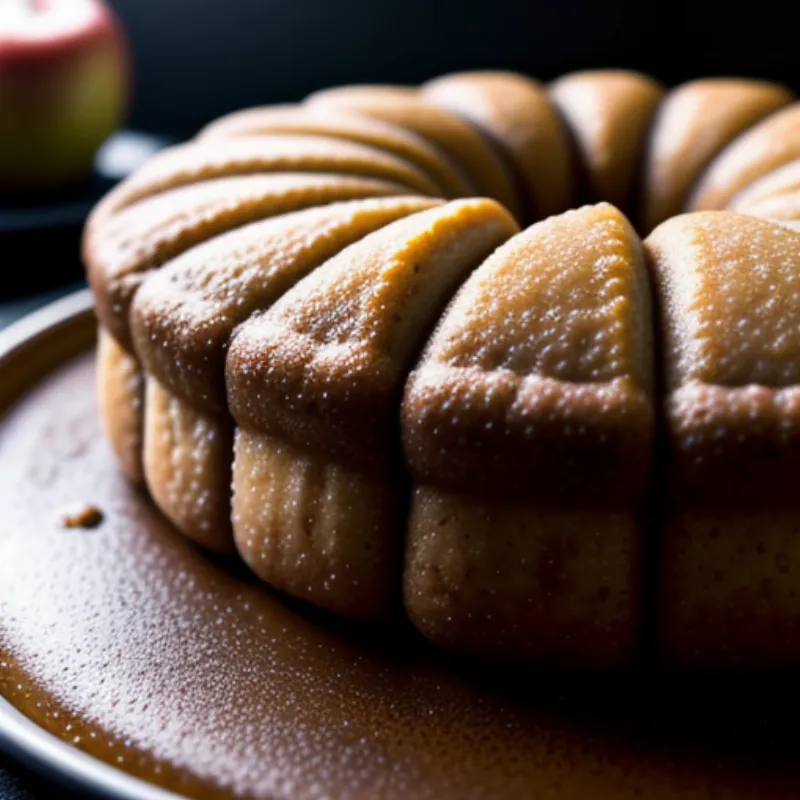
Bake for 40-45 minutes, or until a wooden skewer inserted into the center comes out clean.
 Apple Cake Baking
4. The Grand Reveal:
-
Let the cake cool in the pan for 10-15 minutes. This allows the caramel to set slightly, preventing a delicious but messy overflow.
-
Run a thin knife around the edge of the cake to loosen the sides. Place a serving plate upside down over the cake pan.
-
Holding both the plate and the pan firmly, carefully invert the cake onto the plate.
5. Serving and Savoring:
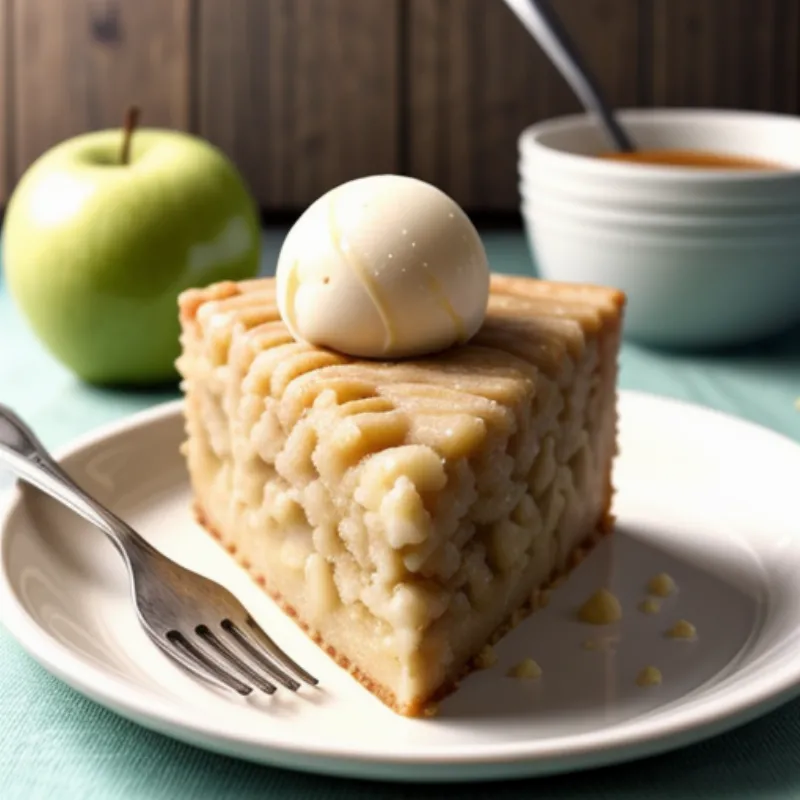
This cake is divine served warm, the caramel still gooey and the apples tender. Add a dollop of whipped cream or a scoop of vanilla ice cream for an extra touch of indulgence.
 Slice of Apple Cake
Baking Tips from a Seasoned Baker:
-
Apple Selection: While I adore Honeycrisp and Granny Smith apples for this recipe, feel free to experiment with your favorite varieties! For a tarter profile, Braeburn or Pink Lady apples work wonderfully.
-
Buttermilk Substitute: If you find yourself without buttermilk, don’t fret! Remember to add 1 tablespoon of lemon juice or white vinegar to 1/2 cup of milk and let it sit for 5 minutes before incorporating it into your batter.
-
Storage: This cake can be stored at room temperature, loosely covered, for up to 2 days.
FAQs: Unraveling the Mysteries of Upside-Down Apple Cake
Q: Can I make this cake ahead of time?
A: Absolutely! This cake is actually best when made a few hours in advance, allowing the flavors to meld beautifully.
Q: My caramel seems a bit thin. Is that okay?
A: It’s alright if your caramel isn’t super thick. As the cake bakes and cools, the caramel will continue to thicken.
Q: Can I use a different type of pan?
A: While a 9-inch cake pan is ideal, you can use a similarly sized oven-safe skillet or even a square baking dish. Adjust the baking time accordingly, as different pan sizes may require slight variations.
There you have it! Your very own upside-down apple cake, ready to be shared and enjoyed. Remember, baking is about experimentation and finding joy in the process. Don’t be afraid to put your own spin on this classic recipe. Happy baking!
