Vedarai, also known as “Medu Vada,” is a beloved South Indian snack that’s crispy on the outside, fluffy on the inside, and bursting with savory flavors. These lentil fritters are a staple in South Indian cuisine and are surprisingly easy to make at home. Whether you’re a seasoned cook or a kitchen newbie, this guide will equip you with everything you need to master the art of making perfect vedarai. Get ready to impress your family and friends with this delicious and authentic treat!
Gathering Your Ingredients: A Trip to the Pantry
Before we embark on our culinary adventure, let’s gather all the necessary ingredients. Don’t worry; you won’t need anything fancy! Here’s what you’ll need:
- Urad dal (split black gram lentils): 1 cup (This is the star of the show, providing that signature texture and taste!)
- Water: As needed for soaking and grinding
- Fresh coconut: 2-3 tablespoons, finely chopped (optional, but adds a lovely sweetness)
- Green chilies: 2-3, finely chopped (adjust to your spice preference)
- Ginger: 1-inch piece, finely chopped or grated
- Curry leaves: 1 sprig, about 10-12 leaves
- Cumin seeds: 1 teaspoon
- Salt: To taste
- Oil: For deep frying (I recommend using a neutral-flavored oil like vegetable or canola)
A Few Notes on the Ingredients:
- Urad Dal: Look for urad dal that’s labeled “hulled” or “split.” It’s essential to soak the lentils for at least 4-6 hours or overnight to achieve the perfect fluffy texture.
- Fresh Coconut: While optional, fresh coconut adds a touch of natural sweetness and enhances the flavor of the vedarai. If you don’t have any on hand, you can substitute it with desiccated coconut or omit it altogether.
- Green Chilies: Adjust the quantity of green chilies according to your spice preference. If you’re sensitive to heat, you can start with one or two and add more later.
Tools of the Trade: Equipping Your Kitchen
Now that we have our ingredients prepped let’s gather the tools we’ll need to create these crispy delights:
- A large bowl: For soaking the urad dal
- A blender or food processor: To grind the dal into a smooth batter
- A spatula or wooden spoon: For mixing the batter
- A flat-bottomed ladle or your hand: To shape the vedarai (more on that later!)
- A deep frying pan or kadai: For frying the vedarai
- A slotted spoon: To remove the fried vedarai from the oil
- Paper towels: To absorb excess oil
Let’s Get Cooking: The Vedarai-Making Process
Step 1: Preparing the Batter: The Foundation of Flavor
- Rinse the urad dal under cold water until the water runs clear.
- Transfer the dal to a large bowl and add enough water to cover it completely. Soak the dal for at least 4-6 hours or overnight. (This step is crucial for achieving a light and fluffy texture.)
- Once the dal is soaked, drain the water and transfer it to a blender or food processor.
- Add about ¼ cup of fresh water and grind the dal into a smooth and fluffy batter. You might need to add a little more water while grinding, but be careful not to make the batter too runny.
- Transfer the batter to a large mixing bowl and set aside.
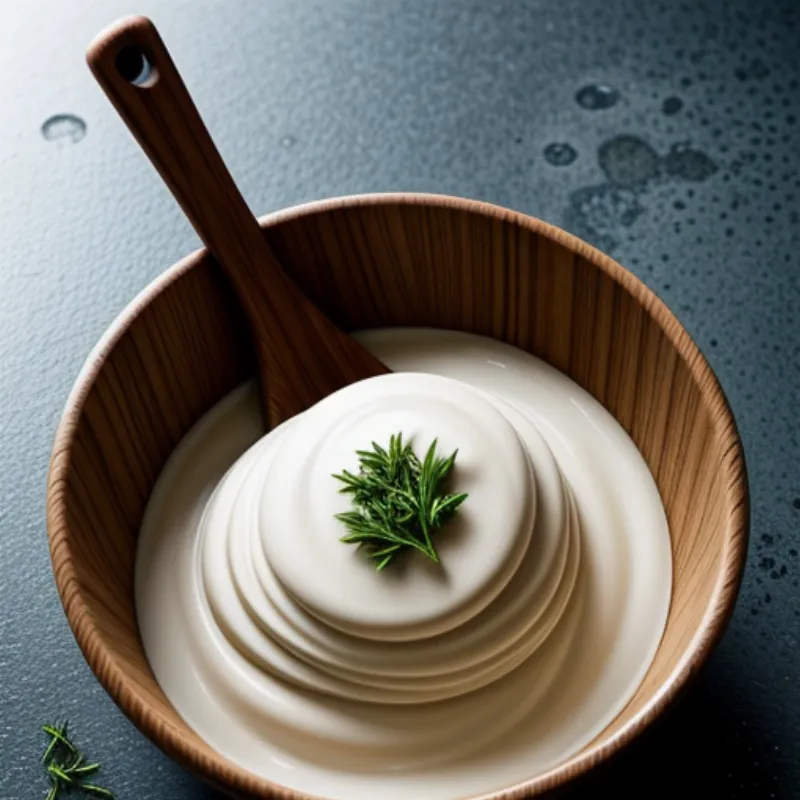
 Bowl of Vedarai Batter
Step 2: Infusing Flavor: The Art of Seasoning
- Add the chopped coconut (if using), green chilies, ginger, curry leaves, cumin seeds, and salt to the batter.
- Mix well using a spatula or your hand until all the ingredients are evenly distributed.
Tip: For an extra flavor boost, you can lightly crush the curry leaves and cumin seeds in a mortar and pestle before adding them to the batter.
Step 3: Shaping the Vedarai: A Test of Technique
- Heat the oil in a deep frying pan or kadai over medium heat. To test if the oil is hot enough, drop a small amount of batter into the oil. If it rises to the surface immediately, the oil is ready.
- While the oil is heating, wet your hands with a little water (this will prevent the batter from sticking).
- Take a small amount of batter in your hand and shape it into a disc with a hole in the center. (Don’t worry if your vedarai aren’t perfectly shaped—practice makes perfect!)
- Alternatively, you can use a flat-bottomed ladle or a small bowl to shape the vedarai. Simply spread a thin layer of batter on the ladle or bowl, make a hole in the center, and carefully slide it into the hot oil.
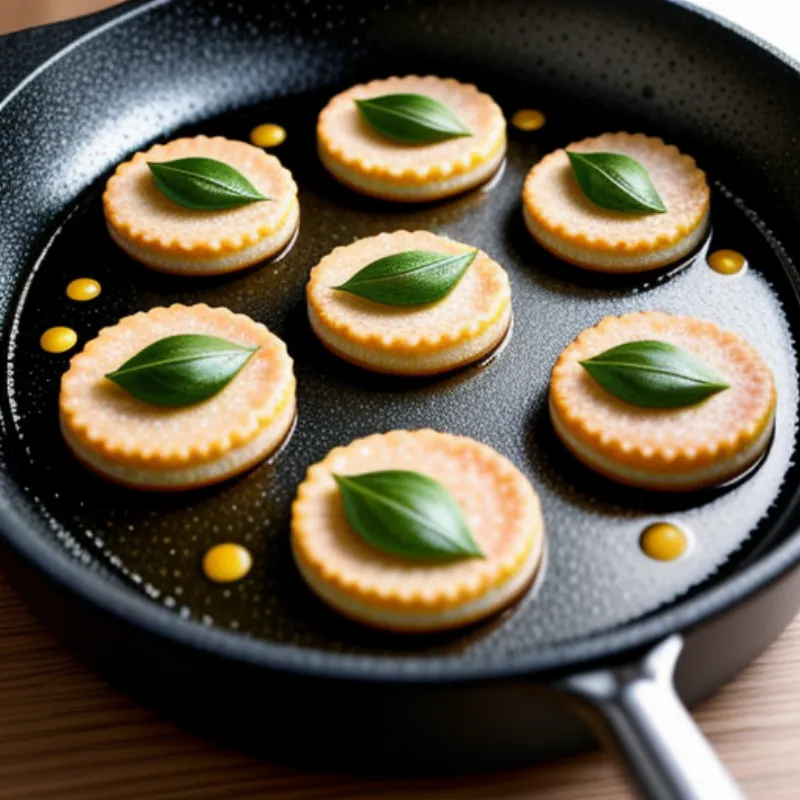
 Frying Vedarai in Oil
Step 4: Frying to Perfection: The Golden Touch
- Carefully slide the shaped vedarai into the hot oil, one at a time. Avoid overcrowding the pan.
- Fry the vedarai over medium heat, flipping them occasionally, until they turn golden brown and crispy on both sides.
- Once cooked, remove the vedarai from the oil using a slotted spoon and place them on a plate lined with paper towels to absorb excess oil.
Tip: To ensure even cooking, maintain the oil temperature at a consistent medium heat. If the oil is too hot, the vedarai will brown too quickly on the outside while remaining raw inside.
Step 5: Serving and Enjoying: The Moment of Truth
Vedarai is best served hot and fresh. You can enjoy them on their own as a snack or as part of a larger South Indian meal. They pair beautifully with coconut chutney, sambar (a lentil-based vegetable stew), or even just a simple cup of coffee or tea.
FAQs: Addressing Common Vedarai Queries
- Can I make the batter ahead of time? Absolutely! You can make the batter ahead of time and store it in an airtight container in the refrigerator for up to 24 hours.
- My vedarai are not crispy. What am I doing wrong? This could be due to a few reasons: the oil might not be hot enough, the batter might be too runny, or you might be overcrowding the pan. Make sure to heat the oil properly, adjust the batter consistency if needed, and fry the vedarai in batches.
- Can I bake or air-fry vedarai instead of deep frying? While deep frying is the traditional method for making vedarai, you can try baking or air-frying them for a healthier option. However, keep in mind that the texture might be slightly different.
Conclusion: Your Vedarai Adventure Awaits!
Congratulations! You’ve now learned how to make delicious, authentic South Indian vedarai. Gather your ingredients, follow these easy steps, and prepare to be amazed by the burst of flavors. Don’t be afraid to experiment with the recipe—try adding different spices or herbs to create your signature twist. Most importantly, have fun and enjoy the process!
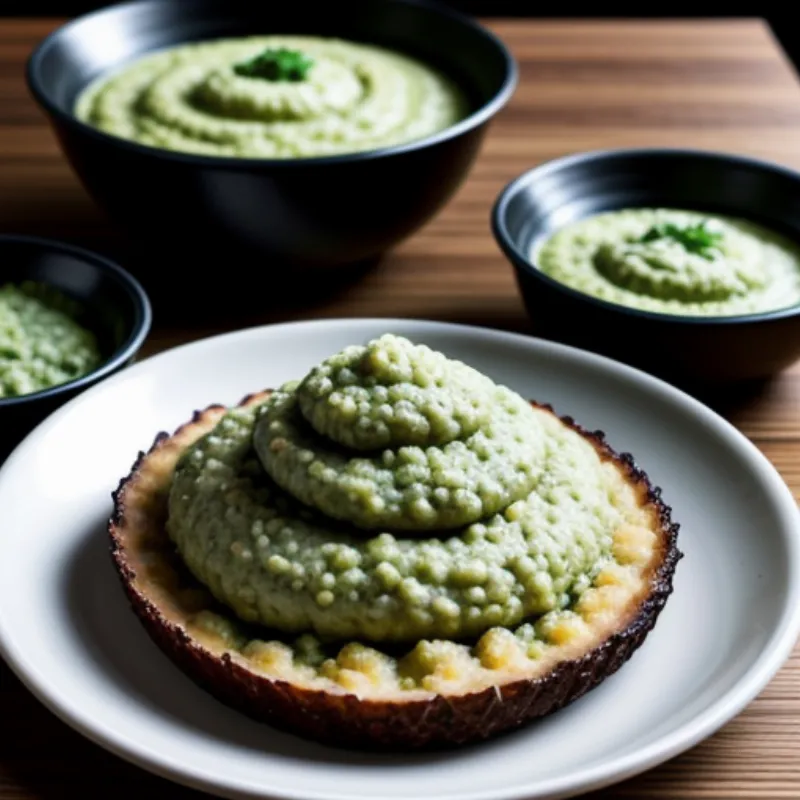
 Plate of Vedarai with Chutney
Now that you’re a vedarai expert, why not share your newfound skills with the world? Share your creations and experiences in the comments below! And be sure to check out our other delicious recipes on Family Cuisine for more culinary inspiration. Happy cooking!
