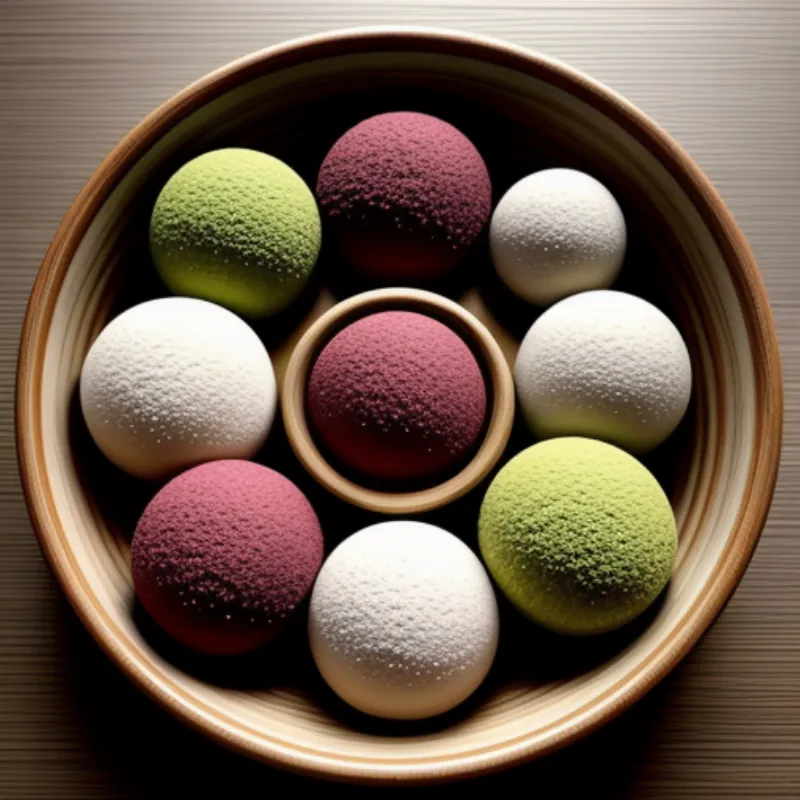
Wagashi, the delicate and delightful Japanese confections, are more than just sweets – they’re edible works of art. Imagine biting into a piece of mochi, its chewy texture giving way to a burst of sweet bean paste, or admiring the intricate design of a nerikiri, crafted to resemble a delicate flower. Making wagashi at home might seem daunting, but with a little patience and this step-by-step guide, you can bring the magic of these traditional treats to your kitchen.
Why Try Making Wagashi?
Wagashi offers a unique sensory experience. From the vibrant colors and delicate shapes to the subtle sweetness and nuanced flavors, each piece is a testament to Japanese culinary artistry. Beyond the visual and taste appeal, making wagashi can be a meditative experience. It’s about slowing down, appreciating the process, and finding joy in creating something beautiful and delicious.
Gather Your Ingredients & Tools
Ingredients:
The beauty of wagashi lies in its simplicity. The base ingredients are often pantry staples, but the magic truly comes alive with the addition of special Japanese ingredients:
- Glutinous Rice Flour (Mochiko): This fine, powdery flour is the key to achieving the signature chewy texture of mochi and many other wagashi varieties.
- Anko (Sweet Bean Paste): A classic filling for wagashi, anko is made from red beans that are simmered and sweetened. You can find it pre-made at Japanese grocery stores or online.
- Sugar: White sugar is commonly used, but you can also experiment with other sweeteners like brown sugar or maple syrup for unique flavor variations.
- Water: Essential for binding the ingredients and adjusting consistency.
- Food Coloring (Optional): Natural food colorings, like matcha powder for green or beetroot powder for pink, are often used to achieve those beautiful, subtle hues.
Tools You’ll Need:
- Steamer: A bamboo steamer basket is traditional, but any steamer will do.
- Mixing Bowls: Several sizes are helpful for combining ingredients.
- Spatula: A silicone spatula is ideal for mixing and handling sticky doughs.
- Microwave: For quickly steaming and heating ingredients.
- Measuring Cups and Spoons: Precision is key in baking.
- Plastic Wrap: To prevent sticking and keep your wagashi fresh.
- Wagashi Molds (Optional): These come in various shapes and sizes and can help you achieve intricate designs.
 wagashi ingredients
Let’s Make Wagashi: A Step-by-Step Recipe
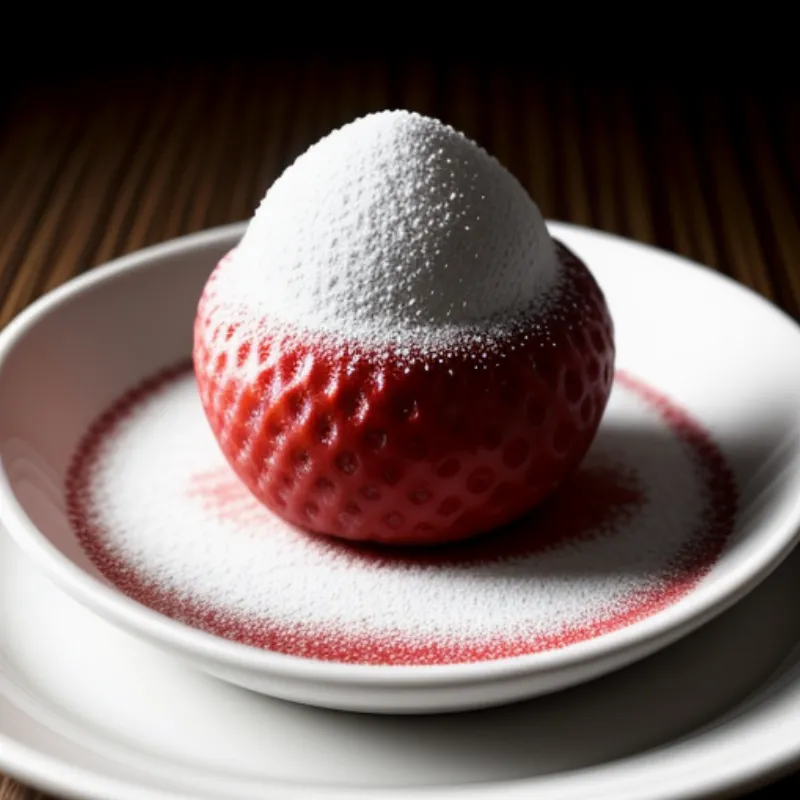
This recipe is a simple and delicious introduction to wagashi making – perfect for beginners! We’ll be creating Strawberry Daifuku, a popular variety of mochi filled with sweet bean paste and a surprise juicy strawberry inside.
Ingredients for Strawberry Daifuku:
- 1 cup glutinous rice flour (mochiko)
- 1/2 cup sugar
- 1/2 cup water
- 1/2 cup anko (sweet bean paste)
- 6 large strawberries, hulled
- Potato starch or cornstarch, for dusting
Instructions:
- Prepare Your Workstation: Line a baking sheet with parchment paper and dust it generously with potato starch or cornstarch. This will prevent the mochi from sticking.
- Make the Mochi Dough: In a large microwave-safe bowl, whisk together the glutinous rice flour and sugar. Gradually add the water, whisking constantly until the mixture is smooth and lump-free.
- Steam the Dough: Cover the bowl with plastic wrap, piercing a few holes to allow steam to escape. Microwave on high for 2-3 minutes, or until the dough becomes translucent and cooked through. If necessary, microwave in 30-second intervals until cooked.
- Knead the Mochi: Carefully remove the hot bowl from the microwave (use oven mitts!). Dust your hands and a clean work surface with potato starch or cornstarch. Gently knead the mochi for a minute or two until smooth and elastic.
- Fill and Shape the Daifuku: Divide the mochi dough into six equal portions. Flatten each portion into a disc, about 3 inches in diameter. Place a tablespoon of anko in the center of each disc, and gently press a strawberry into the anko.
- Wrap and Dust: Carefully bring the edges of the mochi dough up and over the filling, pinching to seal completely. Gently roll the filled mochi into a ball. Dust each daifuku with potato starch or cornstarch to prevent sticking.
Tips for Wagashi Success:
- Work Quickly: Mochi dough can become dry and difficult to work with, so work quickly once it’s cooked.
- Keep Things Dusted: Use plenty of potato starch or cornstarch to prevent sticking.
- Get Creative with Fillings: Try other fruits like mango or kiwi, or experiment with different flavors of anko.
 Strawberry daifuku
Enjoying Your Homemade Wagashi
Your beautiful and delicious Strawberry Daifuku are ready to be enjoyed! Serve them immediately for the best texture, or store them in an airtight container at room temperature for up to one day. Pair your wagashi with a cup of unsweetened green tea for a truly authentic Japanese experience.
Explore the World of Wagashi
Making wagashi is a journey of discovery. This recipe is just the beginning! There are countless varieties of wagashi to explore, each with its own unique flavors, textures, and techniques. Don’t be afraid to experiment, try new things, and most importantly, have fun!
What are your favorite wagashi flavors? Share your experiences and creations in the comments below!
