There’s something truly special about the buttery, crumbly texture and nutty aroma of a perfectly baked walnut shortbread. This classic treat has been a beloved teatime staple for generations, and it’s surprisingly easy to make at home. Whether you’re a seasoned baker or just starting out, this recipe will guide you through every step to create a batch of walnut shortbread that will impress your family and friends.
Ingredients You’ll Need
Here’s everything you need to gather to make this delightful treat:
- 1 cup (2 sticks) unsalted butter, softened
- 1/2 cup granulated sugar
- 1 teaspoon pure vanilla extract
- 2 cups all-purpose flour
- 1/4 teaspoon salt
- 1 cup finely chopped walnuts, toasted
Optional additions for extra flavor:
- 1/4 teaspoon ground cinnamon
- 1/4 teaspoon almond extract
Tools of the Trade
Before we dive into baking, gather these essential tools:
- Measuring cups and spoons
- Mixing bowls
- Electric mixer
- Baking sheet
- Parchment paper
- Rolling pin
Let’s Bake!
Now comes the fun part – turning these simple ingredients into a bakery-worthy treat:
-
Toast the Walnuts: Preheat your oven to 350°F (175°C). Spread the chopped walnuts on a baking sheet and toast for about 5-7 minutes, or until fragrant and lightly golden. Keep a close eye on them to prevent burning. Once toasted, set aside to cool.
-
Cream Together Butter and Sugar: In a large bowl, beat the softened butter and granulated sugar together using an electric mixer until the mixture is light and fluffy. This usually takes about 2-3 minutes.
-
Incorporate Vanilla and Dry Ingredients: Beat in the vanilla extract. In a separate bowl, whisk together the all-purpose flour and salt. Gradually add the dry ingredients to the wet ingredients, mixing on low speed until just combined. Be careful not to overmix!
-
Add the Walnuts: Gently fold in the toasted and cooled walnuts using a rubber spatula or wooden spoon.
-
Shape and Chill the Dough: Divide the dough in half. Shape each half into a disk and wrap tightly in plastic wrap. Refrigerate for at least 30 minutes, or up to 2 hours. Chilling the dough helps prevent spreading and ensures those beautiful, crisp edges.
-
Preheat and Prep: Preheat the oven to 325°F (160°C) and line a baking sheet with parchment paper.
-
Roll and Cut: On a lightly floured surface, roll out one disk of dough to about 1/4 inch thickness. Use your favorite cookie cutters to cut out shapes, or simply cut into squares or rectangles.
-
Bake to Perfection: Place the cookies on the prepared baking sheet and bake for 15-20 minutes, or until the edges are lightly golden.
-
Cool and Enjoy: Allow the shortbread cookies to cool completely on the baking sheet before serving.
Tips and Tricks for Shortbread Success
-
Room Temperature Ingredients: Using softened butter and letting your ingredients come to room temperature ensures everything blends together smoothly.
-
Don’t Overmix: Overmixing the dough can lead to tough shortbread. Mix until the ingredients are just combined.
-
Chilling is Key: Chilling the dough helps prevent spreading and results in a crispier texture.
-
Get Creative with Flavors: Feel free to experiment with different flavor combinations! Add a pinch of cinnamon, a teaspoon of orange zest, or even a handful of chocolate chips to the dough.
FAQs About Walnut Shortbread
Q: Can I use salted butter instead of unsalted?
A: Yes, you can use salted butter. Just omit the added salt in the recipe.
Q: Can I freeze walnut shortbread dough?
A: Absolutely! The dough can be frozen for up to 3 months. Thaw overnight in the refrigerator before rolling and baking.
Q: How should I store my baked shortbread cookies?
A: Store the cookies in an airtight container at room temperature for up to 3 days, or freeze for longer storage.
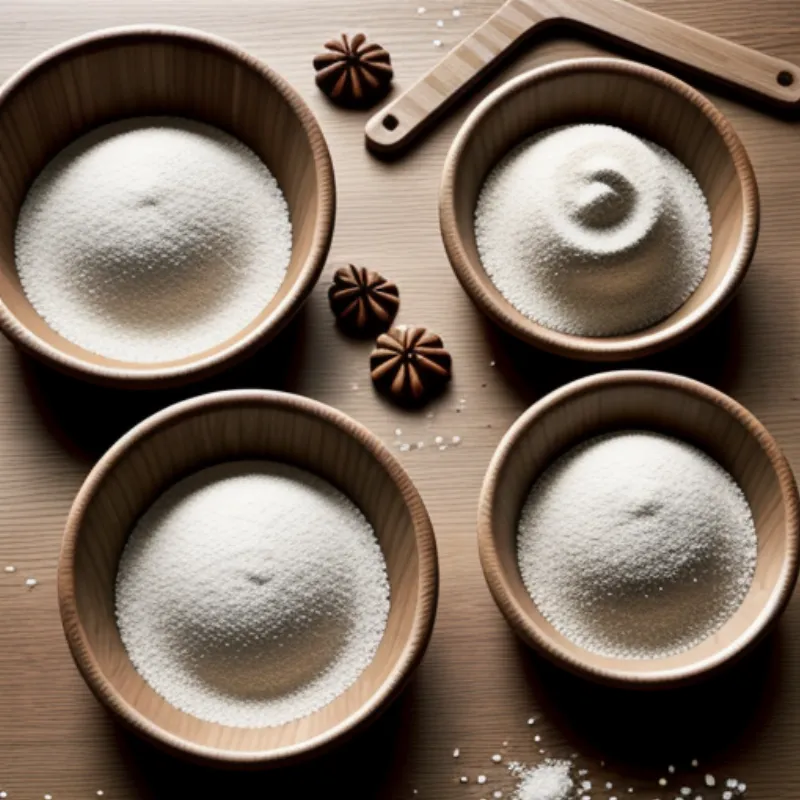
 Walnut Shortbread Ingredients
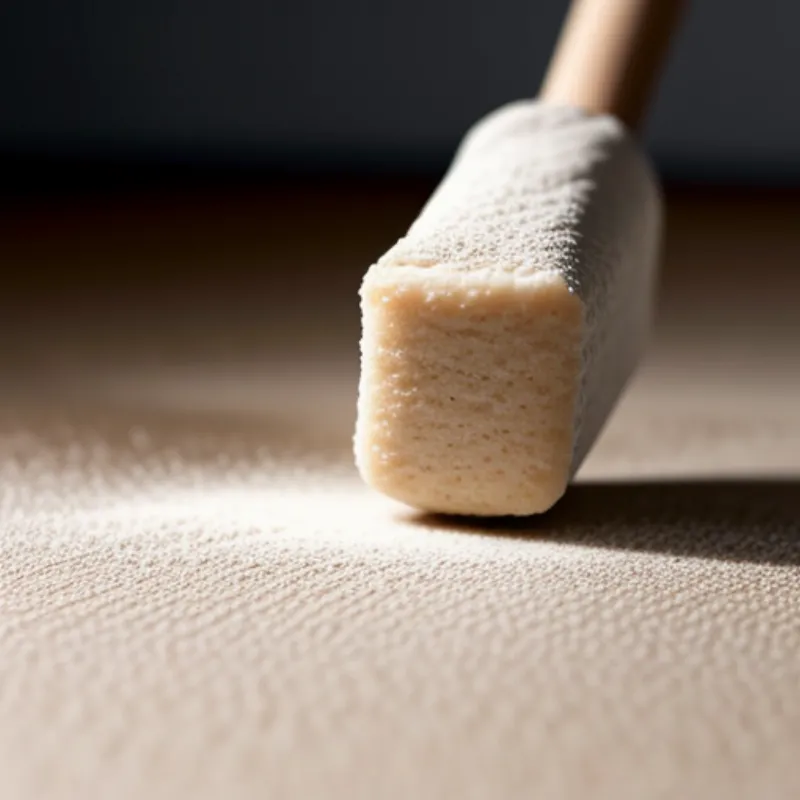
 Shortbread Cookie Dough
Making walnut shortbread is a rewarding baking experience that results in a timeless treat everyone will love. Enjoy sharing these buttery, nutty cookies with your family and friends, and don’t be afraid to get creative in the kitchen! For those who love the sweet and salty combination, try our recipe for caramel cookies! You can find it here. Happy baking!
