Wasabi peas—those vibrant green, crunchy spheres with a sinus-clearing kick—are more than just a tasty treat. They’re an adventure for your taste buds! Whether you’re snacking solo or impressing guests at your next gathering, homemade wasabi peas are sure to be a hit. The best part? They’re surprisingly easy to make.
This comprehensive guide will walk you through the process, revealing how to transform humble peas into addictive wasabi wonders. Get ready for a culinary journey that’s fun, flavorful, and guaranteed to spice up your life!
Unveiling the Flavor: From Humble Pea to Wasabi Wonder
Before we dive into the recipe, let’s unravel the magic behind wasabi peas.
Imagine: you bite into a crisp shell, and a burst of salty, savory goodness hits your palate. Then, the unmistakable heat of wasabi kicks in, sending a delightful tingling sensation through your senses. That’s the magic of wasabi peas!
But it’s not actual wasabi coating those crunchy peas. The secret lies in a clever blend of wasabi powder, cornstarch, and seasonings. This potent mixture clings to roasted peas, creating that signature flavor explosion we all know and love.
Let’s Get Cooking: Your Wasabi Pea Adventure Starts Here!
Ingredients You’ll Need:
- 1 cup dried green peas (look for “roasted” for a head start on flavor)
- 2 tablespoons wasabi powder (adjust to your spice preference)
- 1 tablespoon cornstarch
- 1 teaspoon salt (or to taste)
- 1/2 teaspoon garlic powder
- 1/4 teaspoon onion powder
- Water (as needed)
Tools of the Trade:
- Large bowl
- Baking sheet
- Parchment paper
- Whisk
- Airtight container for storage
Step-by-Step Guide:
- Preheat and Prep: Preheat your oven to 300°F (150°C). Line your baking sheet with parchment paper for easy cleanup.
- Whisk the Wasabi Magic: In the large bowl, whisk together the wasabi powder, cornstarch, salt, garlic powder, and onion powder. This ensures the flavors are evenly distributed for maximum impact.
- Pea Power: Add the green peas to the dry mixture. Toss gently to coat each pea with the wasabi blend.
- Spritz and Shine: Here’s the fun part! Lightly spritz the peas with water, a little at a time, while tossing gently. The goal is to create a slightly sticky coating that will adhere to the peas.
- Spread and Bake: Evenly spread the coated peas on your prepared baking sheet. Pop them into the preheated oven and bake for 20-25 minutes, or until crispy. Be sure to give them a stir halfway through for even roasting.
- Cool and Conquer: Once the peas are golden and crispy, remove them from the oven and let them cool completely on the baking sheet. As they cool, they’ll continue to crisp up.
- Store and Savor: Once fully cooled, store your homemade wasabi peas in an airtight container at room temperature. They’ll stay fresh and crunchy for up to two weeks…if they last that long!
Pro Tips for Wasabi Success:
- Spice Level Control: Start with a smaller amount of wasabi powder if you’re sensitive to heat. You can always add more later!
- Roast for Extra Crunch: For an even crispier snack, try roasting the peas for a few extra minutes. Just keep a close eye on them to prevent burning.
- Flavor Adventures: Get creative! Add a pinch of cayenne pepper for extra heat, or experiment with different spices like smoked paprika or chili powder.
FAQs: Answering Your Wasabi Pea Queries:
Q: Can I use fresh wasabi for this recipe?
A: While fresh wasabi sounds amazing, it won’t yield the same results. The drying process is what concentrates the flavor and creates that signature wasabi heat.
Q: My peas aren’t as crunchy as I’d like. What went wrong?
A: Don’t worry, there’s a fix! Simply pop them back in the oven for a few extra minutes until they reach your desired crispiness.
Q: Can I use different types of peas?
A: While green peas are the classic choice, feel free to experiment! Black-eyed peas or chickpeas can also work well.
Wasabi Wonders Await: Time to Unleash Your Inner Chef!
Making your own wasabi peas is a rewarding experience that’s easier than you might think. With just a few simple ingredients and this easy-to-follow guide, you’ll be enjoying these spicy, crunchy treats in no time. So go ahead, embrace the adventure, and create your own batch of homemade wasabi pea perfection!
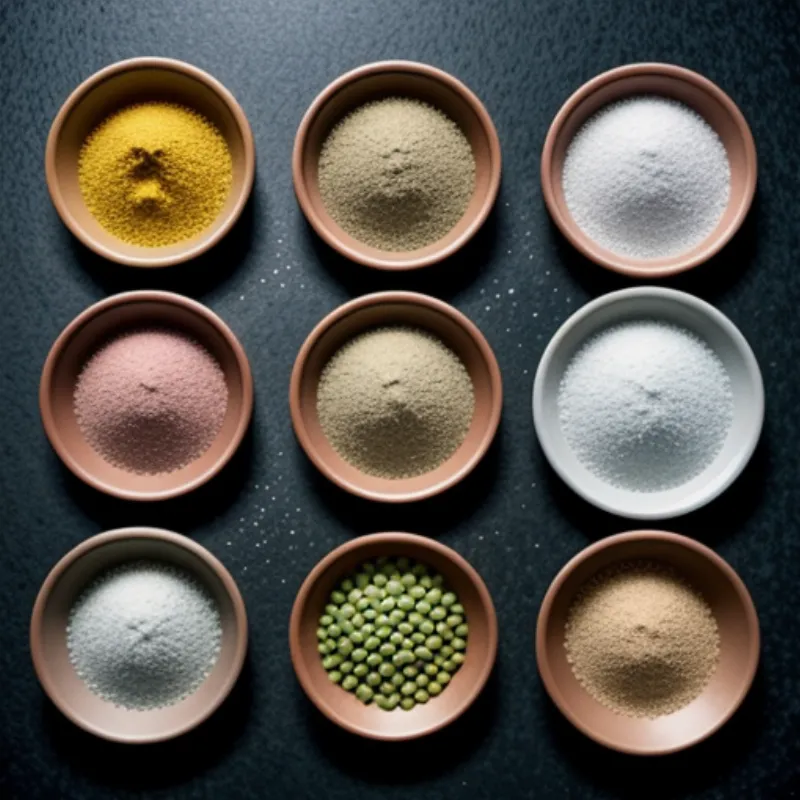
 Wasabi pea ingredients
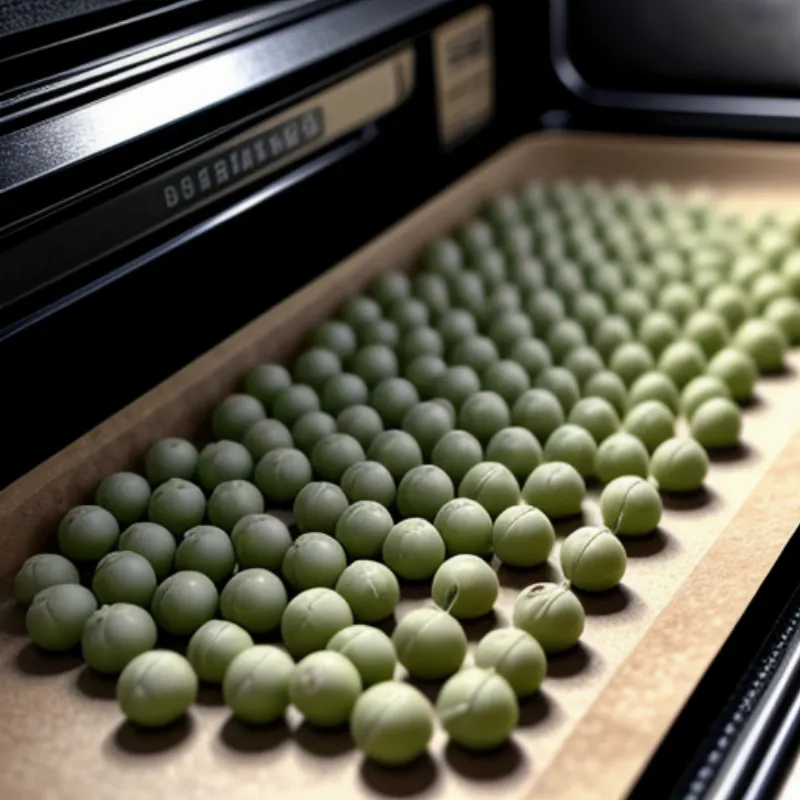
 Wasabi peas baking
And don’t forget to share your creations with us! We’d love to hear about your wasabi pea adventures in the comments below. Happy snacking!
