A wedding cake is more than just a dessert; it’s a symbol of love, commitment, and a sweet start to a new chapter. While ordering a professional cake is always an option, nothing compares to the satisfaction and heartfelt effort of baking your own. This comprehensive guide will walk you through how to make a wedding cake from scratch, covering everything from choosing the right ingredients to achieving a professional-looking finish.
Planning Your Masterpiece
Before diving into the ingredients and baking process, let’s lay the groundwork for success:
1. Choosing Your Cake Flavors and Frosting
The world is your oyster when it comes to wedding cake flavors! Consider what you and your partner enjoy most.
Popular Cake Flavors:
- Vanilla: A classic choice, perfect for its versatility in pairing with various frostings and fillings.
- Chocolate: Rich, decadent, and always a crowd-pleaser.
- Red Velvet: Known for its vibrant red hue and subtle chocolate flavor.
- Lemon: A refreshing and tangy option, ideal for spring or summer weddings.
- Carrot Cake: A moist and flavorful choice, often paired with cream cheese frosting.
Delectable Frosting Options:
- Buttercream: Smooth, creamy, and easy to work with.
- Cream Cheese Frosting: Tangy and rich, a perfect complement to many cake flavors.
- Whipped Cream Frosting: Light, airy, and less sweet than buttercream.
- Ganache: A decadent chocolate frosting that adds a touch of elegance.
Pro Tip: Don’t be afraid to get creative with fillings! Fruit preserves, chocolate ganache, or even a layer of mousse can add an extra dimension of flavor and texture.
2. Determining Cake Size and Tiers
The size of your wedding cake will depend on your guest count and desired presentation.
- Guest Count: A standard wedding cake serving is typically 1″ x 2″ x 4″. Use this as a guide to estimate the cake size needed.
- Number of Tiers: Tiers add visual interest and allow you to incorporate different flavors or fillings. Remember, stacking tiers requires dowels for support.
Resource: For a helpful guide to cake sizing, consult a baking chart or online calculator.
Essential Ingredients for Your Wedding Cake
Now, let’s gather the ingredients to bring your dream cake to life. This recipe will guide you through baking a classic three-tiered vanilla cake with vanilla buttercream frosting. Feel free to adjust the recipe proportionally based on your desired cake size and tiers.
For the Vanilla Cake (makes one 8-inch cake):
- 2 1/2 cups (300g) all-purpose flour
- 2 1/2 cups (500g) granulated sugar
- 1 teaspoon (5g) baking powder
- 1/2 teaspoon (3g) baking soda
- 1/2 teaspoon (3g) salt
- 1 cup (2 sticks) unsalted butter, softened
- 2 large eggs
- 1 cup (240ml) buttermilk
- 1/2 cup (120ml) vegetable oil
- 2 teaspoons (10ml) pure vanilla extract
For the Vanilla Buttercream Frosting:
- 4 cups (2 lbs) powdered sugar
- 1 cup (2 sticks) unsalted butter, softened
- 1/2 cup (120ml) heavy cream
- 2 teaspoons (10ml) pure vanilla extract
- Pinch of salt
Assembling Your Baking Arsenal: Tools You’ll Need
- Stand mixer or electric hand mixer
- Mixing bowls
- Measuring cups and spoons
- Rubber spatula
- Parchment paper
- 8-inch round cake pans (or desired sizes)
- Serrated knife
- Offset spatula
- Piping bag and tips (optional, for decorating)
- Cake turntable (optional, for frosting)
- Cake board or serving platter
Baking the Perfect Wedding Cake: A Step-by-Step Guide
1. Prepare Your Cake Pans: Grease and flour your cake pans. Lining the bottoms with parchment paper will prevent sticking and ensure easy removal.
2. Preheat Your Oven: Preheat your oven to 350°F (175°C).
3. Combine Dry Ingredients: In a large bowl, whisk together the flour, sugar, baking powder, baking soda, and salt.
4. Cream the Butter and Sugar: In the bowl of a stand mixer, cream together the softened butter and sugar until light and fluffy.
5. Add the Eggs: Beat in the eggs one at a time, mixing well after each addition.
6. Alternate Wet and Dry Ingredients: Gradually add the dry ingredients to the wet ingredients, alternating with the buttermilk, beginning and ending with the dry ingredients. Beat on low speed until just combined.
7. Add Vanilla and Oil: Stir in the vanilla extract and vegetable oil. Mix until the batter is smooth.
8. Divide and Bake: Evenly divide the batter among the prepared cake pans. Bake for 30-35 minutes, or until a wooden skewer inserted into the center comes out clean.
9. Cooling the Cakes: Let the cakes cool in the pans for 10 minutes before inverting them onto a wire rack to cool completely.
Creating the Perfect Vanilla Buttercream
1. Beat the Butter: In a large bowl, beat the softened butter with an electric mixer until smooth and creamy.
2. Add Powdered Sugar: Gradually add the powdered sugar, one cup at a time, beating on low speed until incorporated.
3. Incorporate Heavy Cream and Vanilla: Add the heavy cream and vanilla extract.
4. Beat Until Smooth: Increase the mixer speed to medium-high and beat for 3-4 minutes, or until the frosting is light and fluffy.
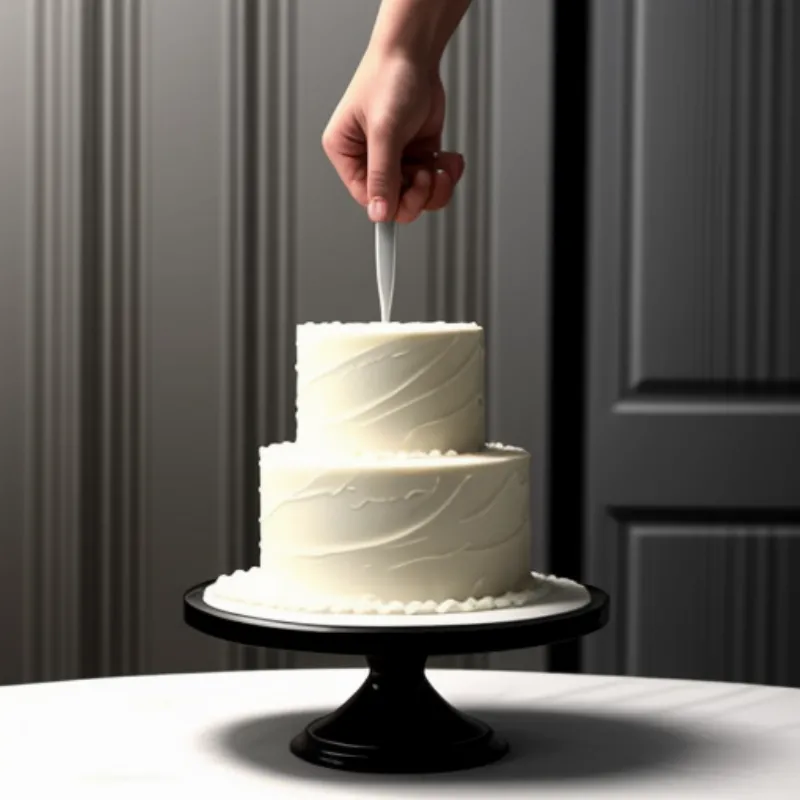
 Frosting a Wedding Cake
Assembling and Decorating Your Masterpiece
1. Level the Cakes: Use a serrated knife to carefully level the tops of the cooled cakes if necessary. This ensures even tiers.
2. Apply a Crumb Coat: Place a dollop of frosting on your cake board or serving platter. Top with the first cake layer. Apply a thin layer of frosting over the entire cake to seal in any crumbs. This is called a crumb coat.
3. Stack and Frost: Repeat with the remaining cake layers. Frost the entire cake with a smooth layer of buttercream.
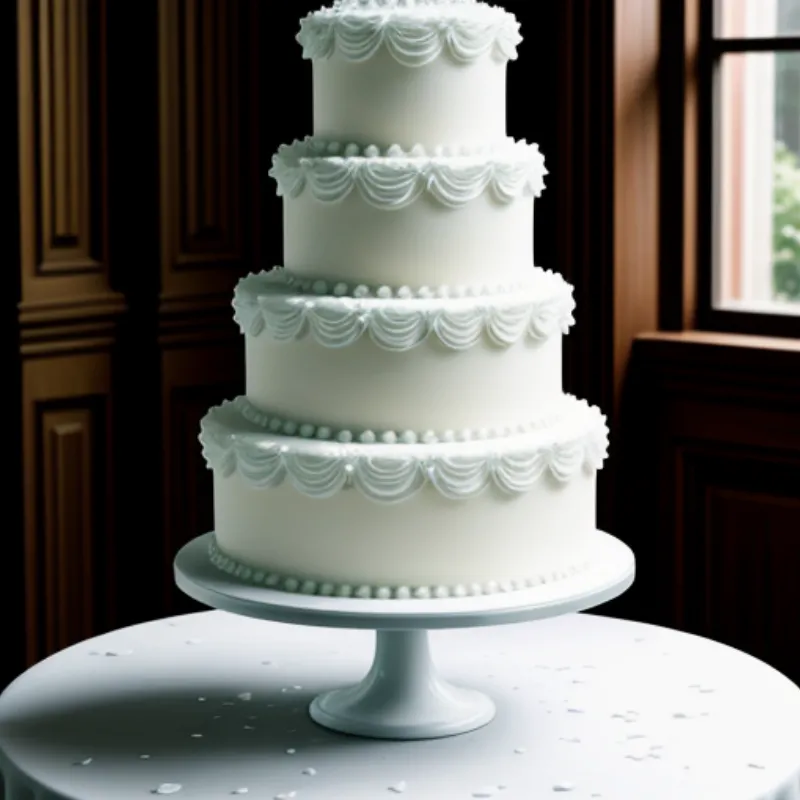
4. Decorate: Now, the fun part! Let your creativity shine as you decorate your wedding cake. Use piping bags and tips to create elegant swirls, borders, or flowers. Fresh flowers or edible decorations can add a personal touch.
 Decorated Wedding Cake
Tips for Success and FAQs
Q: Can I freeze my wedding cake layers in advance?
A: Absolutely! Freezing cake layers is a great time-saving technique. Wrap the cooled cake layers tightly in plastic wrap and then in aluminum foil. Freeze for up to 2 months. Thaw overnight in the refrigerator before frosting.
Q: How do I prevent my cake from drying out?
A: Avoid overbaking! Test for doneness with a toothpick, and make sure your cakes cool completely before frosting.
Q: What’s the best way to transport a tiered wedding cake?
A: Transporting a tiered cake requires extra care. Place each tier on a separate cake board and assemble at the venue. Use dowels for support and drive slowly!
Pro Tip: Practice makes perfect! If you’re new to cake decorating, consider practicing your frosting techniques on a spare cake or cupcakes before the big day.
Conclusion: A Wedding Cake Made with Love
Baking your own wedding cake is a labor of love, but the end result—a delicious symbol of your commitment—is truly rewarding. Don’t be afraid to personalize your creation and let your baking skills shine. Your guests will be delighted by the care and effort you put into this centerpiece dessert. Now, go forth and create a wedding cake that’s as unique and special as your love story! And for more tips on creating beautiful occasion cakes, check out our guide on how to make occasion cakes.
