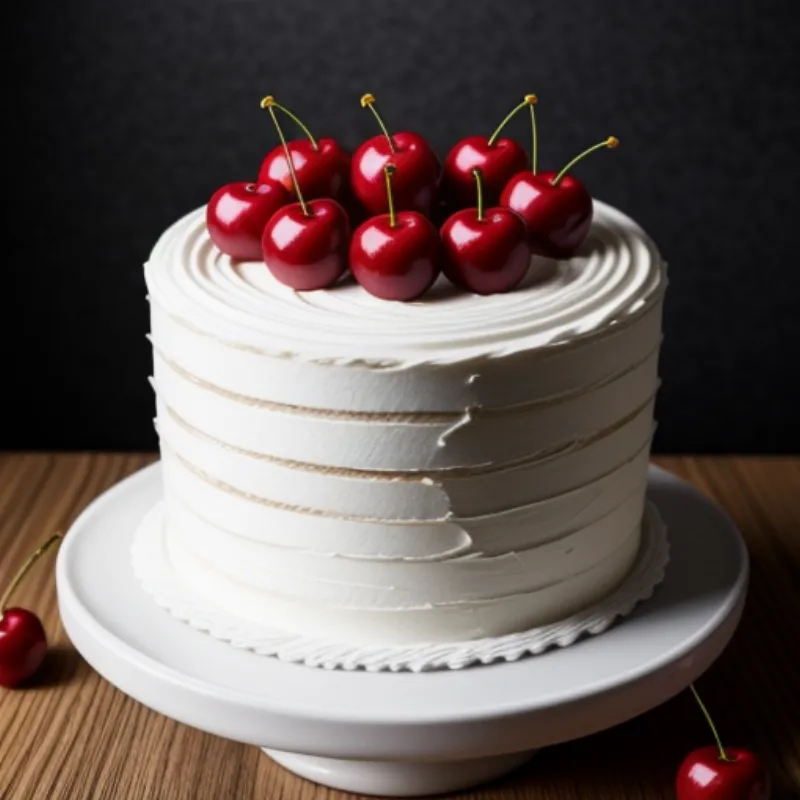
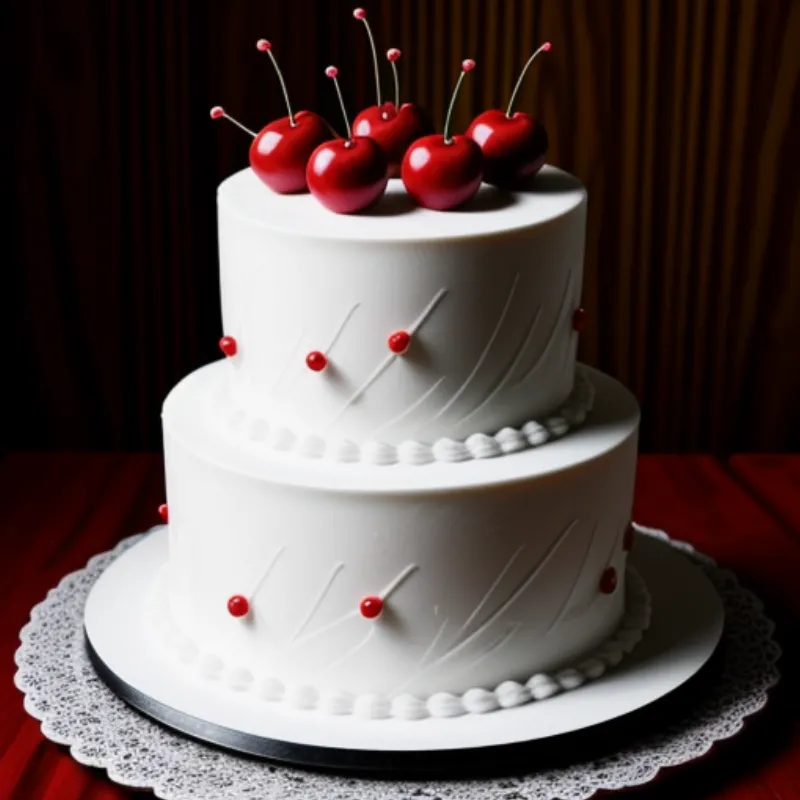
Few desserts can rival the captivating beauty and exquisite taste of a White Forest Cake. This German masterpiece, also known as “Schwarzwälder Kirschtorte,” is a delightful symphony of fluffy vanilla cake layers soaked in cherry liqueur, adorned with luscious whipped cream, and showered with delicate chocolate shavings. It’s a cake that whispers elegance and melts in your mouth, leaving you craving for more.
While the name might sound intimidating, don’t let it fool you! With our step-by-step guide, you can recreate this bakery-style treat in the comfort of your own kitchen. Whether you’re a seasoned baker or a newbie, we’ll walk you through every detail, ensuring a successful and rewarding baking experience.
Gathering Your Ingredients: A Trip to Flavor Town
Before we embark on this delicious journey, let’s gather our magical ingredients. Here’s what you’ll need:
For the Cake:
- 2 1/4 cups (281g) cake flour (not all-purpose), sifted
- 1 teaspoon baking powder
- 1/2 teaspoon baking soda
- 1/4 teaspoon salt
- 1 1/4 cups (295g) unsalted butter, softened
- 1 3/4 cups (350g) granulated sugar
- 4 large eggs, at room temperature
- 1 teaspoon pure vanilla extract
- 1 cup (240ml) buttermilk, at room temperature
For the Cherry Filling:
- 1 (21oz) can cherry pie filling
- 1/4 cup (60ml) Kirsch (cherry liqueur), optional
For the Whipped Cream Frosting:
- 3 cups (720ml) heavy whipping cream, cold
- 1/2 cup (60g) powdered sugar
- 1 teaspoon pure vanilla extract
For Decoration:
- 1/2 cup (60g) good quality dark chocolate, for shaving
Pro Tip: Using high-quality ingredients can significantly impact the taste and texture of your cake. Always opt for fresh ingredients and trusted brands.
Baking Tools at the Ready!
Having the right tools can make your baking experience smoother and more enjoyable. Here’s what you’ll need:
- 3 (9-inch) round cake pans
- Parchment paper
- Electric mixer (stand mixer or hand mixer)
- Sifter
- Rubber spatula
- Measuring cups and spoons
- Two large bowls
- Serrated knife or cake leveler
- Offset spatula or butter knife
- Rotating cake stand (optional)
- Piping bag and tip (optional)
Baking the Perfect White Forest Cake: A Step-by-Step Guide
1. Preparing the Cake Pans:
- Preheat your oven to 350°F (175°C). Grease and flour three 9-inch round cake pans. For a professional touch, line the bottom of each pan with parchment paper. This will prevent the cake from sticking and ensure clean removal.
2. Combining Dry Ingredients:
- In a large bowl, whisk together the cake flour, baking powder, baking soda, and salt. Set aside.
3. Creaming Butter and Sugar:
- In another large bowl, cream together the softened butter and granulated sugar until light and fluffy. This will take about 3-5 minutes with an electric mixer.
4. Adding Eggs and Vanilla:
- Beat in the eggs one at a time, mixing well after each addition. Stir in the vanilla extract.
5. Alternating Wet and Dry Ingredients:
- Gradually add the dry ingredients to the wet ingredients, alternating with the buttermilk. Begin and end with the dry ingredients, ensuring everything is well combined. Don’t overmix!
Pro Tip: Overmixing can develop gluten in the flour, resulting in a tough cake. Mix until just combined for a light and airy texture.
6. Baking the Cake Layers:
- Divide the batter evenly among the prepared cake pans. Bake for 25-30 minutes, or until a toothpick inserted into the center comes out clean.
7. Cooling and Leveling:
- Let the cakes cool in the pans for 10 minutes before inverting them onto a wire rack to cool completely. Once cooled, use a serrated knife or a cake leveler to remove any dome-shaped tops, ensuring flat and even layers.
8. Preparing the Cherry Filling:
- If using cherry pie filling, drain off excess syrup. If desired, toss the cherries with Kirsch for an extra layer of flavor.
9. Making the Whipped Cream Frosting:
- In a large bowl, beat the heavy whipping cream, powdered sugar, and vanilla extract with an electric mixer until stiff peaks form. Be careful not to overbeat.
Pro Tip: For best results, ensure your whipping cream is chilled and your bowl is cold. This will help the cream whip up faster and hold its shape better.
10. Assembling the Cake:
- Place one cake layer on your serving plate or cake stand. Brush the layer with about 1/4 cup of Kirsch or reserved cherry juice.
- Spread a generous layer of whipped cream frosting over the cake layer. Top with a layer of cherry filling.
- Repeat the process with the remaining cake layers, ensuring the top layer is a cake layer.
 White Forest Cake Layers
11. Frosting the Cake:
- Frost the entire cake with the remaining whipped cream frosting. You can create a smooth finish or go for a rustic, textured look.
12. Adding the Finishing Touches:
- Use a vegetable peeler or a sharp knife to shave the dark chocolate over the top and sides of the cake.
Pro Tip: For best results, chill the chocolate for a few minutes before shaving. This will make it easier to create delicate curls.
13. Chilling and Serving:
- Refrigerate the cake for at least 30 minutes before serving to allow the flavors to meld and the frosting to set.
 Decorated White Forest Cake
FAQs: Your White Forest Cake Queries Answered!
Can I make this cake without alcohol?
Absolutely! You can omit the Kirsch or substitute it with an equal amount of cherry juice or milk.
Can I use fresh cherries instead of canned?
Yes, you can! You’ll need about 4 cups of pitted and halved fresh cherries. Cook them down with sugar and a thickening agent like cornstarch to create a pie filling consistency.
How long will the cake last?
White Forest Cake is best enjoyed fresh but can be stored in the refrigerator for up to 3 days.
Conclusion: Time to Savor Your Delicious Creation!
Congratulations! You’ve just baked a stunning White Forest Cake. With its delicate flavors, elegant appearance, and satisfying textures, this cake is sure to impress your family and friends. Share a slice with your loved ones and cherish the moment as you indulge in every heavenly bite.
Don’t forget to share your baking triumphs with us! Tag us on social media or leave a comment below. Happy baking!
