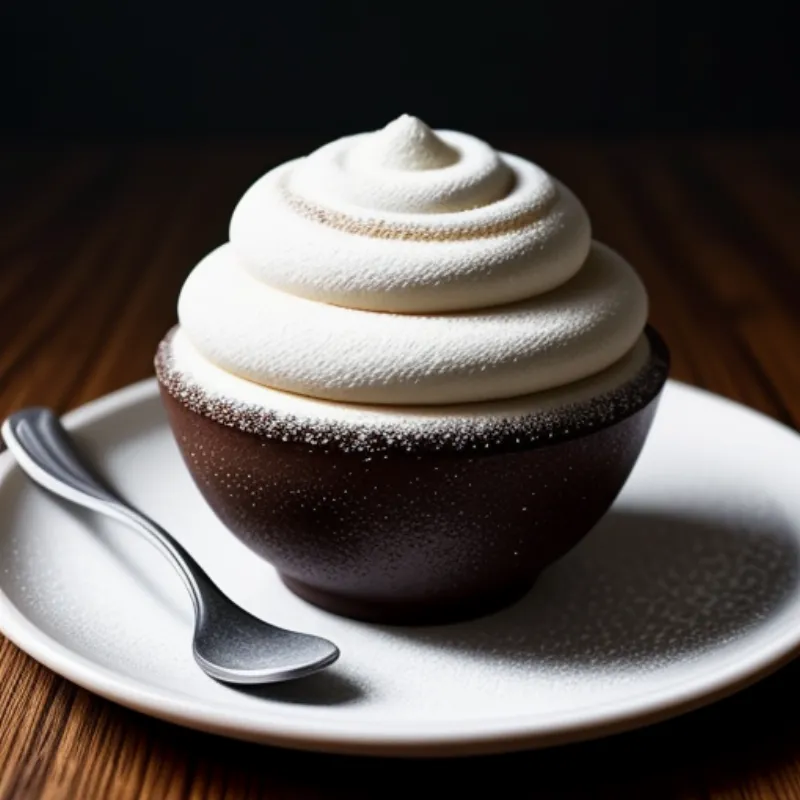
Imagine a dome-shaped dessert, its vibrant green shell hiding layers of creamy ricotta filling studded with chocolate chips. This, my friends, is Zuccotto, a traditional Italian treat that’s as impressive as it is delicious. Originating in Florence during the Renaissance, this dessert is said to have been inspired by the shape of a dome, or “zuccotto” in Italian, used by soldiers.
Today, we’re going back in time and recreating this culinary masterpiece in our own kitchens. Don’t worry, you don’t need to be a Florentine chef to master this recipe. With my step-by-step guide, making zuccotto will be an enjoyable and rewarding experience.
So, are you ready to impress your family and friends with a dessert that’s steeped in history and bursting with flavor? Let’s get started!
Gathering Your Ingredients for Zuccotto
First things first, let’s gather all the ingredients. This recipe is for a medium-sized Zuccotto, perfect for 6-8 servings.
For the Shell:
- 6 large eggs, at room temperature
- ¾ cup granulated sugar
- 1 cup all-purpose flour
- ¼ cup unsweetened cocoa powder
- 1 teaspoon baking powder
- Pinch of salt
- Green food coloring (optional, for a vibrant green shell)
For the Filling:
- 24 oz ricotta cheese, drained overnight
- 1 ½ cups powdered sugar
- 1 teaspoon vanilla extract
- 1 cup heavy cream, cold
- 1 cup semisweet chocolate chips
Tools of the Trade
You’ll need a few essential tools to bring your Zuccotto to life:
- One 9-inch springform pan
- Parchment paper
- Two large bowls
- Electric mixer
- Rubber spatula
- Fine-mesh sieve
- Medium saucepan
- Whisk
- Plastic wrap
- Serving plate
Let’s Make Zuccotto!
Now comes the fun part – creating this Italian masterpiece. Follow these steps, and you’ll be well on your way to Zuccotto perfection.
Making the Shell:
- Preheat your oven to 350°F (175°C) and grease the bottom of your springform pan. Line it with parchment paper for easy removal later.
- In a large bowl, beat the eggs and granulated sugar using an electric mixer until the mixture is light and fluffy. This should take about 5-7 minutes.
- In another bowl, whisk together the flour, cocoa powder, baking powder, and salt.
- Gradually add the dry ingredients to the wet ingredients, folding gently with a rubber spatula until just combined. Don’t overmix!
- If you’re using food coloring for that classic green shell, add a few drops to the batter now and mix gently.
- Pour the batter into the prepared pan and spread evenly.
- Bake for 30-35 minutes, or until a toothpick inserted into the center comes out clean.
- Let the cake cool completely in the pan before moving on to the next step.
Crafting the Creamy Filling:
- While the cake cools, prepare your ricotta filling. In a large bowl, beat the drained ricotta cheese, powdered sugar, and vanilla extract until smooth.
- In a separate bowl, beat the heavy cream using an electric mixer until stiff peaks form.
- Gently fold the whipped cream into the ricotta mixture. Be careful not to overmix.
- Stir in the chocolate chips.
Assembling the Zuccotto:
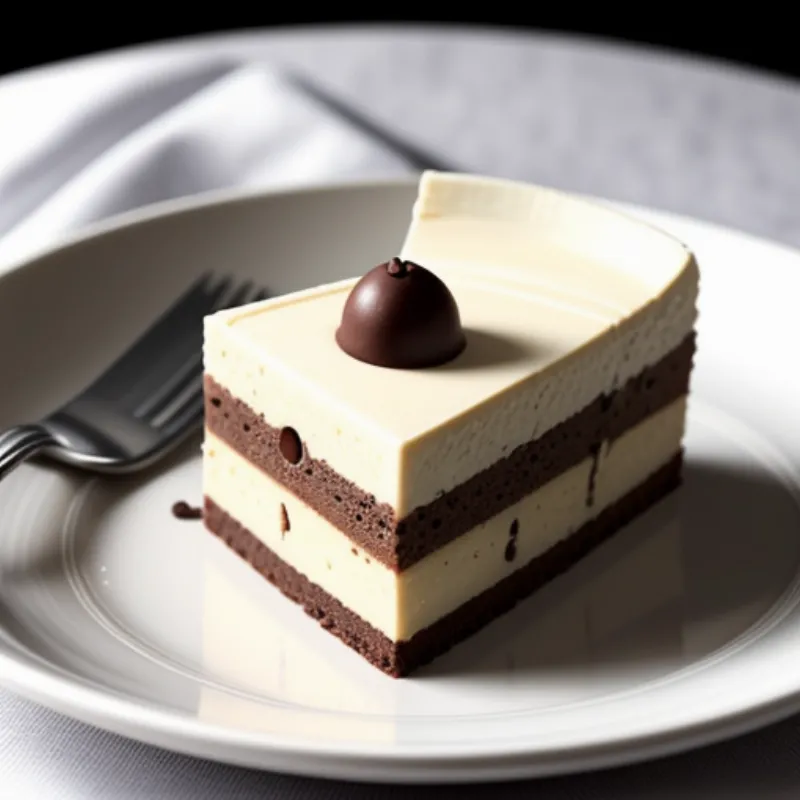
- Once the cake has cooled completely, carefully cut it horizontally into three even layers.
- Line a large bowl (slightly smaller than your serving bowl) with plastic wrap, leaving some overhang.
- Place one layer of the cake at the bottom of the bowl, pressing it gently to fit.
- Spread half of the ricotta filling over the cake layer.
- Top with another layer of cake, gently pressing it down.
- Spread the remaining ricotta filling over the cake.
- Place the final layer of cake on top, pressing gently to seal everything in.
- Cover the bowl with the overhanging plastic wrap and refrigerate for at least 4 hours, or preferably overnight.
The Grand Finale – Serving Your Zuccotto:
- When ready to serve, carefully invert the zuccotto onto a serving plate.
- Remove the bowl and plastic wrap.
 Zuccotto on a Plate
Tips for Zuccotto Success:
- Ricotta matters: The key to a creamy and flavorful Zuccotto is using good quality ricotta cheese. Make sure to drain it overnight to remove excess moisture.
- Don’t overmix: When combining the cake batter and the ricotta filling, be careful not to overmix. Overmixing will result in a tough Zuccotto.
- Patience is key: Refrigerating the Zuccotto for at least 4 hours, or even better, overnight, allows the flavors to meld and the cake to soften, resulting in a more delicious dessert.
FAQs about Making Zuccotto:
Can I use a different type of cheese?
While ricotta is traditional, you can experiment with mascarpone cheese for a richer flavor. Just make sure to adjust the sugar content accordingly.
Can I add other flavors to the filling?
Absolutely! You can add a tablespoon of your favorite liqueur like rum or Frangelico to the filling. Chopped candied fruit or citrus zest would also be delicious additions.
How do I store leftover Zuccotto?
Store leftover Zuccotto in an airtight container in the refrigerator for up to 3 days.
A Taste of History, a World of Flavor
There you have it! You’ve just created a stunning Zuccotto, a dessert that’s sure to impress with its history, beauty, and most importantly, its taste. Now it’s time to share it with your loved ones and savor the compliments. Happy baking!
 Slice of Zuccotto on Plate
Don’t forget to share your Zuccotto creations with us on social media using #FamilyCuisine. We’d love to see your culinary masterpieces! And for more delicious recipes and baking adventures, explore the rest of our website.
