Few things compare to the joy of biting into a soft, fluffy biscuit roll, especially when it’s homemade. This delightful treat, also known as a biscuit swiss roll or biscuit roulade, combines the comforting flavor of biscuits with a sweet and creamy filling. Whether you’re a seasoned baker or just starting out, this comprehensive guide will equip you with everything you need to know to create your very own biscuit roll masterpiece. So, gather your ingredients, put on your apron, and let’s get rolling!
Unraveling the Biscuit Roll: Ingredients and Tools
Ingredients You’ll Need:
For the Biscuit:
- 1 cup (2 sticks) unsalted butter, softened
- 1 1/2 cups granulated sugar
- 4 large eggs
- 3 cups all-purpose flour
- 1 teaspoon baking powder
- 1/2 teaspoon salt
- 1/2 cup milk
For the Filling:
- 1 cup heavy whipping cream
- 1/4 cup powdered sugar
- 1 teaspoon vanilla extract
- Optional: 1/4 cup fruit preserves (strawberry, raspberry, or your favorite)
For Dusting:
- Powdered sugar
Tools of the Trade:
- 13×18 inch baking sheet
- Parchment paper
- Stand mixer or hand mixer
- Mixing bowls
- Whisk
- Rubber spatula
- Serrated knife
- Cooling rack
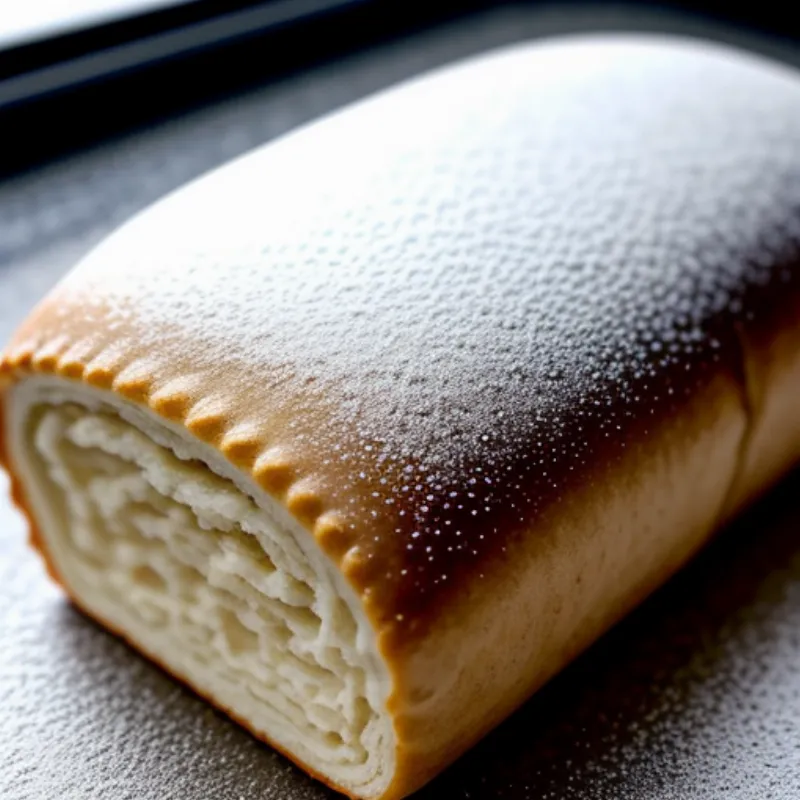
 Biscuit Roll Dough
Crafting Your Biscuit Roll: A Step-by-Step Journey
1. Preparing the Biscuit:
- Preheat and Prepare: Preheat your oven to 350°F (175°C). Grease and line a 13×18 inch baking sheet with parchment paper, leaving an overhang on the two longer sides for easy removal later.
- Cream Together: In a large bowl, cream together the softened butter and granulated sugar using a stand mixer or hand mixer until the mixture is light and fluffy.
- Incorporate Eggs: Add the eggs one at a time, beating well after each addition.
- Dry Ingredients: In a separate bowl, whisk together the all-purpose flour, baking powder, and salt.
- Combine Wet and Dry: Gradually add the dry ingredients to the wet ingredients, alternating with the milk, and beginning and ending with the dry ingredients. Mix until just combined, being careful not to overmix.
2. Baking the Biscuit:
- Spread the Batter: Pour the biscuit batter onto the prepared baking sheet and spread it evenly using a spatula.
- Bake to Perfection: Bake for 12-15 minutes, or until the biscuit is golden brown and springs back when lightly touched.
3. Preparing the Filling:
- Whip it Good: While the biscuit is baking, prepare the filling. In a chilled bowl, beat the heavy whipping cream, powdered sugar, and vanilla extract using a stand mixer or hand mixer until stiff peaks form.
4. Assembling the Roll:
- The Roll-Up: Once the biscuit is baked, let it cool slightly in the pan for a few minutes. Then, using the parchment paper overhang, carefully lift the biscuit from the pan and transfer it to a clean kitchen towel dusted with powdered sugar. Gently roll the biscuit up from one of the short ends while it’s still warm and pliable. This initial roll helps to “train” the biscuit to roll smoothly with the filling. Allow the rolled biscuit to cool completely.
- Filling and Rolling: Once cooled, carefully unroll the biscuit. Spread the whipped cream filling evenly over the surface, leaving a small border along the edges. If desired, add a layer of fruit preserves on top of the whipped cream. Gently roll the biscuit back up, starting from the same short end as before.
- Chill and Serve: Wrap the rolled biscuit tightly in plastic wrap and refrigerate for at least 30 minutes to allow the filling to set.
5. Serving and Enjoying:
- The Final Touch: Once chilled, dust the top of the biscuit roll with powdered sugar.
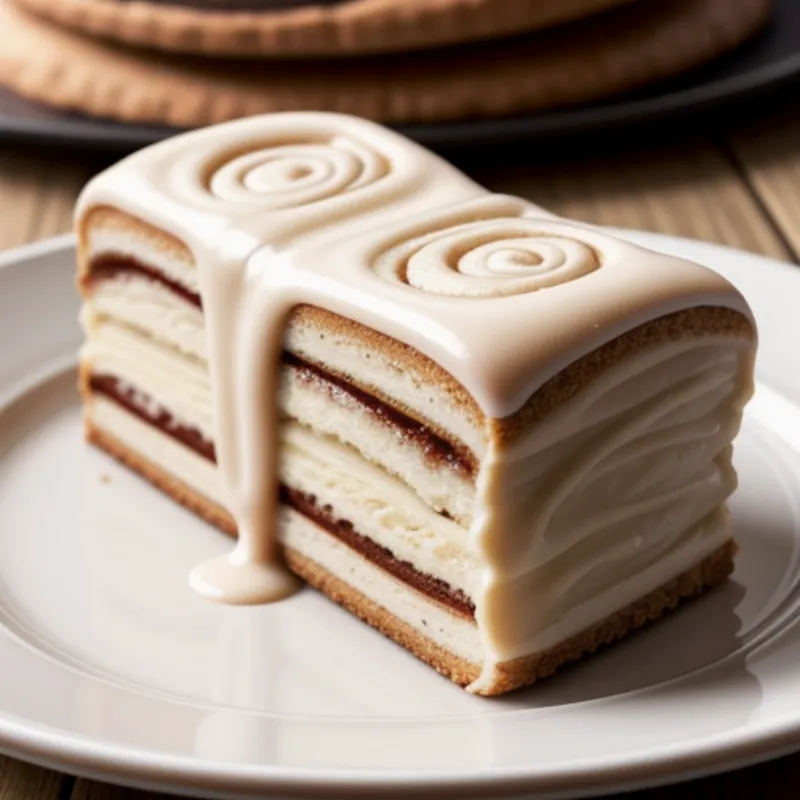
- Slice and Savor: Using a serrated knife, slice the biscuit roll into individual portions and serve.
 Slice of Biscuit Roll
Biscuit Roll FAQs: Your Questions, Answered
Q: Can I use a different type of flour for this recipe?
A: While all-purpose flour is recommended, you can substitute it with cake flour for a slightly softer texture. However, keep in mind that using a different type of flour might require adjustments to the baking time.
Q: Can I make the biscuit roll ahead of time?
A: Absolutely! You can assemble the biscuit roll up to a day in advance. Just keep it tightly wrapped in plastic wrap and refrigerated until ready to serve.
Q: My biscuit cracked while rolling. What should I do?
A: Don’t worry, it happens! If your biscuit cracks, simply patch it up with a bit of the remaining whipped cream filling. Once the roll is chilled, the filling will help to hold everything together.
Beyond the Basics: Exploring Biscuit Roll Variations
This recipe serves as a delicious foundation for countless creative variations. Feel free to experiment with different fillings, such as chocolate ganache, lemon curd, or even a tangy cream cheese frosting. You can also add a layer of fresh fruit or a drizzle of melted chocolate for an extra touch of decadence. For those who enjoy a bit of crunch, consider adding chopped nuts or sprinkles to the filling.
Conclusion: Embracing the Art of Biscuit Roll Making
Making a biscuit roll is an experience that engages all the senses – from the aroma of freshly baked biscuit to the delicate touch required for rolling. Don’t be afraid to experiment, have fun, and most importantly, enjoy the sweet reward of your efforts!
Ready to explore other delightful biscuit creations? Check out our recipes for Heung Peng, Le Brun biscuits, Masticha cookies, Garibaldi biscuits, and Petit Beurre biscuits for more baking inspiration.
