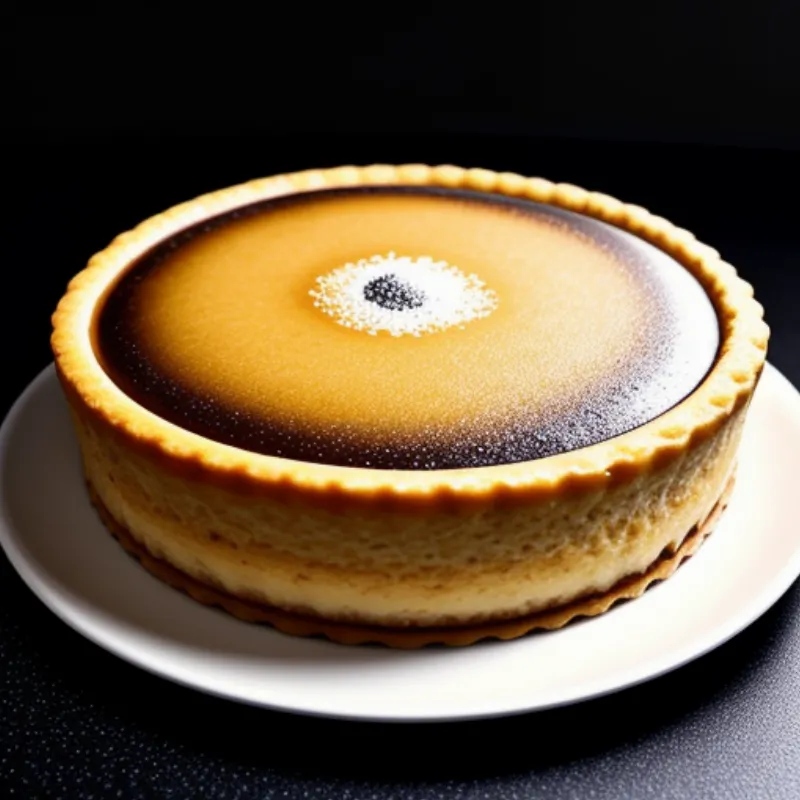
Flan pâtissier, or French custard tart as it’s sometimes called, is a true testament to the beauty of simple ingredients transformed into something truly special. Imagine this: a crisp, buttery pastry crust, generously filled with a smooth, velvety custard, and finally, a caramelized top that crackles delicately with every bite. It’s the kind of dessert that evokes a feeling of warmth and nostalgia, a reminder of cherished family gatherings and the joy of sharing good food with loved ones.
This recipe breaks down the process into manageable steps, guiding you through each stage with clear instructions and helpful tips. Whether you’re a seasoned baker or just starting your pastry journey, I’m confident that this guide will equip you with the knowledge and confidence to create your own show-stopping flan pâtissier.
Gathering Your Baking Arsenal: Ingredients You’ll Need
For the Pastry Crust:
- 1 1/4 cups (150g) all-purpose flour
- 1/2 teaspoon salt
- 1/2 cup (113g) unsalted butter, cold and cubed
- 1/4 cup (60ml) ice water
For the Creamy Custard Filling:
- 2 cups (473ml) whole milk
- 1/2 cup (100g) granulated sugar
- 1/4 cup (40g) cornstarch
- 1/4 teaspoon salt
- 4 large egg yolks
- 1 teaspoon pure vanilla extract
For the Caramelized Crown:
- 1/2 cup (100g) granulated sugar
- 2 tablespoons water
Essential Tools for Baking Success:
- 9-inch tart pan with removable bottom
- Medium saucepan
- Whisk
- Rubber spatula
- Parchment paper
- Pie weights or dried beans
- Baking sheet
Crafting Your Flan Pâtissier: A Step-by-Step Guide
The Perfect Pastry Crust:
- Combine the dry ingredients: In a large bowl, whisk together the flour and salt.
- Cut in the butter: Add the cold, cubed butter to the flour mixture. Using a pastry blender or your fingers, work the butter into the flour until the mixture resembles coarse crumbs.
- Gradually add the ice water: Drizzle in the ice water, one tablespoon at a time, mixing until the dough just comes together. Avoid overmixing.
- Chill the dough: Shape the dough into a disc, wrap it tightly in plastic wrap, and refrigerate for at least 1 hour.
Creating the Silky-Smooth Custard:
- Heat the milk: In a medium saucepan, heat the milk over medium heat until it just begins to simmer.
- Whisk the dry ingredients: In a separate bowl, whisk together the sugar, cornstarch, and salt.
- Temper the egg yolks: In a small bowl, whisk the egg yolks until light and frothy. Gradually whisk in about 1/2 cup of the hot milk mixture into the egg yolks to temper them, then pour the tempered yolk mixture back into the saucepan with the remaining milk.
- Cook the custard: Cook the custard over medium heat, whisking constantly, until it thickens and comes to a boil. This should take about 2-3 minutes.
- Cool slightly: Remove the pan from the heat and stir in the vanilla extract. Let the custard cool slightly while you prepare the crust.
Assembling Your Masterpiece:
- Preheat the oven: Preheat your oven to 375°F (190°C).
- Blind bake the crust: Roll out the chilled dough on a lightly floured surface to a 12-inch circle. Carefully transfer the dough to the tart pan and press it evenly into the bottom and sides. Prick the bottom of the crust all over with a fork. Line the crust with parchment paper and fill it with pie weights or dried beans. Bake for 15 minutes.
- Partially bake the crust: Remove the weights and parchment paper and bake for an additional 5-7 minutes, or until the crust is lightly golden brown.
- Pour in the custard: Pour the cooled custard filling into the partially baked crust.
- Create the caramelized top: In a small saucepan, combine the sugar and water for the caramel. Cook over medium heat, without stirring, until the mixture turns a deep amber color. Immediately pour the caramel evenly over the custard.
- Bake the flan: Bake for 30-35 minutes, or until the custard is set and the crust is golden brown.
 French Flan Pâtissier
Final Touches and Serving:
- Cool completely: Let the flan cool completely at room temperature before serving. This will allow the custard to set fully.
- Release from the pan: Once cooled, carefully remove the flan from the tart pan.
- Serve and savor: Slice the flan into wedges and serve. It can be enjoyed warm, at room temperature, or even chilled.
Tips from My Baking Notebook:
- Blind baking is key: Blind baking the crust prevents it from becoming soggy and ensures a crisp, flaky texture.
- Don’t overcook the custard: The custard should be thick but still smooth. Overcooking will result in a grainy texture.
- Caramel caution: Be very careful when working with hot caramel, as it can cause serious burns.
- Get creative with toppings: While a classic flan pâtissier is delicious on its own, feel free to experiment with different toppings like fresh berries, a dollop of whipped cream, or a sprinkle of powdered sugar.
FAQs: Answering Your Flan-tastic Questions
Q: Can I make the flan pâtissier ahead of time?
A: Absolutely! Flan pâtissier is best served cold and can be made up to 2 days in advance. Simply store it in the refrigerator until ready to serve.
Q: My caramel hardened too quickly! What can I do?
A: Don’t worry, it happens! If your caramel hardens before you can pour it over the custard, simply reheat it gently over low heat with a tablespoon of water until it melts again.
Q: Can I use a different type of crust?
A: While a traditional flan pâtissier uses a classic pastry crust, you can certainly experiment with other crusts, such as a graham cracker crust or a nut-based crust.
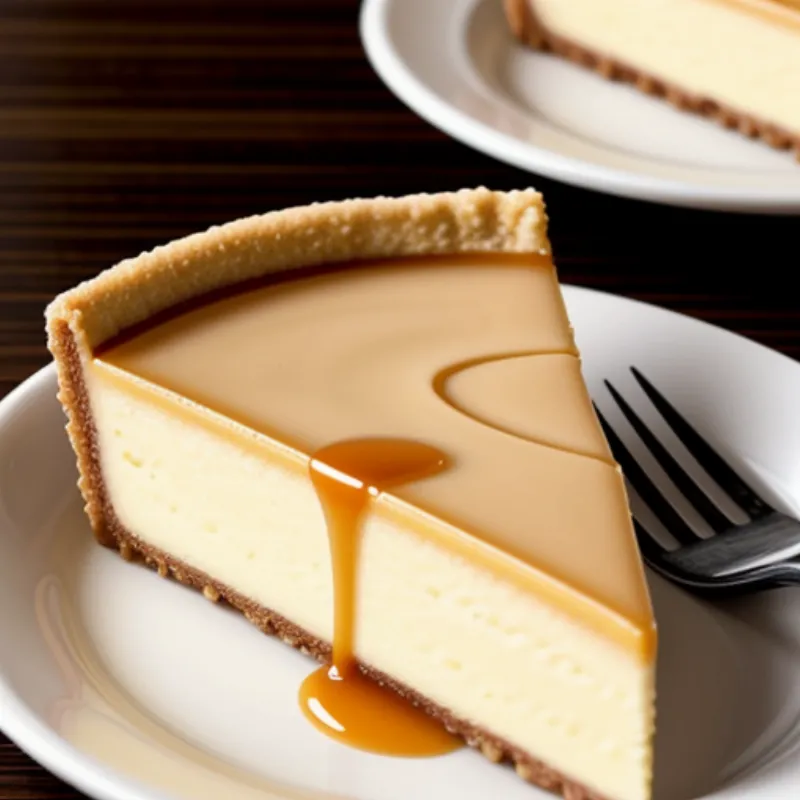
 Flan Pâtissier Slice
Baking Up Memories, One Slice at a Time
There’s something truly magical about creating something delicious from scratch, and flan pâtissier is no exception. It’s a dessert that’s sure to impress your family and friends, and more importantly, it’s a recipe that you’ll cherish for years to come. So gather your ingredients, put on your apron, and let’s get baking!
Don’t forget to share your baking adventures with us! Leave a comment below and tell us about your experience making this classic French dessert. Happy baking!
