Few things satisfy like a plate of crispy fried squid. This classic dish, loved around the world for its incredible flavor and satisfying crunch, is easier to make than you might think! In this guide, we’ll walk you through all the steps to create restaurant-quality fried squid right in your own kitchen. Get ready to impress your family and friends with this delicious and surprisingly simple recipe.
The Allure of Fried Squid
Whether you know it as calamari, calamares, or just plain “fried squid,” this dish has a rich history and global appeal. From the bustling street food stalls of Southeast Asia to the upscale seafood restaurants of the Mediterranean, fried squid is a universally celebrated treat.
What makes fried squid so irresistible? It’s the magical combination of a crispy, golden-brown exterior and a tender, almost melt-in-your-mouth interior. The subtle flavor of the squid lends itself perfectly to a variety of seasonings, making it a versatile canvas for culinary creativity.
Gather Your Ingredients
Here’s what you’ll need to make approximately 4 servings of this delicious fried squid:
- Squid: 1 lb fresh or frozen squid, cleaned and cut into rings (about 1/2 inch thick)
- All-Purpose Flour: 1 cup
- Cornstarch: 1/2 cup
- Salt: 1 tsp, or to taste
- Black Pepper: 1/2 tsp, or to taste
- Garlic Powder: 1/2 tsp
- Paprika: 1/4 tsp (optional, for a hint of smokiness)
- Sparkling Water or Beer: 1/2 cup, ice cold
- Oil for Frying: Canola, vegetable, or peanut oil (enough to fill your pot or fryer to a depth of about 3 inches)
- Lemon Wedges: For serving
Optional Substitutions and Additions:
- Gluten-Free: Use a 1:1 gluten-free flour blend for the all-purpose flour.
- Spicy Kick: Add a pinch of cayenne pepper or a dash of your favorite hot sauce to the flour mixture.
- Herby Twist: Incorporate a tablespoon of chopped fresh herbs like parsley, dill, or oregano into the batter for an aromatic twist.
Tools of the Trade
- Sharp Knife: For cleaning and cutting the squid.
- Paper Towels: For patting the squid dry.
- Mixing Bowls (2): One for the dry ingredients and one for the batter.
- Whisk: For combining the batter ingredients.
- Tongs: For safely adding and removing the squid from the hot oil.
- Large Pot or Deep Fryer: For frying.
- Slotted Spoon or Spider Strainer: For removing the fried squid from the oil.
- Wire Rack: For cooling the fried squid and allowing excess oil to drip off.
The Art of Frying Squid: Step-by-Step Guide
- Prepare the Squid: If using frozen squid, make sure it’s fully thawed. Rinse the squid under cold water and pat it thoroughly dry with paper towels. Moisture is the enemy of crispiness when it comes to frying!
- Create the Perfect Batter: In a large bowl, whisk together the flour, cornstarch, salt, pepper, garlic powder, and paprika (if using).
- The Secret Ingredient: Slowly whisk in the ice-cold sparkling water or beer. This will create a light and airy batter that helps to achieve that irresistible crunch.
- Heat the Oil: While you’re preparing the batter, heat the oil in your pot or deep fryer to 350°F (175°C). Use a kitchen thermometer to ensure the oil is at the right temperature.
- Coat the Squid: Dip each squid ring into the batter, allowing any excess to drip off.
- Fry to Golden Perfection: Carefully lower a few squid rings at a time into the hot oil. Avoid overcrowding the pot, as this will lower the oil temperature and result in soggy squid. Fry for 2-3 minutes, or until the squid is golden brown and crispy.
- Drain and Serve: Once cooked, remove the fried squid from the oil using a slotted spoon or spider strainer. Place the fried squid on a wire rack set over a baking sheet to allow any excess oil to drain.
Tips for Frying Success
- Don’t Overcrowd the Pot: Overcrowding will lower the oil temperature, leading to greasy and unevenly cooked squid.
- Maintain the Right Oil Temperature: Invest in a good kitchen thermometer to ensure your oil stays at a consistent temperature throughout the frying process.
- Pat the Squid Dry: Removing excess moisture from the squid will help the batter adhere better and prevent splattering.
- Don’t Overcook: Fried squid is best enjoyed immediately when it’s at its crispiest. Overcooked squid will be tough and rubbery.
Serving Suggestions
Fried squid is delicious on its own with a squeeze of fresh lemon juice, but it also pairs well with a variety of dipping sauces, such as:
- Tartar Sauce: A classic pairing that cuts through the richness of the fried squid. Check out our recipe for a homemade tartar sauce that will take your fried squid to the next level.
- Marinara Sauce: The tangy flavor of marinara sauce is a match made in heaven with crispy fried squid.
- Aioli: This garlic-infused mayonnaise is a flavorful and decadent dipping option.
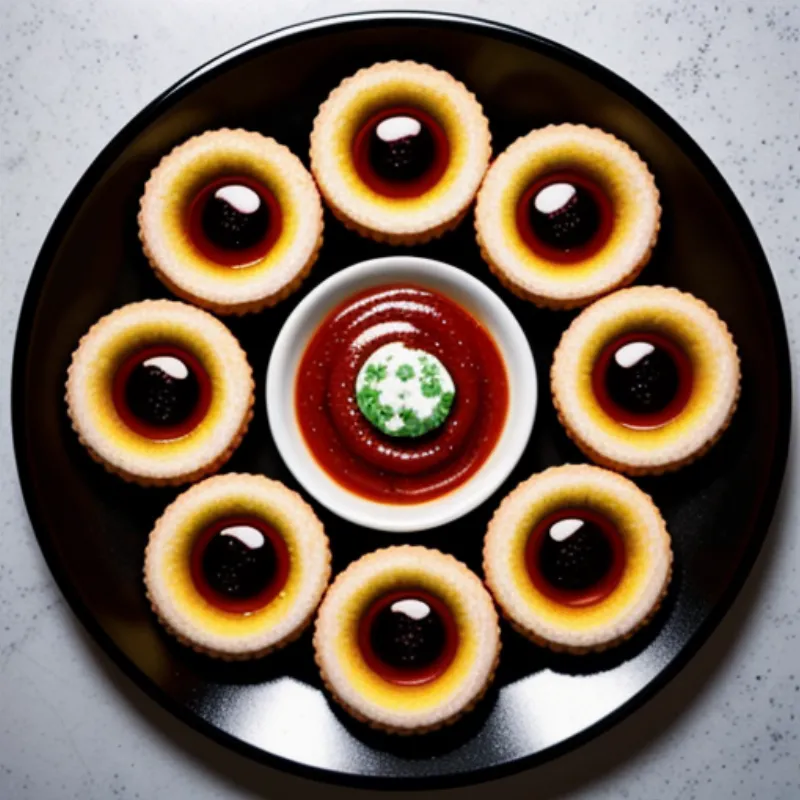
 Platter of Golden Fried Squid Rings
Frequently Asked Questions
Can I use frozen squid for frying?
Absolutely! Just make sure the squid is fully thawed before you begin. Pat it dry with paper towels to remove any excess moisture.
How do I know when the fried squid is done?
The squid is ready when it turns a beautiful golden brown and feels firm to the touch.
Can I make fried squid ahead of time?
For optimal crispiness, fried squid is best enjoyed immediately after cooking. However, you can fry the squid in advance and reheat it in a preheated 400°F (200°C) oven for a few minutes to crisp it up before serving.
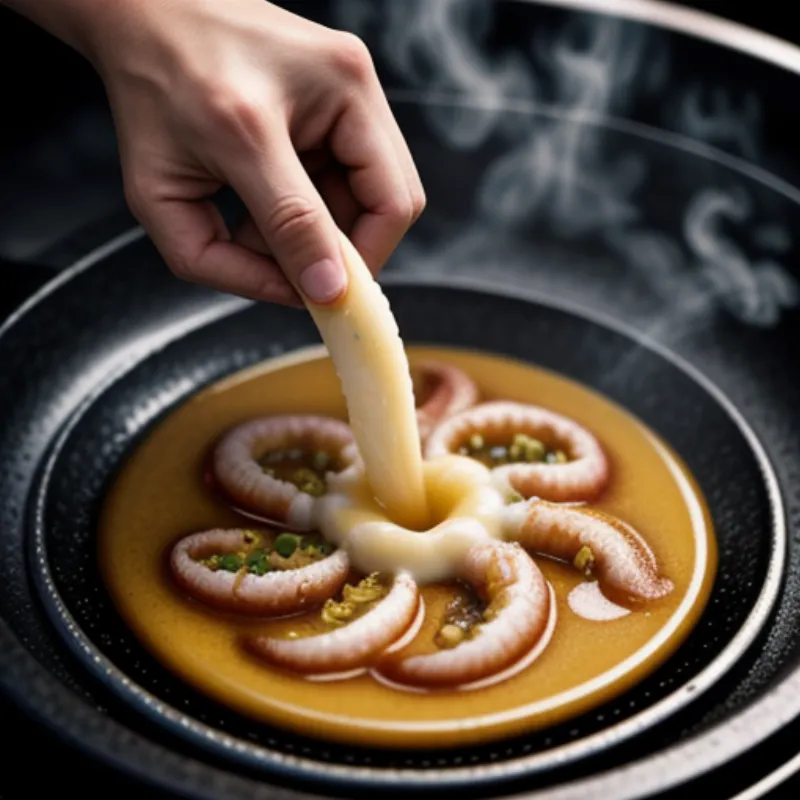
 Squid Rings Frying to Perfection
Conclusion
There you have it—a comprehensive guide to making crispy, delicious fried squid in your own kitchen. It’s easier than you think to recreate this classic dish, and the results are sure to impress. So gather your ingredients, heat up that oil, and get ready to experience the satisfying crunch and incredible flavor of homemade fried squid!
If you enjoyed this recipe, be sure to check out our other delicious and easy-to-follow seafood recipes on Family Cuisine!
