Stamped cakes are all the rage right now, and for good reason! They’re beautiful, unique, and surprisingly easy to make. Whether you’re a seasoned baker or just starting out, this comprehensive guide will walk you through every step of creating your own stunning stamped cakes. Get ready to unleash your creativity and impress your loved ones with these edible masterpieces!
What is a Stamped Cake?
A stamped cake is essentially any cake that features a decorative design imprinted on its surface using a specially designed stamp or mold. The beauty of this technique lies in its versatility – you can use a wide variety of stamps to create intricate patterns, whimsical motifs, or even personalized messages. From floral patterns and geometric shapes to festive themes and celebratory greetings, the possibilities are endless!
Why You’ll Love Making Stamped Cakes
- Easy to personalize: Tailor your cakes to any occasion or theme with the right stamp.
- Visually stunning: Impress your guests with intricate and eye-catching designs.
- Beginner-friendly: The stamping process is surprisingly simple, even for novice bakers.
- Therapeutic and fun: Unleash your inner artist and enjoy the creative process.
Ingredients You’ll Need
For the Cake:
- 2 cups (250g) all-purpose flour
- 1 teaspoon (5g) baking powder
- 1/2 teaspoon (3g) baking soda
- 1/4 teaspoon (1.5g) salt
- 1 cup (2 sticks or 226g) unsalted butter, softened
- 1 3/4 cups (350g) granulated sugar
- 2 large eggs
- 1 teaspoon (5ml) vanilla extract
- 1 cup (240ml) buttermilk
For the Frosting:
- 4 cups (480g) powdered sugar
- 1 cup (2 sticks or 226g) unsalted butter, softened
- 1/4 cup (60ml) milk
- 1 teaspoon (5ml) vanilla extract
- Pinch of salt
- Food coloring (optional)
Other Materials:
- Cake stamp or mold (choose your desired design)
- Two 8-inch round cake pans
- Parchment paper
- Handheld mixer or stand mixer
- Spatulas
- Piping bag and tips (optional)
Let’s Get Baking!
Step 1: Preparing Your Cake Pans
- Preheat your oven to 350°F (175°C).
- Grease and flour two 8-inch round cake pans. Line the bottoms with parchment paper for easy release later.
Step 2: Making the Cake Batter
- In a medium bowl, whisk together the flour, baking powder, baking soda, and salt.
- In a separate large bowl, cream together the softened butter and granulated sugar until light and fluffy.
- Beat in the eggs one at a time, followed by the vanilla extract.
- Gradually add the dry ingredients to the wet ingredients, alternating with the buttermilk, and mix until just combined. Don’t overmix!
Step 3: Baking the Cake Layers
- Divide the batter evenly between the prepared cake pans.
- Bake for 30-35 minutes, or until a wooden skewer inserted into the center comes out clean.
- Let the cakes cool in the pans for 10 minutes before inverting them onto a wire rack to cool completely.
Step 4: Making the Frosting
- In a large bowl, beat together the powdered sugar and softened butter until smooth.
- Add the milk, vanilla extract, and salt, and beat again until light and fluffy.
- If desired, divide the frosting into separate bowls and tint with food coloring for a more vibrant design.
Step 5: Stamping the Cake
- Once the cake layers have completely cooled, level the tops with a serrated knife if necessary.
- Place one cake layer on a serving plate or cake stand.
- Frost the top of the cake layer with a thin layer of frosting. This will help the stamp adhere properly.
- Gently press your chosen cake stamp onto the frosted surface, applying even pressure.
- Carefully lift the stamp away to reveal the imprinted design.
Step 6: Frosting and Decorating
- Frost the remaining cake layer and stack it on top of the stamped layer.
- Frost the entire cake with the remaining frosting, using a spatula to create a smooth finish.
- Get creative with additional decorations! Use piping bags and tips to add swirls, rosettes, or borders. Sprinkle with sprinkles, edible flowers, or chopped nuts for extra flair.
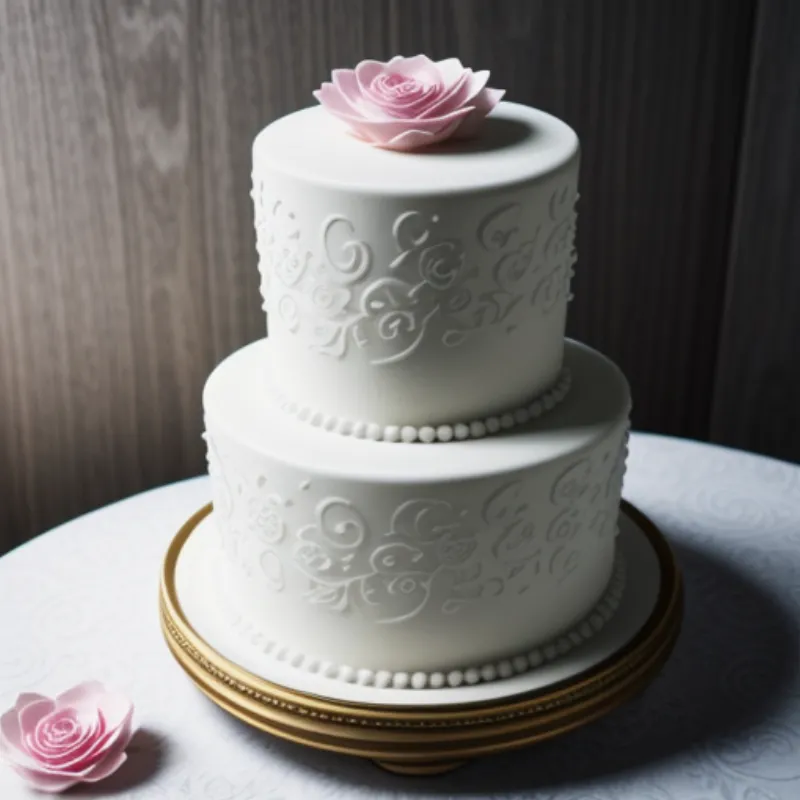
 Stamped Cake with Floral Design
FAQs
Q: Can I use any type of stamp for cake decorating?
A: While there are stamps specifically designed for cake decorating, you can also use food-safe silicone stamps or molds. Make sure the stamp you choose is heat-resistant and able to withstand the pressure of stamping.
Q: How do I prevent the stamp from sticking to the frosting?
A: Lightly dusting the stamp with powdered sugar or cornstarch before each use can help prevent sticking. You can also try chilling the cake briefly in the refrigerator before stamping.
Q: Can I reuse a cake stamp?
A: Yes, most cake stamps are reusable. Simply wash them with warm, soapy water after each use and allow them to dry completely before storing.
Q: My cake layers turned out slightly uneven. What should I do?
A: Don’t worry! Use a serrated knife to carefully level the tops of the cake layers before frosting. This will ensure your stamped design looks its best.
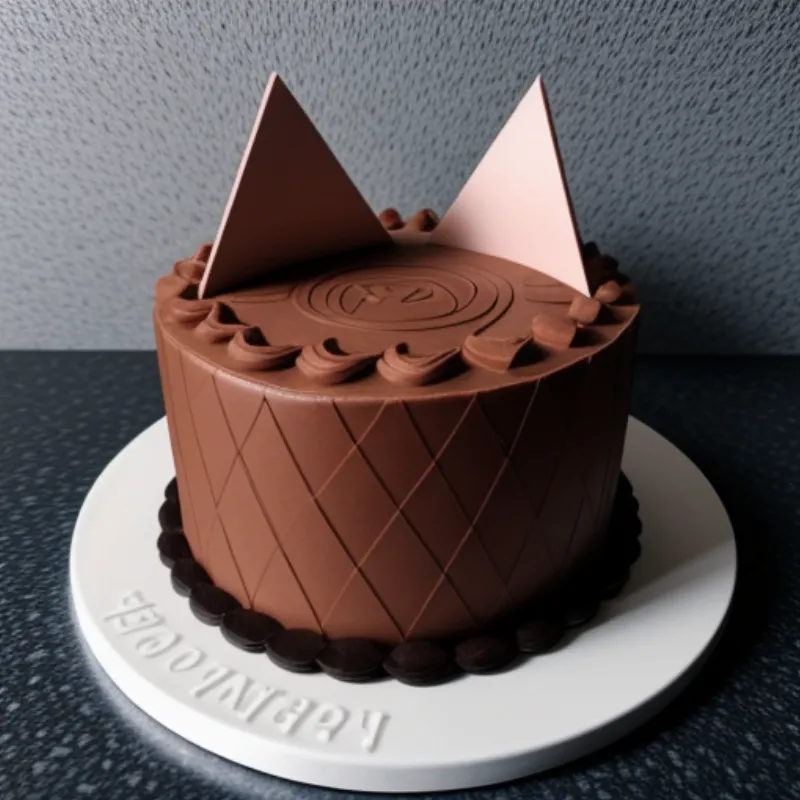
 Stamped Cake with Geometric Design
Tips for Success
- Choose the right stamp: Experiment with different stamp sizes, designs, and materials to find what works best for you.
- Use chilled frosting: Cold frosting will hold its shape better and create a cleaner stamp.
- Practice makes perfect: Don’t be afraid to experiment and practice your stamping technique on a spare piece of parchment paper before working on the actual cake.
- Have fun!: Remember to relax, enjoy the process, and don’t be afraid to get creative with your designs and decorations.
Conclusion
Making stamped cakes is a fun and rewarding way to elevate your baking game. With a little practice and these helpful tips, you’ll be creating stunning edible masterpieces in no time! So gather your ingredients, unleash your creativity, and get ready to impress your friends and family with your newfound cake decorating skills.
