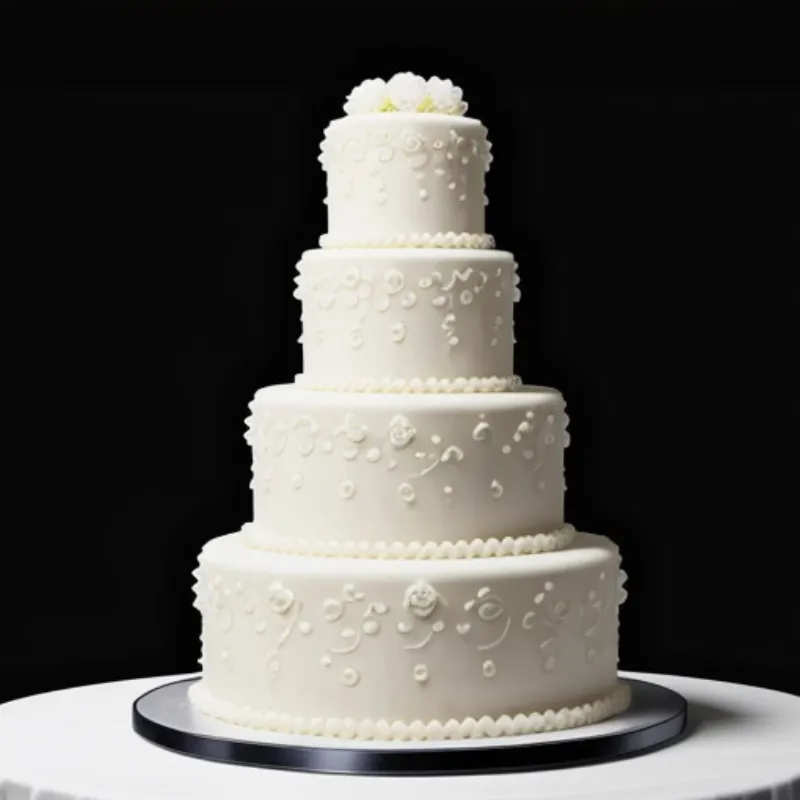
Baking a tier cake might seem like a daunting task reserved for professionals, but with the right guidance, even novice bakers can create a stunning centerpiece for any celebration. Whether it’s a birthday party, a wedding, or a simple get-together, a beautifully layered cake never fails to impress. This comprehensive guide will equip you with all the knowledge and confidence needed to craft your own masterpiece at home. We’ll break down each step, from preparing the perfect cake batter to achieving flawlessly smooth icing and adding those final decorative touches. So, let’s gather our ingredients and embark on this rewarding baking adventure together!
What You’ll Need to Create Your Tier Cake
Ingredients:
For the Cake:
- Your favorite cake recipe (enough for the desired number of tiers – we recommend using a sturdy cake like vanilla or chocolate)
- Eggs
- Butter
- Sugar
- Flour
- Baking powder
- Milk
- Vanilla extract
For the Frosting and Filling:
- Buttercream frosting (you can find great recipes online or use store-bought)
- Your choice of filling (fruit preserves, chocolate ganache, or lemon curd are popular options)
For Decorating:
- Food coloring (if desired)
- Piping bags and tips (optional, for creating decorative designs)
- Sprinkles, edible flowers, or other decorations
Tools:
- Mixing bowls
- Electric mixer
- Measuring cups and spoons
- Spatulas
- Parchment paper
- Cake pans of varying sizes (for the tiers)
- Serrated knife
- Cake turntable (optional, but very helpful for frosting)
- Offset spatula
- Cake boards (cut to the size of each tier)
- Dowel rods (for supporting the tiers)
Step-by-Step Guide: Building Your Tier Cake
1. Preparing Your Cake Layers
- Choose your cake recipe: Select a recipe that yields a sturdy cake capable of holding its shape under the weight of multiple tiers. Vanilla and chocolate cakes are classic choices. You can even make different flavors for each tier.
- Bake in separate pans: Divide your batter evenly among the prepared cake pans. Remember that smaller pans will yield taller cake layers.
- Cool completely: Allow the cakes to cool completely in the pans before inverting them onto a wire rack.
2. Leveling and Torting Your Cakes
- Level the tops: Use a serrated knife to carefully level the tops of your cooled cakes, creating a flat surface for stacking.
- Torte (optional): If desired, you can torte each cake layer by slicing it horizontally into thinner layers. This allows for more layers of filling.
3. Assembling the Tiers
- Prepare your cake boards: Place a dollop of frosting in the center of each cake board to prevent the cake from sliding.
- Add the first tier: Place your bottom tier on the largest cake board.
- Fill and stack: Add a layer of frosting followed by your chosen filling. Carefully place the next cake tier on top, ensuring it’s centered. Repeat this process for all tiers.
4. Frosting Your Cake
- Crumb coat: Apply a thin layer of frosting to the entire cake, sealing in any crumbs. This doesn’t have to be perfect; it’s just a base layer.
- Chill: Refrigerate the cake for 15-20 minutes to allow the crumb coat to set.
- Final frosting: Apply a generous and even layer of frosting to the entire cake, using an offset spatula to create a smooth finish.
- Decorate: Get creative! Use piping bags and tips to create designs, or keep it simple with sprinkles or fresh fruit.
 Frosting a Tier Cake
Tips and Tricks for Tier Cake Success
- Use a cake turntable: A cake turntable makes frosting so much easier, allowing you to rotate the cake smoothly for even application.
- Dowel rods for support: For cakes with three or more tiers, insert dowel rods into the bottom tiers to provide support and prevent the upper tiers from sinking.
- Chill between layers: Chilling the cake between frosting layers helps to prevent the frosting from becoming too soft and difficult to work with.
- Don’t be afraid to experiment: Have fun with flavors, colors, and decorations to create a cake that truly reflects your personal style.
FAQs about Making Tier Cakes
Q: Can I make a tier cake without dowel rods?
A: For cakes with two tiers, you can often get away without dowel rods, especially if the cake layers are not too heavy. However, for three or more tiers, dowel rods are highly recommended to prevent the cake from collapsing.
Q: What is the best frosting to use for a tier cake?
A: Buttercream frosting is a popular choice for tier cakes because it’s sturdy enough to hold its shape and can be easily flavored and colored. Swiss meringue buttercream and Italian meringue buttercream are also good options, as they have a lighter texture.
Q: How far in advance can I make a tier cake?
A: You can bake the cake layers up to 2 days in advance. Wrap them tightly in plastic wrap and store them at room temperature. You can also freeze the cake layers for up to 2 months. Thaw them overnight in the refrigerator before assembling and frosting the cake.
 Decorated Tier Cake
Conclusion:
Making a tier cake is an accomplishment any baker can be proud of. While it requires a bit of planning and patience, the stunning results are well worth the effort. Remember to take your time, follow these steps, and don’t be afraid to add your own creative flair. So go ahead, gather your ingredients, and start baking your own show-stopping tier cake today! Don’t forget to share your creations with us in the comments below!
For more tips and tricks on cake baking and other delicious treats, check out our articles on How to Make a Buckwheat Cake or How to Make the Perfect Royal Wedding Cake. Happy baking!
