Turkey gravy. Those two words are enough to conjure up images of Thanksgiving feasts, warm family gatherings, and the most delicious roast turkey you’ve ever tasted. This creamy, savory sauce is a staple on any Thanksgiving table and truly elevates the flavor of the entire meal. But here’s a secret: making turkey gravy from scratch doesn’t have to be intimidating!
This easy-to-follow guide will walk you through every step, from creating a flavorful roux to achieving that silky smooth consistency. Whether you’re a seasoned chef or a first-time gravy maker, get ready to wow your guests with a homemade turkey gravy that will have everyone asking for seconds (and thirds!).
Gathering Your Ingredients: A Symphony of Flavors
Before we dive into the cooking process, let’s gather our delicious ingredients. Here’s what you’ll need for a truly unforgettable turkey gravy:
From the Turkey:
- Turkey Drippings: The magic starts here! You’ll need about 4 cups of drippings from your roasted turkey. These flavorful juices are the foundation of a rich and authentic gravy.
- Turkey Neck and Giblets: Don’t discard these treasures! Simmering the neck and giblets in the drippings adds an extra layer of savory depth to your gravy.
Pantry Staples:
- All-Purpose Flour: 1/2 cup of flour will act as our thickening agent, creating that luscious, velvety texture.
- Butter: 4 tablespoons of butter will add richness and a beautiful golden hue to our gravy.
- Seasonings: Salt and freshly ground black pepper to taste. Remember, you can always adjust the seasoning later!
Secret Weapon (Optional, but highly recommended):
- Dry Sherry or White Wine: A splash (about 1/4 cup) of dry sherry or white wine adds a wonderful complexity and depth of flavor. Don’t worry, the alcohol cooks off during the process!
Pro Tip from Chef Amelia: “For an extra flavor boost, try using a combination of butter and turkey fat rendered from the drippings. It adds a wonderful richness and depth that you just can’t get from butter alone!”
Tools of the Trade: Simple Equipment for Gravy Success
You don’t need a fancy kitchen to make incredible gravy! Here are the essential tools:
- Large roasting pan or stockpot: This is where the magic happens!
- Fine-mesh sieve or strainer: For removing any lumps and ensuring a silky smooth gravy.
- Whisk: Your trusty sidekick for creating a lump-free roux and emulsifying the gravy.
- Fat separator: (Optional, but very helpful) for easily separating the fat from the turkey drippings.
Let’s Make Gravy! A Step-by-Step Guide:
1. Preparing the Base:
- Separate the Fat: Carefully pour the turkey drippings into a fat separator or a large measuring cup. Let it sit for a few minutes, allowing the fat to rise to the top. Skim off about 4 tablespoons of the fat and reserve it for the roux.
- Measure the Drippings: You’ll need about 4 cups of defatted turkey drippings. If you don’t have enough, you can supplement with chicken broth or water.
- Simmer the Giblets: While you prepare the roux, place the turkey neck and giblets (excluding the liver, which can make the gravy bitter) in a saucepan. Cover with water and simmer for about an hour. This will create an even richer stock for your gravy.
2. Creating the Roux:
- Melt the Butter: In the roasting pan (or a large saucepan) over medium heat, melt the reserved turkey fat and butter.
- Whisk in the Flour: Gradually add the flour to the melted fat, whisking constantly to prevent lumps. This mixture is called a roux, and it’s the key to a thick and flavorful gravy.
- Cook the Roux: Continue to cook the roux for 2-3 minutes, stirring constantly, until it becomes fragrant and takes on a light golden color.
Pro Tip from Chef Michael: “Don’t rush the roux! Cooking it for a few minutes allows the flour to cook out, preventing a raw flour taste in your gravy.”
3. The Grand Transformation: From Roux to Gravy
- Whisk in the Drippings: Gradually whisk in the warm turkey drippings to the roux, making sure to incorporate it fully and prevent any lumps from forming.
- Add the Giblet Stock: Strain the giblet stock and add it to the gravy.
- Simmer and Thicken: Bring the gravy to a gentle simmer, stirring occasionally. Cook for about 5-7 minutes, or until the gravy has thickened to your liking.
Troubleshooting Time:
- Too Thin? Make a slurry by whisking together 1 tablespoon of flour with 2 tablespoons of cold water or drippings. Gradually whisk the slurry into the simmering gravy and cook for a few more minutes, or until thickened.
- Too Thick? Gradually whisk in a little more warm broth or water until the desired consistency is reached.
4. Seasoning and Serving: The Final Flourish
- Season to Perfection: Once the gravy has reached your desired consistency, season it to taste with salt and freshly ground black pepper. Remember, it’s always better to under-season at first and adjust as needed!
- Optional Flavor Boost: Stir in a splash of dry sherry or white wine for an extra layer of complexity.
Presentation Matters:
- Classic Gravy Boat: Serve your beautiful gravy in a traditional gravy boat.
- Rustic Charm: Ladle the gravy into a warm pitcher or serving bowl for a more casual presentation.
Enjoy! Pairing Your Delicious Homemade Turkey Gravy
This gravy is the perfect finishing touch for:
- Roasted Turkey: Of course!
- Mashed Potatoes: A match made in culinary heaven!
- Stuffing: Drench your stuffing in this flavorful gravy for an extra dose of deliciousness.
- Roasted Vegetables: Elevate your favorite roasted vegetables with a drizzle of this savory sauce.
Storing Your Leftover Gravy: Savoring the Flavors
Let the gravy cool completely and store it in an airtight container in the refrigerator for up to 3 days. Reheat it gently on the stovetop or in the microwave, adding a splash of broth or water if needed to loosen it up.
Freezing for Later: Pour cooled gravy into freezer-safe containers or ice cube trays. Freeze for up to 3 months. To use, thaw overnight in the refrigerator and reheat as directed above.
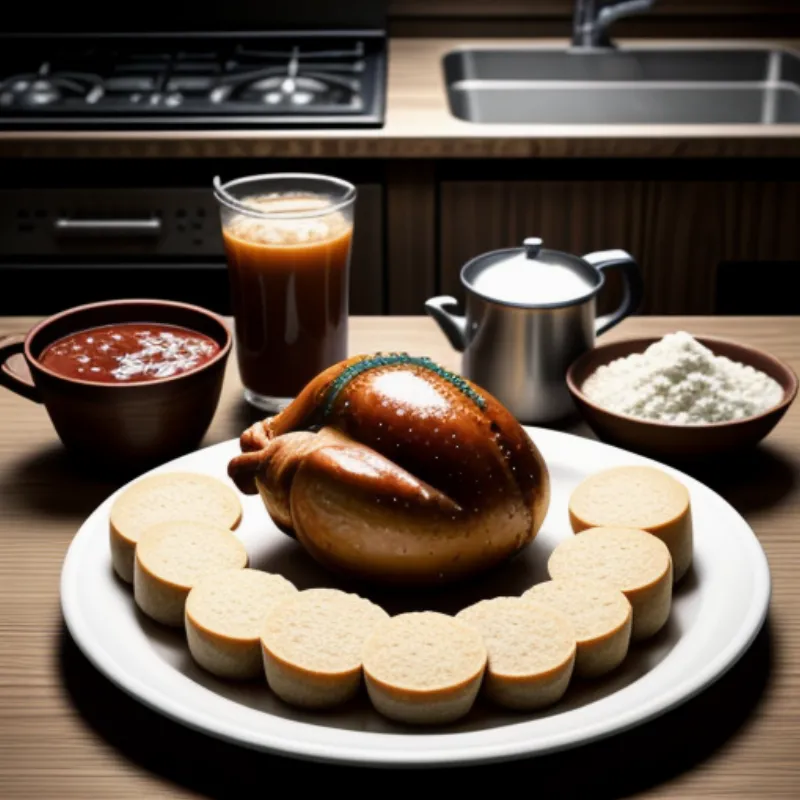
 Ingredients for Turkey Gravy
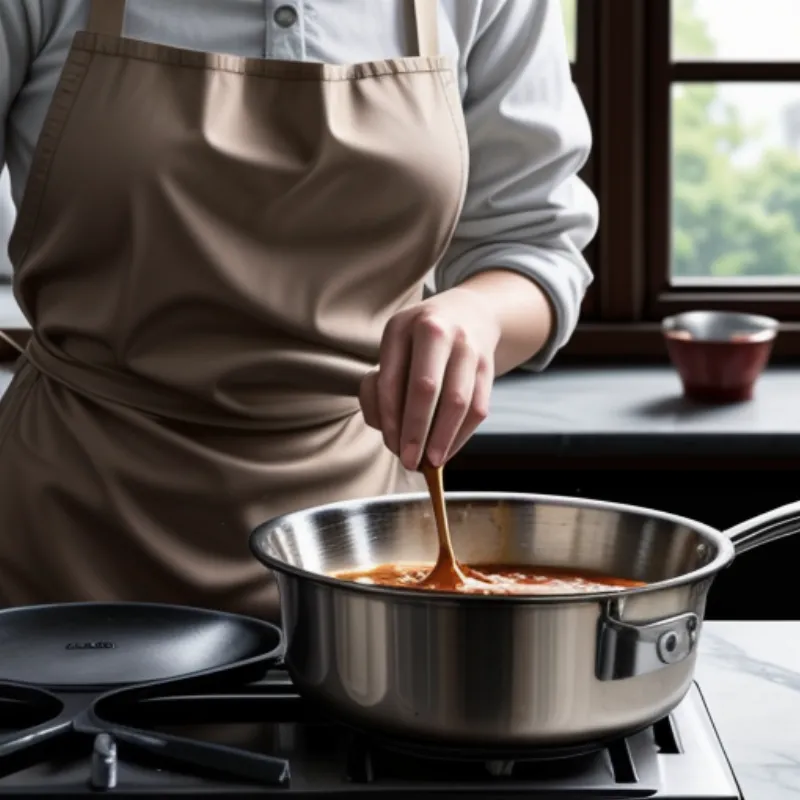
 Whisking Turkey Gravy Roux
 Homemade Turkey Gravy
There you have it! Your guide to crafting the perfect turkey gravy. Remember, the most important ingredient is love. Put your heart into it, and your gravy will be the star of the show! Happy cooking!
